By Alex Lane | Your Home Comfort Advocate
Choosing the right mini-split system isn’t just about picking a model and mounting it on the wall. If you get the sizing or placement wrong, even the most efficient heat pump won’t perform well. It could run constantly, short cycle, or leave parts of your home hot or cold.
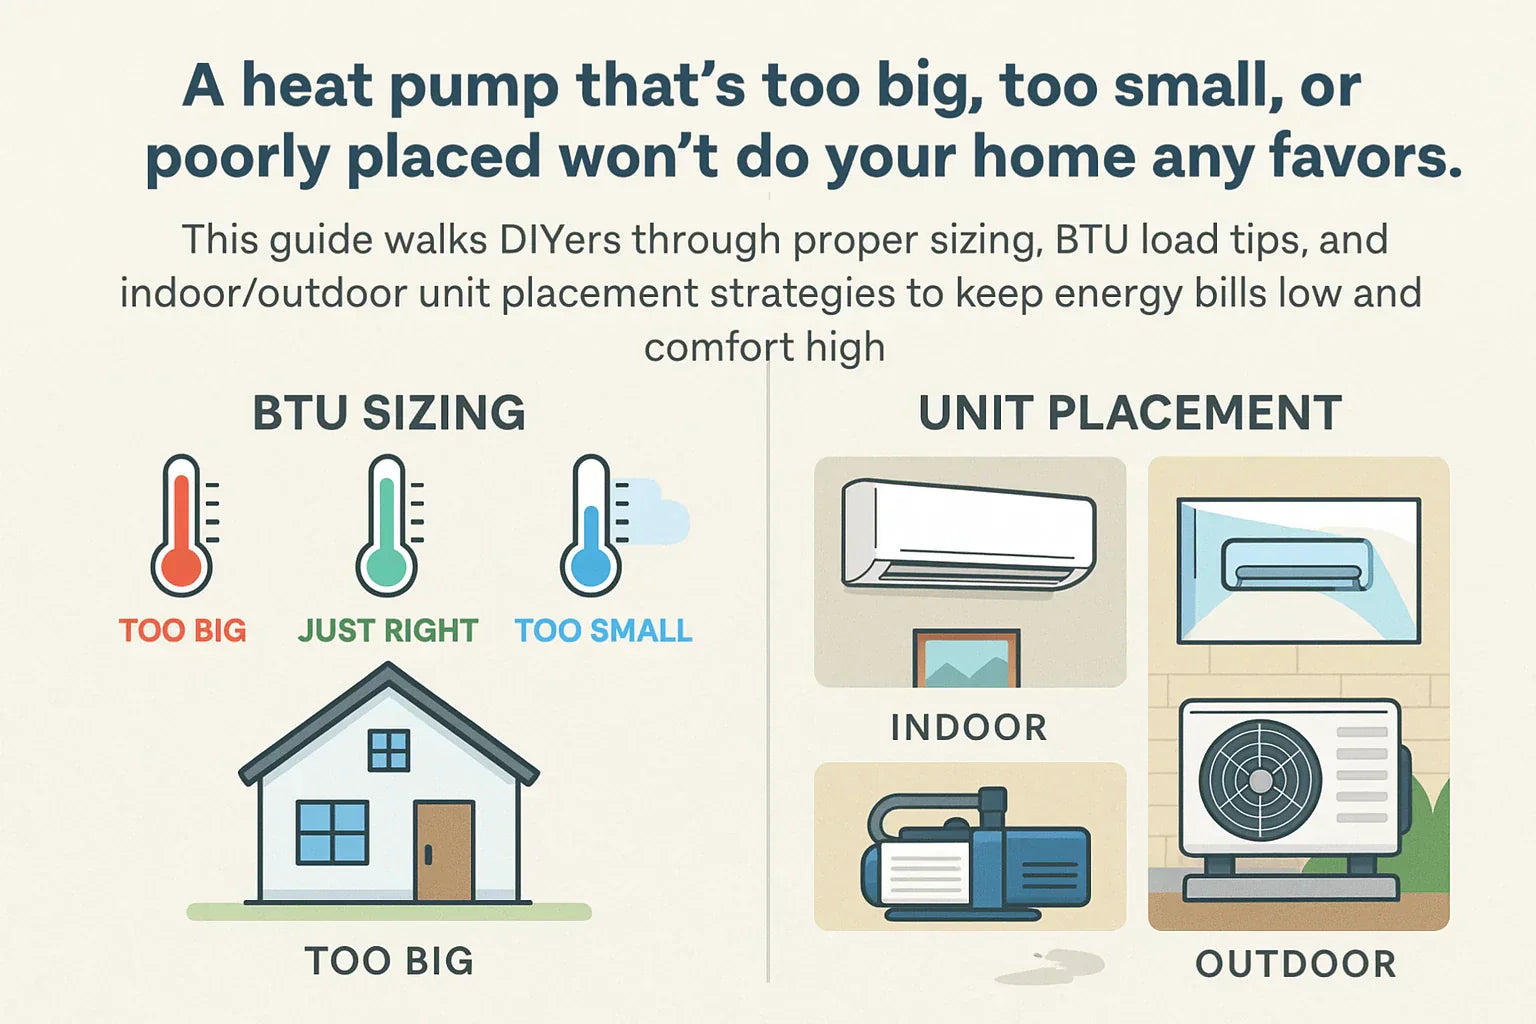
In this guide, we’ll break down how to properly size a heat pump for your space and where to place both the indoor and outdoor units for optimal year-round performance.
📘 First time installing a system? Be sure to start with the Complete Guide to DIY Heat Pump Installation.
Why Proper Sizing Matters
You might be tempted to just buy a 12,000 BTU system for a 600 sq ft room and call it a day. But there’s a little more to it than that.
🧊 What Happens When It’s Undersized
-
Constant operation, especially during extreme temps
-
Difficulty reaching set temperature
-
Shortened compressor lifespan due to strain
-
Higher utility bills from inefficient operation
🔥 What Happens When It’s Oversized
-
Short cycling (starts and stops too frequently)
-
Inconsistent temperatures
-
Poor humidity control
-
Increased wear on internal components
📘 Curious how many BTUs your space really needs? Check out this BTU sizing guide by TCL for helpful charts and room-based estimates.
How to Calculate the Right Heat Pump Size
📐 Rule of Thumb vs. Manual J
A rough guideline is 20–25 BTUs per square foot of living space. That’s a good starting point, but it doesn’t account for:
-
Your climate zone
-
Insulation levels
-
Ceiling height
-
Sun exposure
-
Window area and type
That’s where Manual J calculations come in. This is the gold standard for HVAC load sizing, factoring in all the variables that affect heating and cooling needs.
📘 Want a deeper breakdown of the math? Here’s a helpful guide on how to calculate HVAC load manually from EnviGuard.
🌎 Consider Your Climate Zone
The same size home in Texas will need a much different system than a similar home in Minnesota. Climate zones affect how long and how hard your system will run in both heating and cooling seasons.
📘 Check your region using Energy.gov’s climate map.
Best Indoor Unit Placement Tips
Where you mount your indoor head unit matters just as much as the size.
🔲 General Guidelines
-
Mount 6–7 feet off the floor, centered on a wall
-
Keep at least 6 inches of clearance from the ceiling
-
Ensure 3–4 feet of unobstructed space in front
-
Avoid placing directly near stoves, ovens, or lamps
🛋️ By Room Type
Living Room
Mount across from the seating area for even airflow. Avoid blowing directly onto couches or TVs (it affects temperature sensing and comfort).
Bedroom
Position away from the bed. You want the air to circulate around the room, not blow straight at your face.
Kitchen
Place away from cooking areas, especially near range hoods or grease-heavy zones. Humidity and airborne particles can shorten the lifespan of the filters and coils.
📘 Many manufacturers, like Mitsubishi Electric, offer layout guides and clearance specs in their install manuals.
Outdoor Unit Placement Best Practices
A poorly placed condenser can lead to overheating, airflow issues, or restricted drainage.
🔄 Clearance and Airflow
-
Minimum 12 inches from walls or solid surfaces
-
At least 24 inches of open space in front of the fan grill
-
Avoid placing next to clothes dryer vents or high vegetation
-
Keep it shaded if possible, but avoid enclosed spaces like crawlspaces
🧱 Mounting Surface & Drainage
-
Use a concrete pad or a wall bracket
-
Elevate the unit at least 12–24 inches off the ground in snowy climates
-
Ensure water drains freely from the base (no pooling or upward pitch)
📘 For installation prep and layout insights, check out this HVAC installation guide from BuildOps.
What to Avoid: Common Sizing and Placement Errors
Even experienced DIYers slip up here:
-
Installing a 12K BTU unit in a poorly insulated sunroom without upsizing
-
Mounting an indoor unit directly over a TV or thermostat
-
Placing the condenser next to a fence, choking airflow
-
Assuming a ceiling fan “helps” — it might confuse temp sensors instead
Summary Table: Sizing Quick Reference
| Home Size (sq ft) | BTU Output Needed | Tonnage (Approx.) |
|---|---|---|
| 500 | 10,000–12,000 | 0.75–1.0 |
| 1,000 | 18,000–22,000 | 1.5–2.0 |
| 1,500 | 24,000–30,000 | 2.0–2.5 |
| 2,000 | 30,000–36,000 | 2.5–3.0 |
📌 Adjust for insulation, windows, ceilings, and zone.
Final Thoughts from Alex Lane
Sizing and placement are the foundation of a successful DIY heat pump install. If you don’t size it right, it won’t perform efficiently — no matter how well you install it. And if you stick the unit in the wrong spot, you’re setting yourself up for airflow problems, uneven temps, or worse.
So do the math, check your layout, and make sure every inch of your system is working with your space — not against it.
📘 Next step: Get your system installed without a hitch. Check out the Post-Installation Checklist: Testing, Maintenance, and Safety for DIY Heat Pumps.
Alex Lane
Your Home Comfort Advocate


