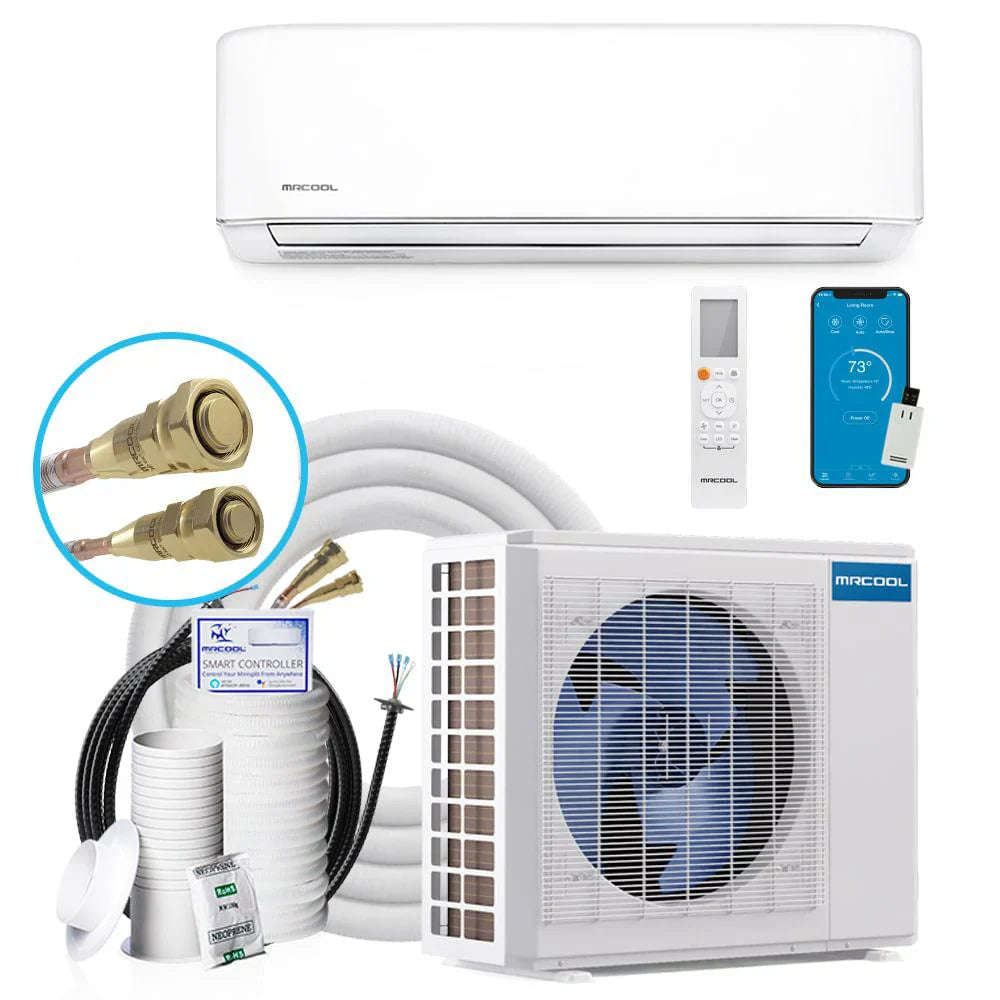
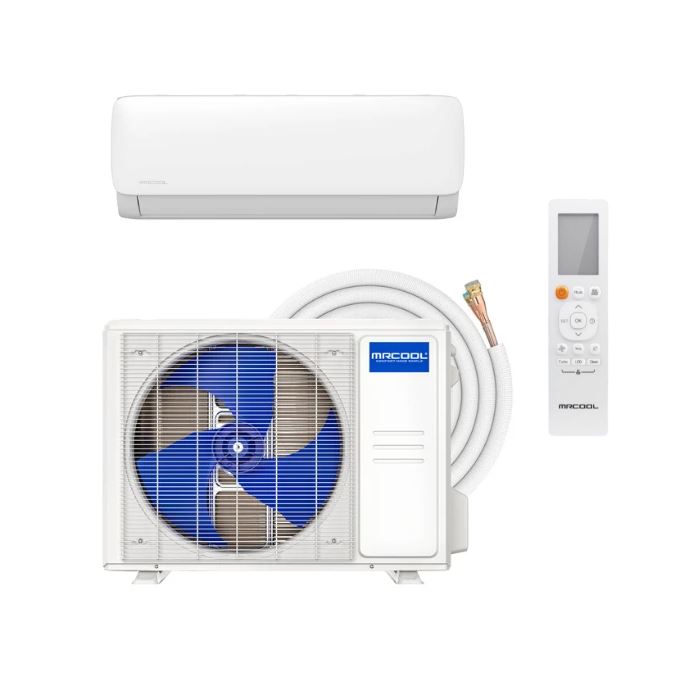
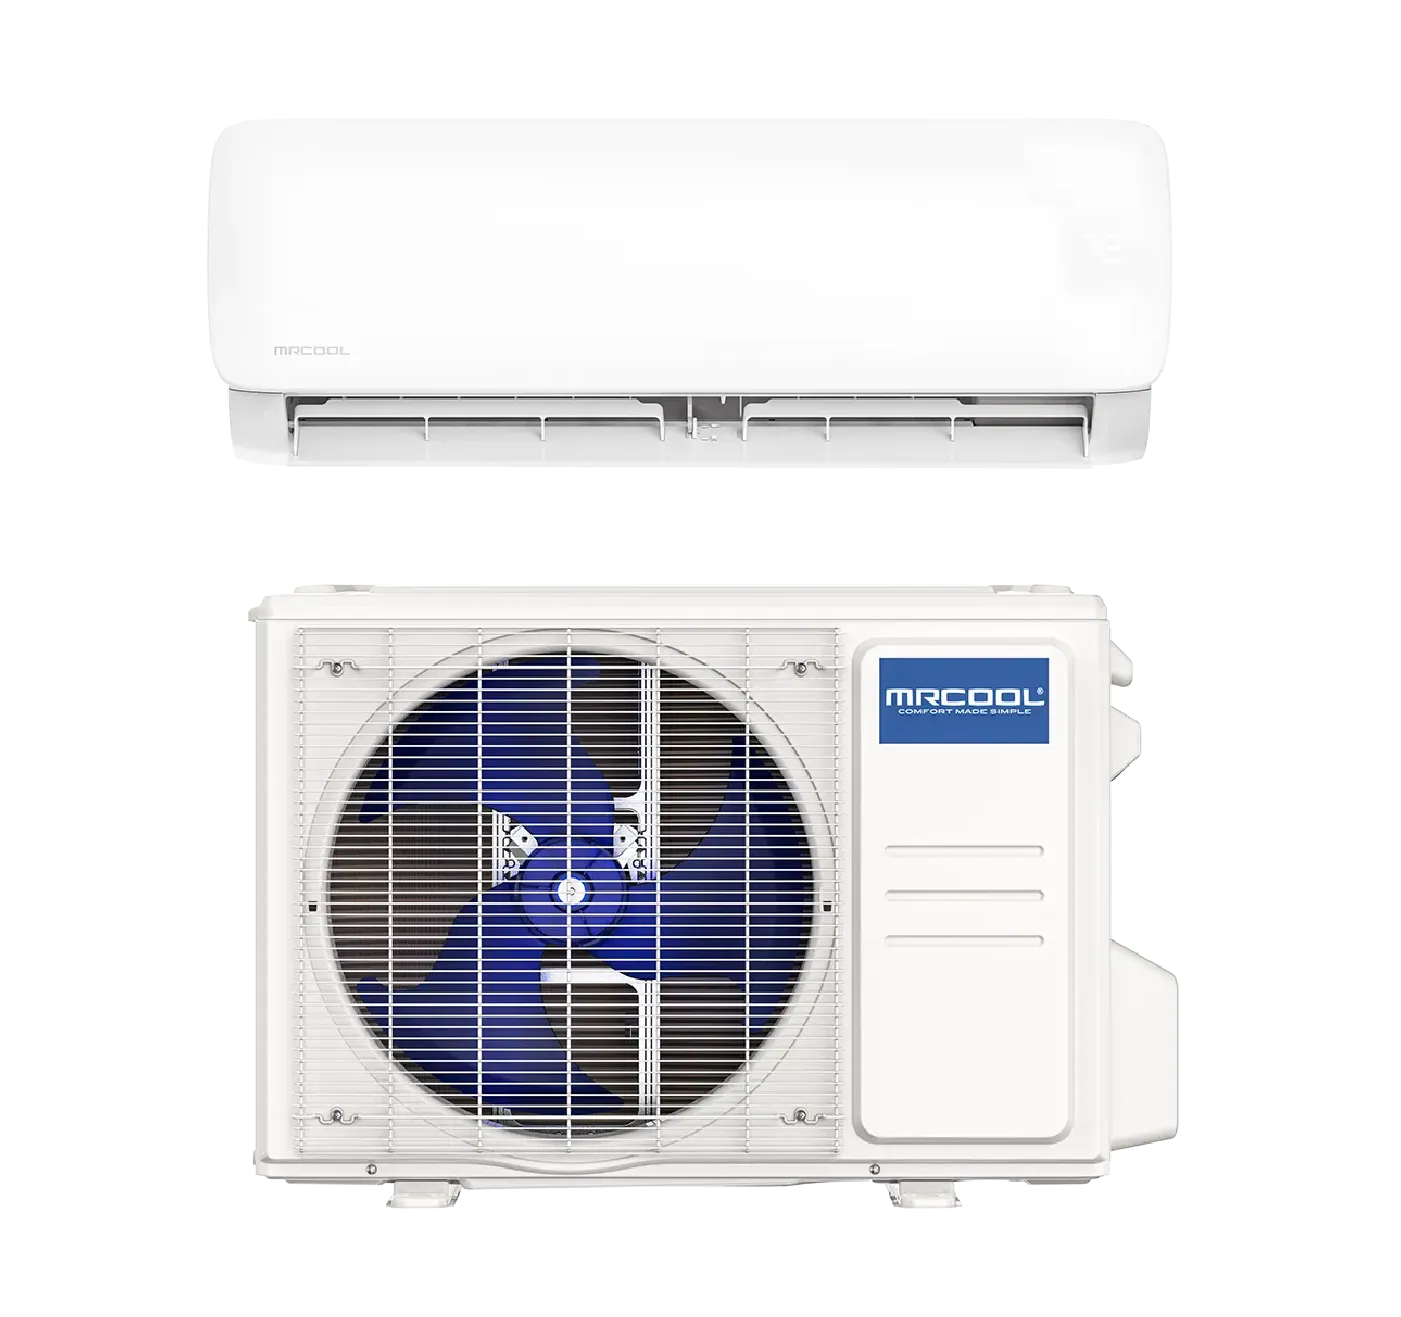
Best Single Room / 1-Zone Ductless Mini Split DIY Systems
3 products
Showing 1 - 3 of 3 products
Single-room or single-zone ductless mini split systems offer an efficient and customizable solution for heating and cooling individual spaces without the need for extensive ductwork. These systems consist of an outdoor compressor unit connected to an indoor air-handling unit, providing targeted climate control for specific areas within a home.
When choosing a Single Room / 1-zone ductless mini split DIY system, two key performance metrics to consider are SEER (Seasonal Energy Efficiency Ratio) and BTU (British Thermal Unit). These factors determine the system’s energy efficiency and capacity, influencing both operating costs and overall performance.
Advantages of Single-Zone Ductless Mini Split Systems
-
Energy Efficiency: By focusing on individual rooms, these systems eliminate the energy losses associated with ductwork in traditional HVAC systems. This targeted approach ensures that only occupied spaces are conditioned, leading to potential energy savings.
-
Cost Savings: The absence of ductwork reduces installation costs and time. Additionally, many single-zone mini splits come with high SEER (Seasonal Energy Efficiency Ratio) ratings, which can lower monthly utility bills.
-
Flexible Installation: Designed for easy installation, these systems require only a small hole to connect the indoor and outdoor units. This feature makes them ideal for various applications, including retrofitting older homes or adding climate control to new extensions.
-
Enhanced Comfort: With precise temperature control, occupants can adjust settings to their preferences, ensuring optimal comfort in each room.
DIY Installation Considerations
Many homeowners are drawn to the prospect of installing single-zone ductless mini split systems themselves. While DIY installation can be cost-effective, it's essential to approach the project with careful planning and awareness of potential challenges.
-
Preparation: Before beginning, ensure you have the necessary tools and materials. Familiarize yourself with the system's components and the installation process.
-
Mounting the Indoor Unit: Select an appropriate location on an interior wall, ensuring it can support the unit's weight and allows for proper airflow. Secure the mounting bracket and drill a hole for the conduit that will house the refrigerant lines, power cable, and drain line.
-
Installing the Outdoor Unit: Place the outdoor compressor on a stable surface, ensuring it's accessible for maintenance and has adequate clearance for airflow.
-
Connecting Components: Run the conduit between the indoor and outdoor units, taking care to avoid kinks in the refrigerant lines. Secure all connections and ensure the drain line allows for proper condensation removal.
-
Testing the System: After installation, power on the system to check for proper operation. Monitor for any unusual noises or leaks, and ensure the unit responds to temperature adjustments.
Potential Challenges
-
Technical Expertise: While many DIY kits are designed for user-friendly installation, some aspects, such as handling refrigerants or electrical wiring, may require professional expertise.
-
Tool Requirements: Certain steps may necessitate specialized tools, such as a vacuum pump or torque wrench, which may not be readily available in a typical household toolkit.
-
Warranty Considerations: Some manufacturers may require professional installation to honor warranty terms. It's crucial to review warranty information before deciding on a DIY approach.
Conclusion
Single-room ductless mini split systems provide an efficient and flexible solution for individualized climate control. While DIY installation is feasible and can offer cost savings, it's essential to assess one's technical skills and consult professional assistance when necessary to ensure a safe and effective installation.


