By Alex Lane | Your Home Comfort Advocate
So, you’ve mounted the unit, pulled the line set, and tightened every fitting — congratulations, you're almost there. But before you kick back and enjoy that sweet, energy-efficient comfort, there’s one last step that makes or breaks your DIY heat pump install: proper post-installation testing and maintenance.
Let’s walk through everything you need to double-check, test, and maintain so your system runs safely and efficiently for years to come.
📘 First time doing this? Start with the Complete Guide to DIY Heat Pump Installation.
Step 1 – Vacuum and Pressure Testing: The Lifeline of System Health
🔧 Why This Step Matters
Skipping the vacuum and pressure test is like putting dirty oil in a brand-new engine. Moisture and air inside your refrigerant lines can cause:
-
Acid formation and internal corrosion
-
Iced-up expansion valves
-
Compressor burnout (the big one)
🧪 How to Test It Right
-
Pull a deep vacuum to 500 microns or lower using a micron gauge.
-
Let it sit sealed for 10–15 minutes to confirm no leaks.
-
If available, pressurize the system with dry nitrogen to double-check for line integrity.
📘 Just one drop of moisture can ruin performance — see Yellow Jacket’s vacuum pump best practices
Step 2 – Electrical Checks and Safe Startup
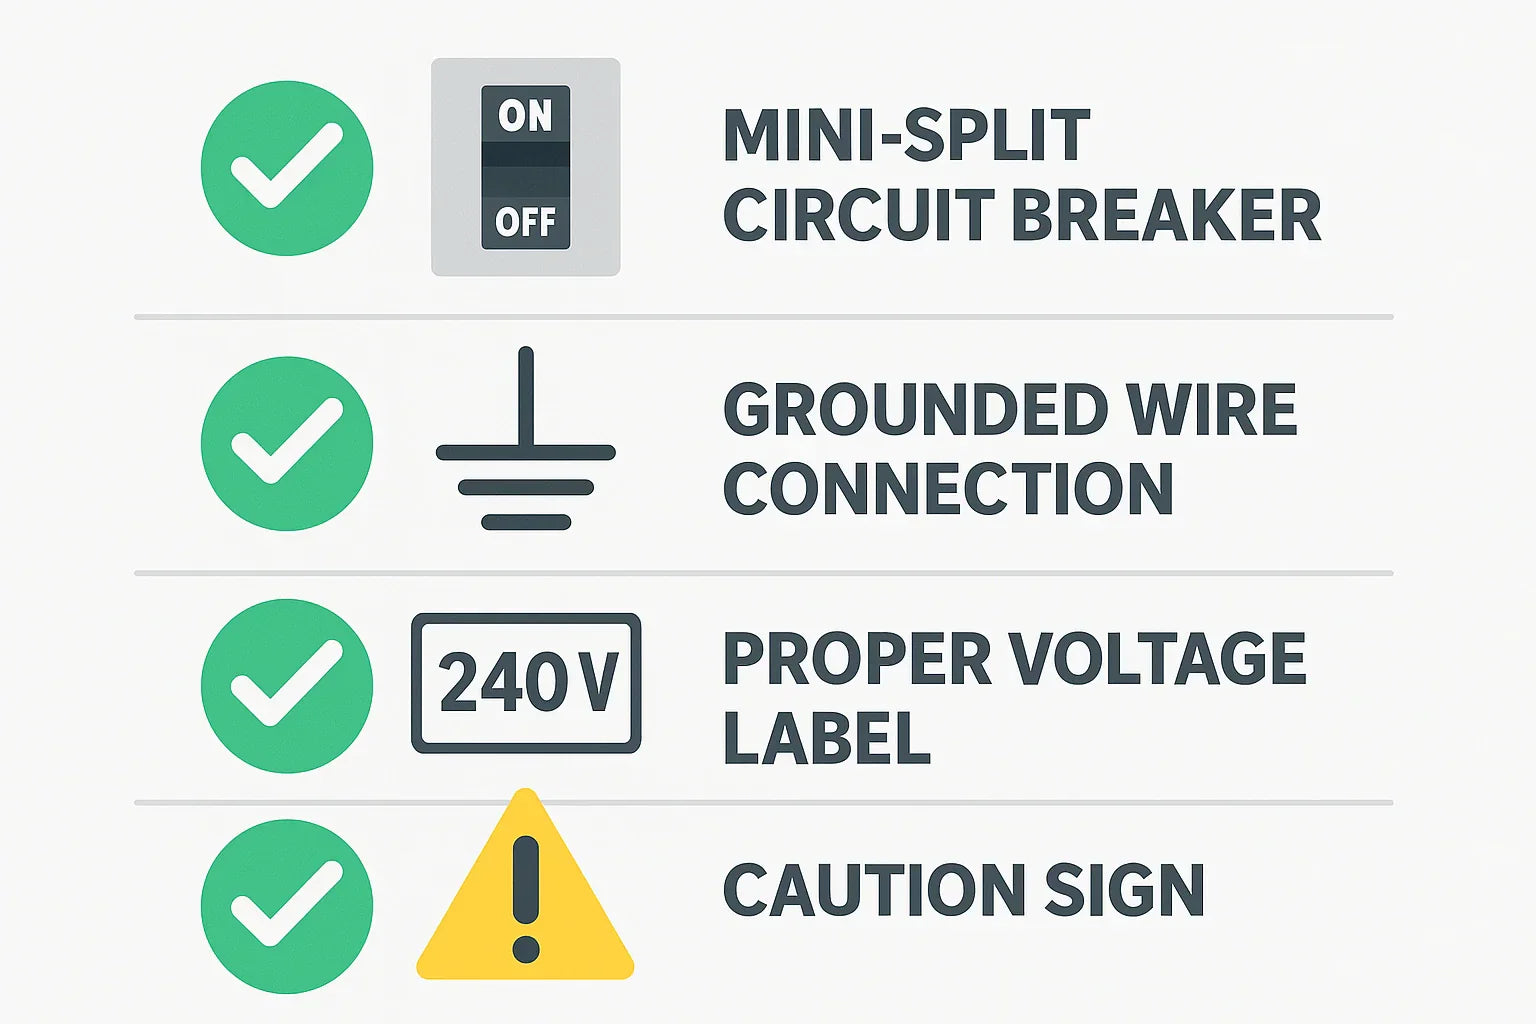
⚡ Before You Flip the Breaker
-
Confirm breaker size matches the manufacturer spec (typically 15–25 amps).
-
Verify correct wire gauge and grounding.
-
Check for loose wires, damaged sheathing, or missing grommets.
🚀 First Power-On Checklist
-
Turn on the system via remote; set it to heating or cooling.
-
Confirm both the indoor blower and outdoor compressor start.
-
Listen for unusual buzzing, humming, or clicking.
-
Look for error codes flashing on the indoor display.
📘 HVAC School breaks down common wiring mistakes
Step 3 – Confirm Airflow and Line Temperatures
🌬️ Indoor Unit Testing
-
Feel for strong, even airflow — not weak or pulsing.
-
Test louver movement with the remote.
-
Confirm that condensate is draining from the line properly (no dripping indoors).
🌡️ Outdoor Unit Check
-
Feel for warm (in heating mode) or cool (in cooling mode) exhaust air.
-
Use a clamp meter or infrared thermometer on the suction line — it should feel cool during cooling mode and warm during heating.
📘 Fieldpiece shares airflow testing best practices
Step 4 – Start Your Maintenance Routine Early
Even a perfect install won’t last long without maintenance. DIYers who ignore upkeep often end up with breakdowns — or voided warranties.
📅 Every 1–3 Months
-
Clean washable filters with warm water and dry completely.
-
Wipe dust from covers and front panels.
-
Check the drain pan and pipe for mold or blockages.
🛠️ Every 6–12 Months
-
Inspect the outdoor unit for leaves, debris, or snow buildup.
-
Rinse condenser coil gently with a garden hose.
-
Tighten terminal screws and inspect for corrosion.
-
Confirm insulation on refrigerant lines is intact.
📘 Trane’s seasonal HVAC maintenance guide is a solid place to start.
Step 5 – Perform Key Safety Inspections
🧱 Check Mounts and Supports
-
Confirm the wall bracket or concrete pad is still level.
-
Look for vibration damage or rust on anchors and fasteners.
🌧️ Drainage and Flooding Prevention
-
Make sure the condensate drain line is sloped properly.
-
Ensure water flows away from your home’s foundation.
❄️ Protection From Weather Hazards
-
In snow zones? Install a snow hood or roof cover over the condenser.
-
Use a surge protector or disconnect box to prevent electrical damage.
📘 Energy Star outlines HVAC safety tips
When to Call a Pro (Even If You Did Everything Else Right)
There’s no shame in phoning a professional when:
-
The vacuum doesn’t hold or keeps rising
-
The breaker trips repeatedly
-
Your system throws error codes after startup
-
You hear grinding, rattling, or notice an electrical smell
-
You spot water leaks inside or around the unit
Better to pay for a quick fix than risk a full-system failure.
Final Thoughts from Alex Lane
You’ve made it through the hard part — but don’t let the final 10% derail your work. Think of these post-installation steps as your HVAC system’s quality control check. Skipping this checklist is like driving a new car without checking the oil.
If you’ve done the sizing right and followed this guide, you’ve just saved yourself thousands of dollars — and learned a ton in the process.
Want to be sure your home’s electrical system can handle the load from your new heat pump? Read Do You Need an Electrical Upgrade for DIY Heat Pump Installations? for a step-by-step breakdown.
Alex Lane
Your Home Comfort Advocate


