If you’ve decided to install a DIY heat pump, you’re probably excited to start saving money on energy bills. But there’s one critical step you can’t afford to overlook: grounding and bonding your system correctly. Done right, grounding and bonding protect your family, your home, and your new equipment. Done wrong—or skipped altogether—they can create fire hazards, shock risks, or code violations that may void your warranty.
This guide breaks down why grounding and bonding matter, how they differ, what codes say, and how you can safely perform these steps in your DIY heat pump installation.
Why Grounding and Bonding Matter for Heat Pumps
Safety Comes First
Electrical systems can fail, surge, or short out. A grounded system sends excess current safely into the earth instead of through your equipment—or worse, through you. Bonding ensures all the metal parts of your system are connected, so there’s no dangerous difference in voltage between components.
Protection Against Damage
Grounding protects sensitive electronics inside your heat pump from lightning strikes or utility surges. Without it, even a minor spike can fry your compressor board or motor.
Code Compliance and Warranties
The National Electrical Code (NEC) requires all HVAC systems to be properly grounded and bonded. Skipping this step is not only unsafe but could also cause your local inspector to fail the job. Many manufacturers also require proof of proper electrical installation—including grounding and bonding—for warranty coverage.
Long-Term Peace of Mind
A heat pump is a major investment. Proper grounding and bonding ensure it runs safely and efficiently for years.
Grounding vs. Bonding: What’s the Difference?
These terms are often used together, but they mean different things:
-
Grounding: Connecting the electrical system to the earth through a ground wire and, if needed, a ground rod. This protects against electrical faults and lightning.
-
Bonding: Connecting all exposed metal parts of the equipment (like the casing and disconnect box) so they’re at the same electrical potential. This prevents dangerous voltage differences that could shock someone touching the unit.
The U.S. Department of Energy notes that both are necessary to reduce electrocution risks and ensure safe operation of residential systems.
Code Requirements for Heat Pump Grounding and Bonding
Your heat pump installation must meet both national standards and local building codes.
-
NEC Guidelines: The NEC outlines conductor sizes, grounding electrode requirements, and bonding methods for HVAC systems.
-
Local Enforcement: Your city or county building department may have additional requirements. Always check before starting.
-
Permits and Inspections: Many jurisdictions require an inspection of electrical work before approving the permit.
The International Code Council also incorporates electrical safety into its residential building codes, which many states adopt.
Tools and Materials You’ll Need
Before you start, gather the proper equipment:
-
Grounding wire (copper, size per NEC charts)
-
Grounding clamps or lugs
-
Bonding jumper straps
-
Ground rod and clamp (if required by local code)
-
NEC-compliant disconnect box
-
Multimeter for testing continuity and resistance
-
Anti-corrosion paste for outdoor connections
The OSHA electrical safety guide recommends always using properly rated tools and protective gear when working on electrical systems.
Step-by-Step Guide to Grounding and Bonding a DIY Heat Pump
Step 1: Shut Off Power at the Breaker
Never work on live circuits. Switch off the breaker and verify with a tester that no voltage is present.
Step 2: Connect Grounding Wire to the Disconnect Box
Run the grounding wire from your breaker panel to the disconnect box near your outdoor unit. Attach it securely to the ground terminal using a clamp or lug.
Step 3: Bond the Heat Pump’s Metal Housing
Use a bonding jumper to connect the metal casing of your heat pump to the ground system. This ensures all metal surfaces are at the same potential.
Step 4: Install a Ground Rod if Required
Some codes require a dedicated ground rod for outdoor units. Drive the rod into the soil (at least 8 feet deep), attach the ground wire with a clamp, and connect it back to the disconnect box.
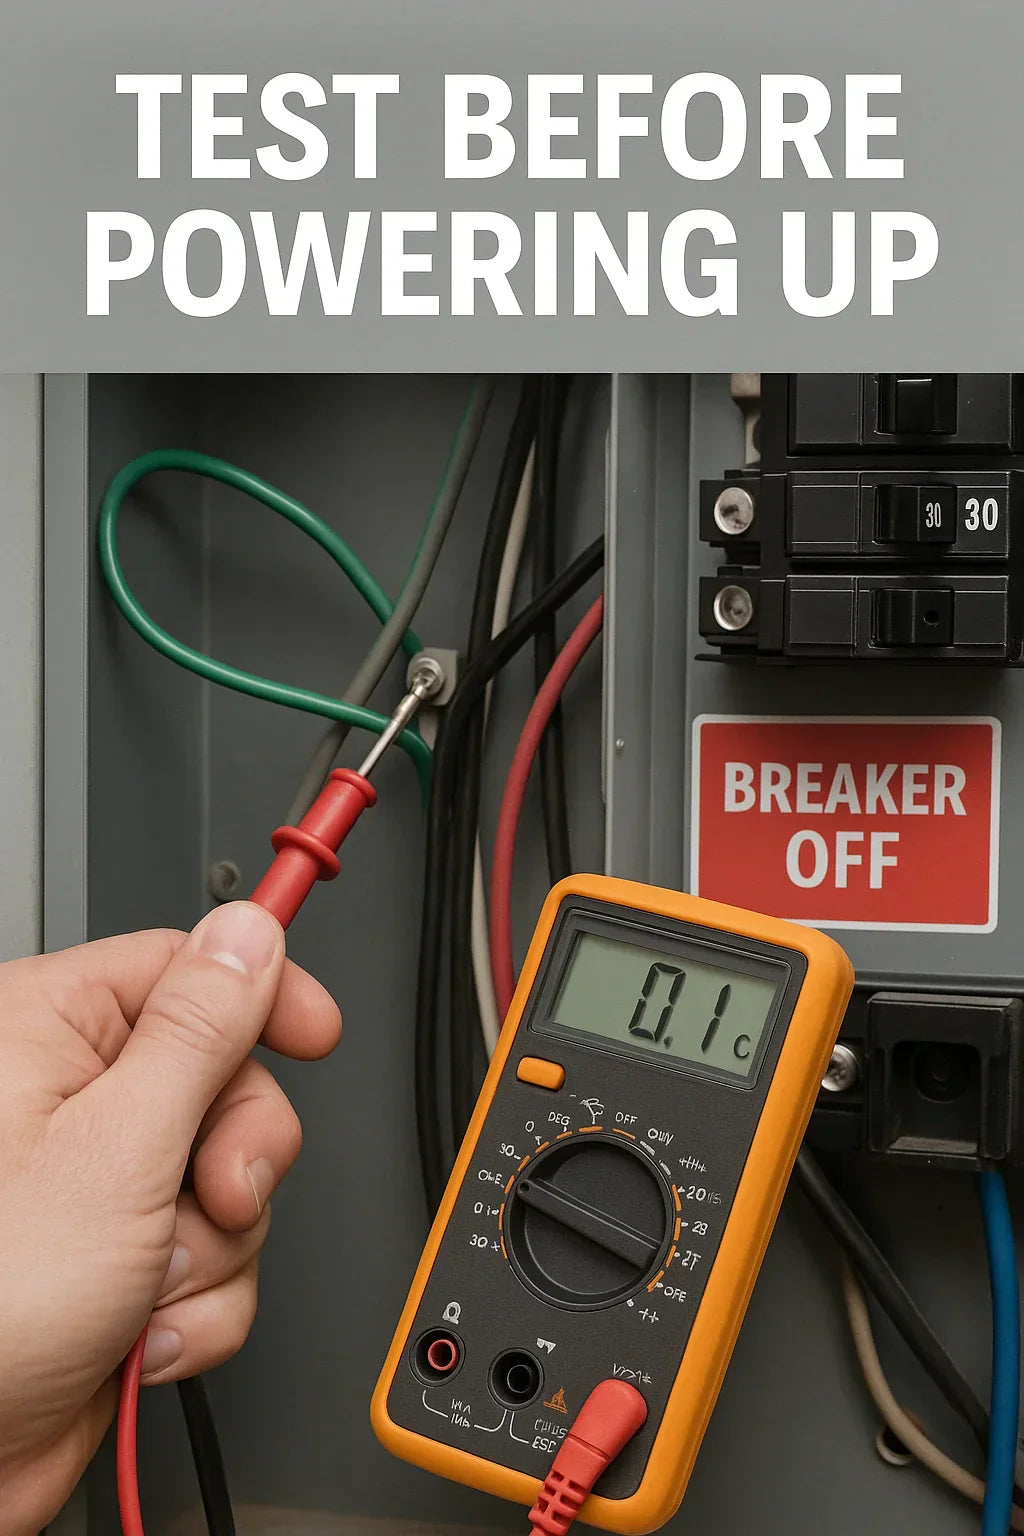
Step 5: Verify with a Multimeter
Check continuity between the heat pump casing, disconnect box, and ground rod. All should show solid electrical connection.
The ASHRAE technical guidelines recommend testing after installation to confirm system safety.
Common Mistakes to Avoid
-
Using undersized wire: NEC has strict conductor sizing requirements—never guess.
-
Skipping bonding: Grounding alone isn’t enough; unbonded metal surfaces can still become energized.
-
Loose connections: A wobbly clamp can fail under stress—tighten everything firmly.
-
Improper rod installation: Ground rods must be driven deep enough and in proper soil conditions to be effective.
-
Not testing before energizing: Always use a multimeter before switching the breaker back on.
Pro Tips for DIYers
-
Label everything: Mark ground wires in green or bare copper for clarity.
-
Protect connections outdoors: Use anti-corrosion paste on terminals to extend lifespan.
-
Keep records: Save photos and notes of your grounding setup for inspections or warranty claims.
-
When in doubt, call a pro: Electrical safety is one area where it’s better to ask for help than risk a mistake.
The DOE’s electrical safety recommendations emphasize that even experienced DIYers should bring in a licensed electrician if they’re uncertain about grounding or bonding steps.
Final Thoughts: Safety First in DIY Heat Pump Installs
Proper grounding and bonding aren’t optional—they’re essential to running your heat pump safely, protecting your home from hazards, and staying code compliant. While the steps may feel technical, taking the time to do them right pays off in safety, savings, and peace of mind.
👉 For a full overview of planning and installing your system, start with our Complete Guide to DIY Heat Pump Installation
👉 Next in this series: How Long Does a DIY Heat Pump Installation Take?


