If you’re considering a DIY heat pump installation, one of the first questions you’ll ask is: how long will it take? The honest answer is: it depends. A straightforward mini-split system might be completed in a single day, while multi-zone or central heat pump projects can stretch into several days—or even require professional help.
In this guide, we’ll break down average installation timelines, step-by-step time estimates, and the factors that can speed up or slow down your project. That way, you can plan realistically and avoid costly mistakes.
Why Time Estimates Matter for DIY Heat Pump Projects
Better Planning
Knowing the average installation time helps you schedule the project properly. You’ll avoid rushing through critical steps like electrical work or refrigerant testing.
Safety First
Electrical and refrigerant handling can’t be done halfway. Allocating enough time reduces the risk of skipped safety steps that could lead to shocks, leaks, or fire hazards.
Setting Realistic Expectations
If you’re new to HVAC work, your timeline will naturally be longer. Giving yourself wiggle room prevents frustration and ensures quality results.
The ENERGY STAR program emphasizes that careful planning and correct installation are essential to achieve the promised efficiency of your new system.
Average DIY Heat Pump Installation Timeline
-
Single-zone ductless mini-split: 6–10 hours (usually spread over 1–2 days)
-
Multi-zone mini-split: 1–3 days depending on zones and complexity
-
Full central system replacement: 3–5+ days (in most cases, this requires a licensed pro)
The U.S. Department of Energy notes that professional installation is recommended for whole-home systems, but many DIY mini-split kits are designed to simplify the process for homeowners.
Step-by-Step Breakdown of Time Required
Pre-Installation Prep (2–4 Hours)
-
Clear the installation area (indoors and outdoors).
-
Gather tools, mounting brackets, and any additional materials.
-
Review the manufacturer’s instructions thoroughly.
-
Measure twice—confirm line set lengths, mounting positions, and clearance requirements.
Mounting and Setting Equipment (2–6 Hours)
-
Secure the outdoor condenser on a ground pad or wall bracket.
-
Mount the indoor air handler(s).
-
Drill holes for line sets and drain tubing.
-
Route lines neatly and protect them with covers.
Electrical and Grounding Work (2–5 Hours)
-
Install a dedicated circuit from your breaker panel.
-
Mount the disconnect box near the outdoor unit.
-
Ground and bond all electrical components (per NEC and local codes).
-
Verify connections before restoring power.
For more safety details, check the Electrical Safety Foundation International’s DIY guide
Refrigerant Line and Vacuuming (2–4 Hours)
-
Make flare connections and torque them properly.
-
Connect the line set to the outdoor and indoor units.
-
Use a vacuum pump to evacuate air and moisture from the lines.
-
Pressure test to ensure no leaks before releasing refrigerant.
Testing and Startup (1–2 Hours)
-
Power on the system and check operation in both heating and cooling modes.
-
Confirm thermostat communication.
-
Verify airflow, temperature changes, and refrigerant pressures.
-
Document performance for warranty purposes.
The ASHRAE technical resources recommend testing and commissioning as critical steps in ensuring efficiency and longevity.
Factors That Affect Installation Time
1. Experience Level
First-time DIYers should expect to take longer, especially during electrical and refrigerant work.
2. Number of Zones
A single indoor unit is much quicker to set up than three or four zones with multiple wall penetrations.
3. Reuse vs. New Components
Reusing existing line sets or electrical can shorten the job—but only if they’re safe and code-compliant. If not, replacement adds extra time.
4. Permits and Inspections
Depending on your jurisdiction, permits may be required. Waiting on inspections can extend the timeline. The International Code Council outlines mechanical and electrical code standards that many local authorities follow.
5. Weather Conditions
Rain, snow, or extreme heat can slow down outdoor work, especially when setting up the condenser or running line sets.
Tips to Stay on Schedule
-
Watch training videos from manufacturers before starting.
-
Lay out tools and parts so you’re not wasting time searching mid-project.
-
Don’t rush vacuuming or leak testing—skipping this step can lead to system failure.
-
Build in a buffer day in case you hit a snag.
-
Ask for help—an extra set of hands makes lifting and mounting much easier.
The OSHA electrical safety guide reminds DIYers never to compromise safety for speed—especially when working on circuits or using ladders outdoors.
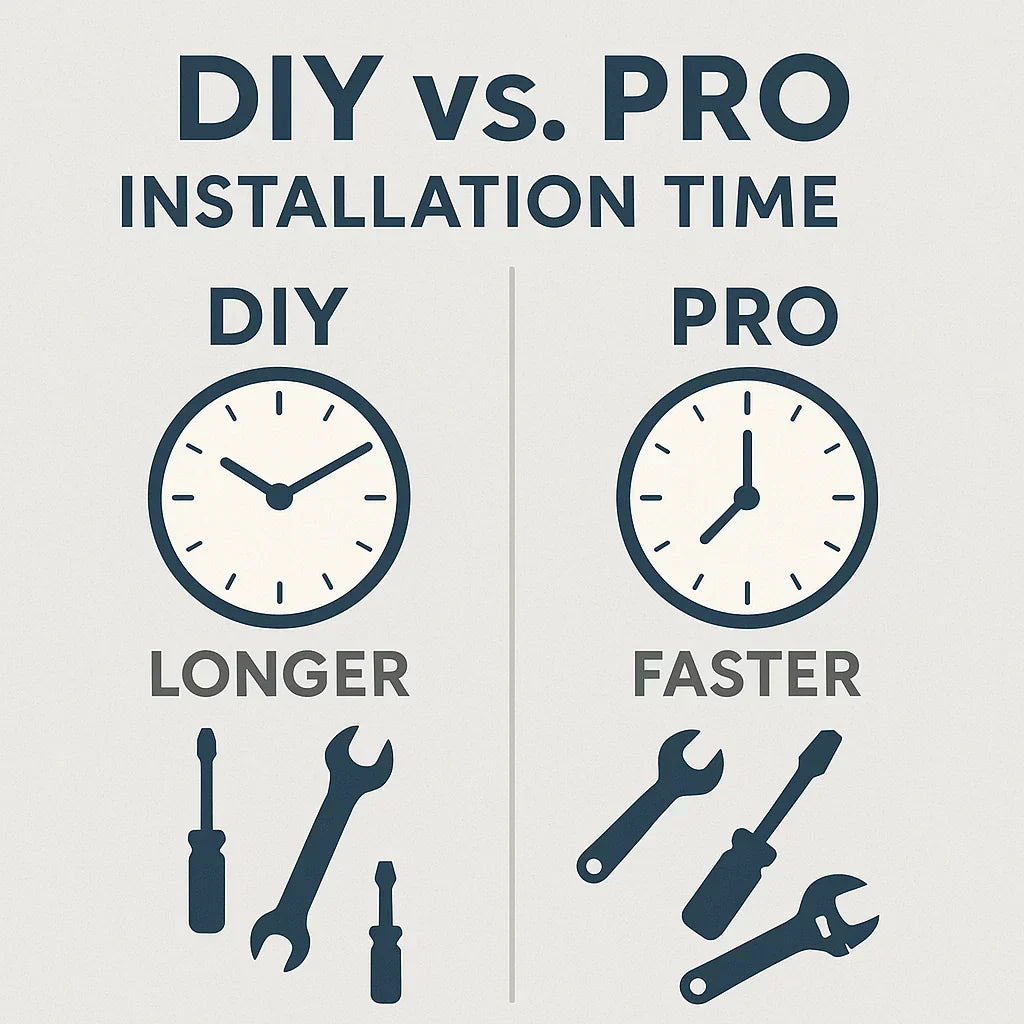
DIY vs. Professional Installation Time
-
DIY Mini-Split: 1–3 days depending on complexity.
-
Professional Mini-Split: Often completed in less than a day.
-
DIY Central Heat Pump: Not recommended due to complexity.
-
Professional Central System: 2–3 days including ductwork modifications.
While DIY can save money, the DOE notes that professional installation ensures the system is correctly sized, charged, and optimized for your home.
Final Thoughts: Plan Ahead for Success
So, how long does a DIY heat pump installation take? For most homeowners, a simple single-zone project will require at least a full weekend. Multi-zone or complex installs can stretch over several days. Central heat pump replacements are generally better left to professionals.
The key is not speed, but safety and accuracy. Cutting corners can cost you efficiency, comfort, and warranty coverage.
👉 For the complete step-by-step process, start with our Complete Guide to DIY Heat Pump Installation
👉 Next in this series: Can a DIY Heat Pump Be Installed in a Rental Property?
Alex Lane
Your Home Comfort Adovcate


