When you’re planning a DIY heat pump installation, it’s easy to focus on mounting the indoor unit, running line sets, or getting the refrigerant right. But there’s one step that can make or break your project before it even begins: making sure your home’s electrical system is ready for the job.
An undersized breaker, outdated wiring, or an overloaded panel can lead to tripped circuits, failed inspections, or even equipment damage. This guide walks you through how to evaluate your home’s electrical capacity, which upgrades are most common, and when it’s time to bring in a licensed electrician.
For a complete step-by-step on installation, see the Complete Guide to DIY Heat Pump Installation.
Why Electrical Readiness Matters for Heat Pump Performance
Your heat pump’s electrical supply isn’t just about “making it turn on.” The right voltage, amperage, and wiring protect your investment, prevent downtime, and keep your installation code-compliant.
Most modern ductless mini-split heat pumps draw 15–30 amps and require a dedicated 240-volt circuit. If your home’s electrical system can’t provide that, you’ll run into problems fast.
📘 The U.S. Department of Energy notes that improper wiring or inadequate circuit sizing can cause voltage drops, which not only hurt performance but also shorten equipment lifespan.
How to Check If Your Panel Can Handle a Heat Pump
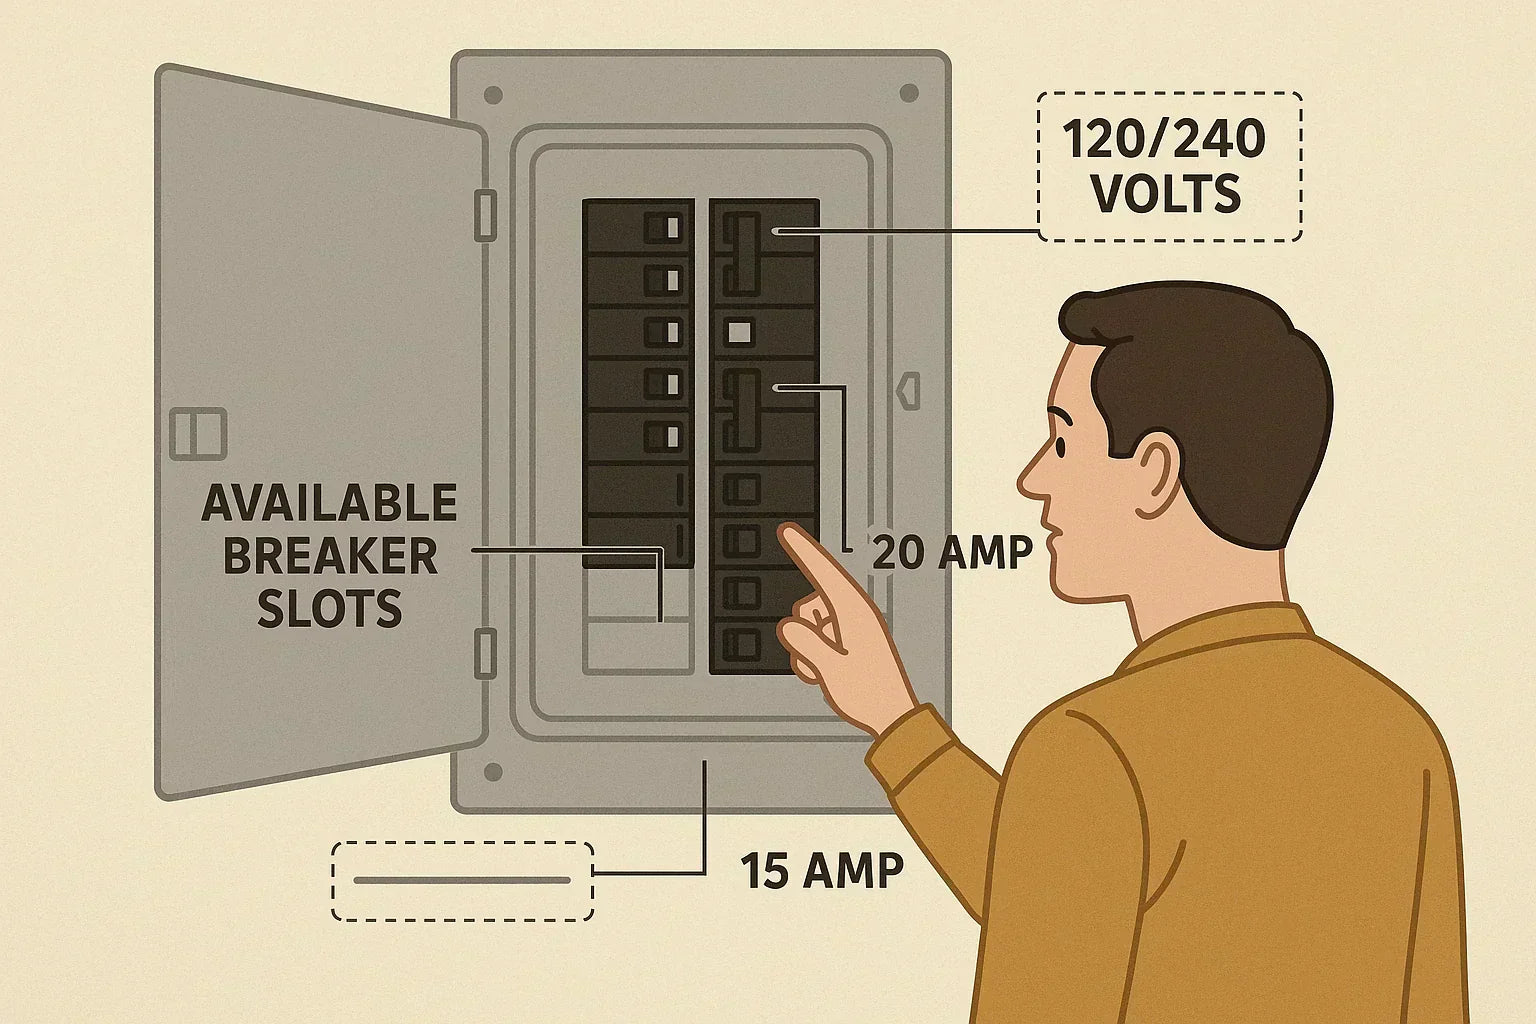
Before you start running conduit, open your breaker panel and assess its capacity.
1. Look for Available Breaker Slots
If your panel is full, you may need to install a sub-panel or have a licensed electrician reconfigure your breakers.
2. Calculate Your Total Load
Add up the amperage draw of your major appliances and HVAC equipment. The U.S. Department of Energy’s estimating guide provides a straightforward method to determine if your service can handle the extra demand from a heat pump.
3. Check the Age and Size of Your Panel
Older 60-amp or 100-amp panels may not support modern HVAC equipment. The InterNACHI electrical service panel guide warns that aging panels can also present safety hazards.
Common Electrical Upgrades for DIY Heat Pump Installs
If your electrical system is maxed out, here are the upgrades most DIYers (or their electricians) end up making:
-
Dedicated Circuit Installation – Required by the National Electrical Code for most fixed HVAC equipment.
-
Upgrading to 240V – Many mid- to high-capacity systems require 240 volts for optimal performance.
-
Replacing Undersized Wiring – The wire gauge must match the amperage load; using too small a wire is a fire hazard.
-
Panel Capacity Upgrade – Moving from 100 amps to 150 or 200 amps not only makes room for your heat pump but also future-proofs your home for other upgrades like EV chargers.
📘 Energy Star emphasizes that proper electrical sizing ensures long-term performance and minimizes nuisance breaker trips.
Cost Ranges for Electrical Upgrades
Here’s what you can expect to spend for common electrical work associated with heat pump installations:
| Upgrade Type | Average Cost (USD) |
|---|---|
| Dedicated Circuit | $150 – $500 |
| 240V Line Installation | $300 – $800 |
| Panel Upgrade | $1,200 – $3,000 |
While these costs add to your project, they’re a fraction of what it could cost to repair a damaged compressor or replace a burnt-out circuit.
Permit Requirements and Code Compliance
Even for DIY installations, you’ll need to meet local codes. Most areas require:
-
Electrical Permits – Often needed for new circuits or panel upgrades.
-
NEC Compliance – Covers wire size, breaker ratings, and disconnect placement.
-
Inspection – A final walkthrough by your local inspector to ensure the installation is safe and up to code.
Failing to get the proper permits can delay your project and void your warranty.
When to Call a Professional
Adding a breaker and running conduit to a nearby disconnect box may be manageable for an experienced DIYer. But for panel upgrades, meter work, or rewiring, a licensed electrician is the safer — and often legally required — choice.
Not only will they ensure compliance, but their work also provides documented proof for insurance and warranty claims.
Final Thoughts from Alex
Electrical capacity isn’t the most glamorous part of a DIY heat pump install, but it’s the foundation that makes everything else possible. Skipping the assessment phase or “hoping” your panel can handle the load is a recipe for headaches — and potentially expensive repairs.
Check your breaker space, calculate your load, and plan for any needed upgrades before you start drilling holes or mounting equipment. It’s a small step that pays off in safety, performance, and peace of mind.
Next up: How to Pressure Test and Vacuum Your DIY Mini-Split Lines — learn how to prepare your refrigerant lines for a clean, moisture-free system.
Alex Lane
Your Home Comfort Advocate


