By Alex Lane | Your Home Comfort Advocate
Doing your own heat pump install can be a smart move — if you know what you’re doing. But here’s the thing: most DIYers aren’t HVAC pros, and even small missteps can cause big headaches down the line. I’ve seen refrigerant leaks from bad flares, soaked walls from flat drain lines, and systems fail because someone skipped the vacuum.
So before you grab your drill, let’s talk about the most common mistakes homeowners make when installing a mini-split or heat pump — and how to avoid every single one of them.
📘 If you're still planning your project, start with the Complete Guide to DIY Heat Pump Installation.
Mistake #1: Skipping the Vacuum (or Doing It Wrong)
🛑 Why This Is a System Killer
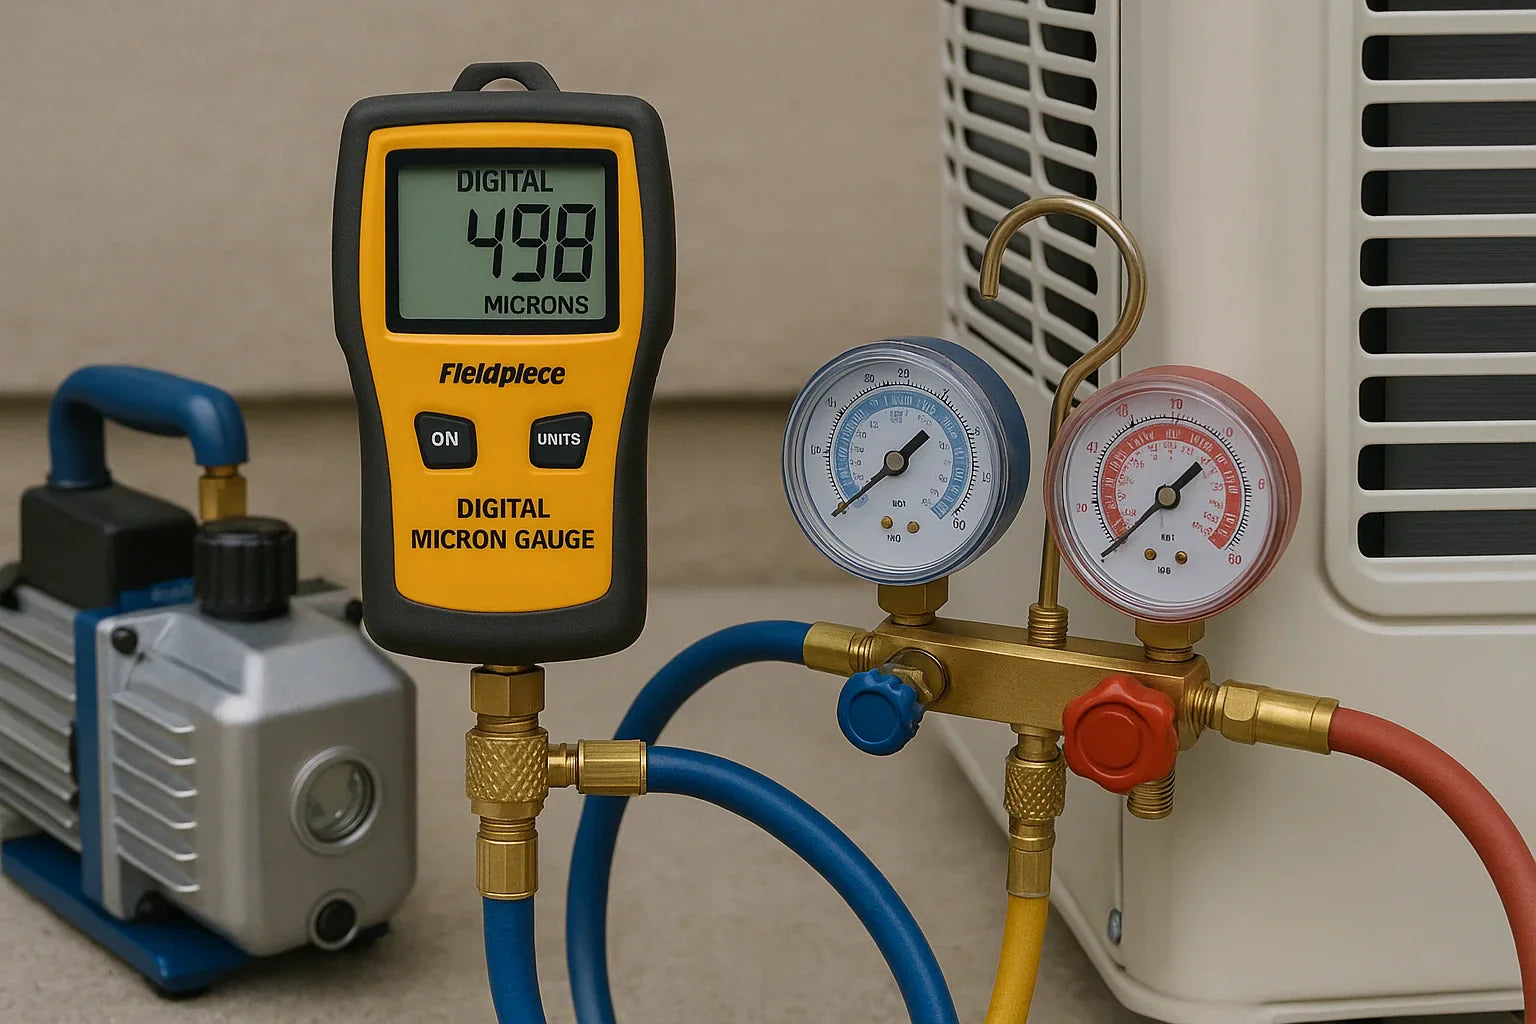
Pulling a vacuum isn't optional. It's how you remove air and moisture from the refrigerant lines before you release the charge. If you skip it — or do it poorly — moisture will mix with refrigerant and form corrosive acids that eat away at your compressor.
✅ How to Do It Right
-
Use a dedicated vacuum pump, not just gauges
-
Connect a digital micron gauge and pull down to at least 500 microns
-
Let it sit and do a decay test to make sure it holds
-
If your system doesn’t hold vacuum, you’ve got a leak — don’t skip testing
📘 Need step-by-step help? Check out this DIY Mini-Split Installation Guide from LRN2DIY — it covers vacuuming, flaring, line routing, and more.
Mistake #2: Bad Flare Connections and Torque
🔧 This Is the #1 Cause of Refrigerant Leaks
Most DIY systems use flare nuts to connect the line set to the indoor and outdoor units. If you under-tighten, you’ll have a slow leak. Over-tighten? You could crack the fitting or crush the flare.
✅ How to Do It Right
-
Use a quality flaring tool with a stop gauge for clean, consistent flares
-
Always deburr the pipe after cutting
-
Use a torque wrench to tighten to the manufacturer’s spec
-
Never reuse old flares — they should be freshly made
📘 Here’s a flare tool comparison and usage guide from Yellow Jacket.
Mistake #3: Improper Drainage or Mounting
💦 Water Damage Happens Fast
A heat pump that isn't leveled properly — or has a flat drain line — will eventually leak water into your wall or floor. Same goes for an outdoor unit that’s tilted or mounted on soft ground: it vibrates, it shifts, and eventually, it stresses the system.
✅ What to Watch For
-
Mount the indoor unit with a slight pitch toward the drain line
-
Ensure the drain hose runs downhill, no sags
-
Level the outdoor unit side-to-side and front-to-back
-
Mount on a concrete pad or wall bracket, not loose gravel
📘 For sealing and insulating tips, the U.S. Department of Energy’s guide is a great place to start.
Mistake #4: Poor Electrical Planning
⚡ This Isn’t Just Dangerous — It’s Illegal in Some Areas
Wiring mistakes are easy to make and hard to fix. If you’re not using the right breaker size or wire gauge, you could fry your system, trip your panel, or worse.
✅ Electrical Must-Knows
-
Control wire is usually 18/4 stranded, rated for outdoor use
-
High-voltage connections need proper conduit, whip cable, and a weatherproof disconnect box
-
Never run low-voltage wire in the same conduit as high voltage
-
Always check your local electrical code for permitted DIY work
📘 The National Electrical Code (NEC) from the NFPA has the latest code standards.
Mistake #5: Choosing the Wrong System Size
📏 Bigger Isn’t Always Better
Oversizing a heat pump leads to short cycling — it turns on and off too quickly, reducing efficiency and causing uneven temps. Undersizing means your system runs non-stop and still can’t keep up.
✅ What to Consider
-
Square footage is only one factor
-
Also account for: insulation quality, ceiling height, sun exposure, windows, and climate
-
Use Manual J or a reputable sizing calculator
-
Don’t guess based on “rules of thumb” from sales pages
📘 For more accurate guidance, see ASHRAE’s residential load calculation guide.
Bonus Mistakes That Catch People Off Guard
These are the ones you don’t think about until it’s too late:
-
❌ Forgetting to pull a permit when required
-
❌ Throwing away model numbers, manuals, and receipts
-
❌ Not registering your warranty online within the time window
-
❌ Skipping a post-installation test on all modes (heat, cool, fan)
Keep everything in a labeled folder. It makes warranty claims, inspections, and future servicing 10x easier.
Final Tips for a Flawless Install
🧰 What Smart DIYers Always Do
-
Use a printed checklist for tools and steps
-
Watch the manufacturer’s install video twice
-
Take photos before you close up the wall
-
Call your local code office and verify what's required
📘 Need help planning placement or choosing the right size? Check out our article on How to Size and Position a DIY Heat Pump for Best Performance.
Final Thoughts from Alex Lane
A mini-split install isn’t rocket science — but it is precision work. Most DIY failures I see don’t happen because people are lazy. They happen because people rush or skip steps they don’t fully understand.
So take your time. Use the right tools. Watch your angles, your torque, your drainage, and your vacuum. If you do that, you’ll end up with a system that runs quietly, efficiently, and reliably for years to come.
Alex Lane
Your Home Comfort Advocate


