🏠 Introduction: Mike’s Summer Surprise
It was a sweltering July afternoon—95°F outside, humidity thick in the air. Mike, a practical homeowner with a Goodman 4 Ton 15.2 SEER2 heat pump, expected his system to keep things cool and comfortable. But when he walked inside, the air felt stuffy and warm.
He checked the vents. Instead of cool, refreshing air, the heat pump was blowing room-temperature air.
Instead of panicking, Mike pulled out his troubleshooting checklist. Over the years, he’d learned that many cooling issues could be solved with simple fixes—no service call needed.
This is the same guide Mike used to get his Goodman back on track. Follow it step by step, and you’ll know when you can fix the problem yourself and when it’s time to call a professional.
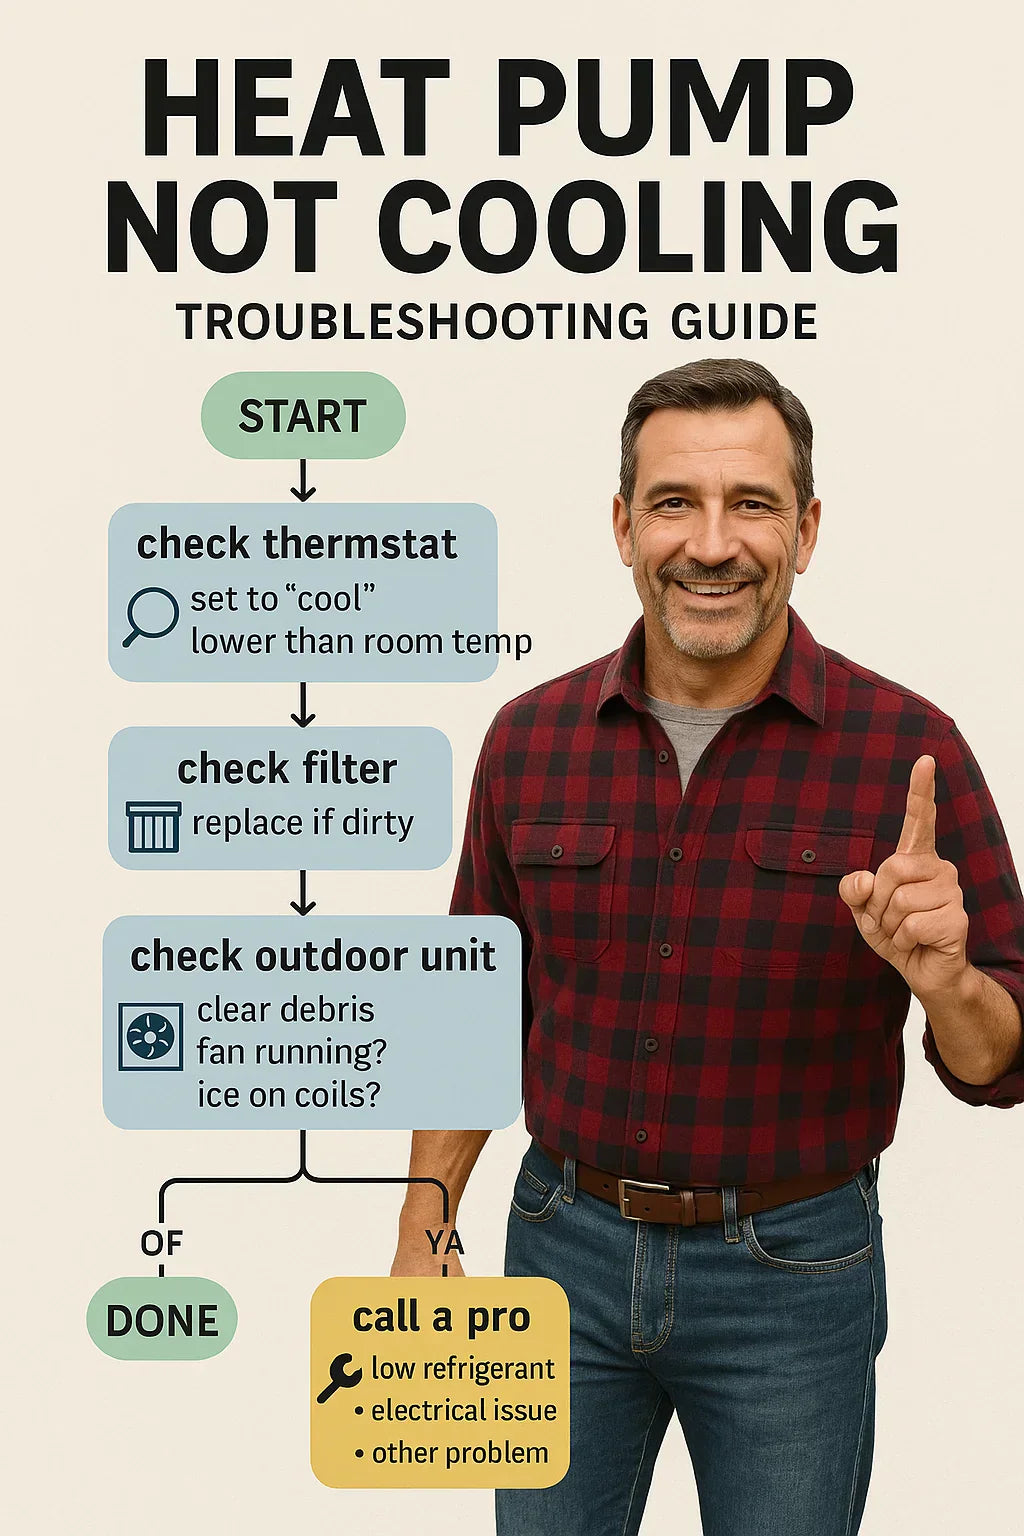
🔍 Step 1: Check the Basics
Before assuming the worst, Mike always checks the simplest causes first.
1. Thermostat Settings
-
Ensure it’s set to COOL, not HEAT or FAN.
-
Confirm the temperature is set lower than the current room temperature.
-
Replace batteries if it’s not hardwired.
👉 Mike once thought his system had failed—turns out the thermostat had been accidentally switched to HEAT.
2. Power Supply
-
Check the breaker panel for tripped breakers.
-
Inspect the outdoor disconnect switch (often near the condenser).
-
Reset if needed, but if breakers trip repeatedly, call a pro.
3. Airflow Restrictions
-
Remove and inspect the air filter.
-
Replace if dirty or clogged.
-
Blocked filters are one of the top reasons heat pumps stop cooling efficiently.
Mike’s rule:
“Always check the filter first—it solves half of cooling problems.”
🌀 Step 2: Inspect Airflow Issues
If the basics look good but cooling is still weak, airflow could be the culprit.
Blocked Vents and Registers
-
Ensure all supply vents are open.
-
Remove obstructions like furniture, rugs, or curtains.
Dirty Filters (Again!)
Even if you just changed it, check again. Sometimes, homeowners use filters with too high a MERV rating (like MERV 13+), which restrict airflow too much for standard residential systems.
Ice Buildup on the Indoor Coil
-
Look at the air handler or evaporator coil.
-
If you see ice forming, shut the system off immediately.
-
Allow the ice to thaw completely (this can take several hours).
-
Ice buildup usually signals airflow problems or low refrigerant.
👉 In Mike’s case, this was the issue one hot summer: ice on the coil due to a clogged filter and low airflow.
⚡ Step 3: Look at the Outdoor Unit
The condenser unit (the big box outside) plays a critical role in cooling. Mike always inspects it next.
Clear Debris
-
Remove leaves, grass clippings, sticks, and dirt.
-
Maintain at least 2 feet of clearance around the unit.
Check if the Fan Is Running
-
If the system is on but the outdoor fan isn’t spinning, it may be a capacitor or motor issue.
-
Turn off the power before investigating further.
Listen for Noises
-
Buzzing or humming: electrical issues, possibly a failing capacitor.
-
Clicking: relay or contactor problem.
-
Grinding: fan motor bearing failure.
Mike once heard a loud humming but no fan movement—it turned out to be a bad capacitor, a common and inexpensive repair.
❄️ Step 4: Refrigerant Problems (Call a Pro)
If the system is blowing warm air despite running, refrigerant could be low.
Signs of Low Refrigerant:
-
Ice on refrigerant lines.
-
Hissing or bubbling sounds.
-
System runs constantly but doesn’t cool effectively.
⚠️ Important: Homeowners can’t recharge refrigerant themselves. Refrigerant handling requires EPA certification.
Mike’s approach:
“If I see ice on the lines and know the filter is clean, I shut it down and call a pro. That’s not a DIY fix.”
🔧 Step 5: Electrical or Component Failures
Sometimes the issue lies in electrical parts or failing components.
Common Culprits:
-
Capacitor
-
Provides startup energy for compressor/fan.
-
Symptoms: humming sound, fan not starting.
-
-
Contactor
-
Acts like a switch that allows electricity to flow.
-
Symptoms: clicking noise, system not powering properly.
-
-
Compressor
-
The heart of the system.
-
If the compressor fails, cooling stops entirely.
-
This is the most expensive repair.
-
👉 Mike won’t attempt DIY repairs here. Instead, he uses his troubleshooting steps to narrow down the problem before calling a tech, saving diagnostic time and labor costs.
📊 Mike’s Real-World Troubleshooting Example
Here’s how Mike handled his actual “no cooling” scenario:
-
Thermostat set correctly. ✅
-
Breakers and power supply all fine. ✅
-
Filter: clogged with dust and dog hair. ❌
-
Replaced filter immediately.
-
-
System still not cooling → checked indoor coil.
-
Found ice buildup. ❌
-
-
Shut system down, let it thaw overnight.
-
Next morning, restarted: worked briefly but stopped again.
-
Called HVAC pro → refrigerant was low due to a small leak.
Final result: The pro repaired the leak, recharged the system, and Mike was back to cool comfort.
🛠️ When to Call a Professional
Mike has a rule of thumb: If it’s electrical or refrigerant-related, call a pro.
Call an HVAC technician if:
-
System is low on refrigerant.
-
Compressor isn’t running.
-
Breakers keep tripping.
-
There’s repeated ice buildup despite clean filters.
-
You hear grinding, buzzing, or clicking from the outdoor unit.
🌍 Preventing Future Cooling Problems
Mike doesn’t just fix problems—he prevents them. Here’s his strategy:
1. Change Filters Regularly
-
Every 30–60 days.
-
Keeps airflow steady and coils clean.
2. Seasonal Maintenance
-
Spring tune-up: clean coils, check refrigerant, test airflow.
-
Fall tune-up: test heating mode, check defrost cycle.
3. Keep Outdoor Unit Clear Year-Round
-
Trim back plants, clear debris, and remove snow in winter.
4. Upgrade Thermostat
-
Smart thermostats detect issues sooner and prevent short cycling.
5. Monitor Utility Bills
-
Sudden spikes may indicate airflow or refrigerant issues.
✅ Conclusion: Mike’s Takeaway
Mike sums up his experience:
“When my Goodman stopped cooling, I didn’t panic. I went step by step: thermostat, filter, outdoor unit. I fixed what I could and called a pro when it was beyond me. That approach saved me money and stress.”
The lesson for homeowners:
-
Many cooling problems have simple fixes—check the basics first.
-
Electrical or refrigerant issues require a professional.
-
Preventive maintenance is the best way to avoid mid-summer breakdowns.
With a little DIY know-how and a good maintenance plan, your Goodman heat pump can keep you cool all summer long.
In the next topic we will know more about: Space & Noise Considerations: Will a 4-Ton Heat Pump Fit in Your Utility Area?
🔗 Verified External References


