The Field-Tested Instruments That Separate Installers From Parts-Changers — And Why Your Furnace Will Never Run Right Without Them
Every DIYer thinks installing a new furnace is about:
-
hooking up the vent pipe
-
connecting the gas line
-
wiring the thermostat
-
sliding the furnace into place
-
soldering or taping some ductwork
But that’s the easy part.
100,000 BTU 96% AFUE Upflow/Horizontal Two Stage Goodman Gas Furnace - GR9T961004CN
Tony will tell you:
“Anyone can install a furnace.
Only pros can COMMISSION one.”
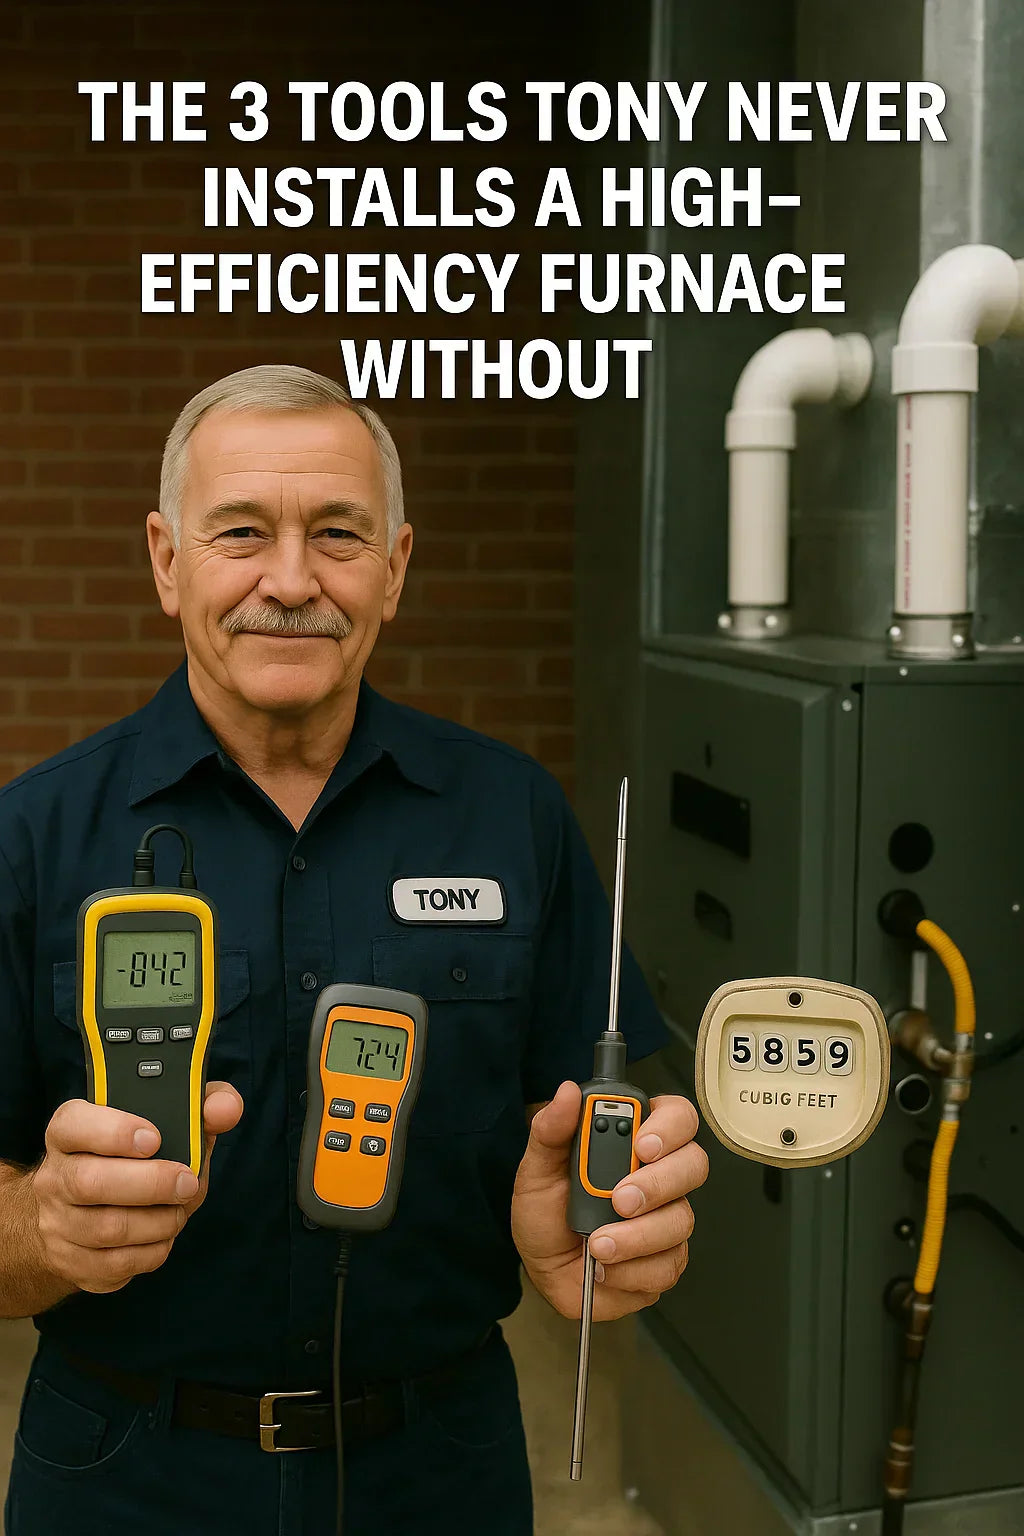
And to commission one properly — especially a high-efficiency 96%+ furnace like the Goodman GR9T961004CN — Tony never shows up without three tools.
Not cordless drills.
Not snips.
Not wrenches.
Not levels.
Those help you install the furnace.
But the three tools below determine whether your furnace will:
-
run efficient
-
run quiet
-
run safe
-
last 20+ years
-
heat evenly
-
burn clean
-
stage properly
-
stay in warranty
-
avoid callbacks
Or whether it will:
-
short-cycle
-
overheat
-
go into error codes
-
produce CO
-
kill its ECM blower
-
burn your gas bill
-
freeze the coil
-
never hit its rated 96% efficiency
This is Tony’s complete guide to the three “non-negotiable commissioning tools” every professional uses — and the reason every DIY install goes wrong without them.
#1 — 📉 A Digital Manometer
The Only Tool That Tells You Whether the Furnace Can Actually Breathe
This is Tony’s #1 tool.
No exceptions.
No substitutes.
A digital manometer measures:
-
total external static pressure (ESP)
-
gas manifold pressure
-
pressure switch operation
-
inducer performance
-
venting stability
Without this tool, you cannot know:
-
whether airflow is correct
-
whether ductwork is restrictive
-
whether the ECM blower is maxing out
-
whether the heat exchanger is overheating
-
whether the coil is starving for air
-
whether negative pressure is causing combustion issues
-
whether your vent is drafting properly
ACCA Manual D considers static pressure the #1 indicator of duct system performance
Tony’s rule is simple:
“If you didn’t measure static pressure, you didn’t set up the system.
You just gambled with a $5,000 machine.”
🌀 Why DIYers Always Skip This Tool
Because they look at airflow like they look at Wi-Fi:
“If air is coming out of the vents, it must be fine.”
Wrong.
Airflow is physics — not guesswork.
A two-stage ECM furnace may be moving air, but:
✔ at the wrong CFM
✔ at the wrong static pressure
✔ at the wrong torque
✔ at the wrong filter face velocity
✔ with the wrong temperature rise
That means the furnace is running wrong, even if it “feels fine.”
A manometer reveals the truth instantly.
📊 Tony’s Static Pressure Targets
For almost all high-efficiency furnaces:
-
0.50” WC max (ideal)
-
0.60” WC acceptable for large systems
-
0.70”+ WC = airflow failure
-
1.00”+ WC = ductwork redesign required
Tony’s take:
“Static pressure is the furnace’s blood pressure.
High static = the system is dying.”
🔥 The Manometer Also Confirms Gas Delivery
Manifold pressure must be:
-
3.5” WC for natural gas
-
10–11” WC for propane
If manifold pressure drops during high fire, your gas line is undersized — a common DIY mistake.
🧪 The Manometer Checks the Pressure Switch Too
A pressure switch that chatters or opens during operation may cause:
-
inducer lockouts
-
ignition failure
-
nuisance shutdowns
Tony tests the switch with the manometer to confirm:
-
vacuum stability
-
inducer performance
-
venting slope
-
condensate drainage
This is why Tony never skips this tool.
#2 — 🌡️ A Digital Thermometer (for Accurate Temperature Rise)
The Only Way to Prove the Furnace Is Burning Clean and Breathing Right
Every furnace has a temperature rise specification — typically something like:
35°F – 65°F
That means:
-
Supply temperature
minus -
Return temperature
…must fall within that range.
If rise is too high, the furnace is starving for air.
If rise is too low, gas input or blower setup is wrong.
DOE documentation stresses temperature rise as a core commissioning measurement:
👉 https://www.energy.gov/energysaver/furnaces-and-boilers
Tony’s rule:
“Temperature rise is the furnace’s confession.
It tells you whether airflow and gas input are right — or completely wrong.”
❌ What DIYers Do Instead
They put their hand over a register and say:
“Feels warm.”
Tony laughs at this.
Your hand cannot tell the difference between:
-
85°F supply air
-
110°F supply air
-
135°F overheating disaster air
A digital thermometer can.
📊 Tony Uses the Temperature Rise to Diagnose Everything
A bad temperature rise can mean:
✔ undersized return
✔ restrictive filter
✔ dirty coil
✔ blower not tuned
✔ wrong static pressure
✔ incorrect gas input
✔ mismatched venting
✔ clogged secondary heat exchanger
✔ condensate pooling
✔ gas starvation
✔ blower RPM error
Temperature rise is a MASTER diagnostic tool.
🔥 The Heat Exchanger Depends on It
Even a small airflow issue can increase rise by 15–30°F, and over time:
-
stresses metal
-
warps cells
-
causes premature cracks
-
triggers limit switch cycling
This is why EPA guidelines require airflow verification during furnace commissioning:
👉 https://www.epa.gov/indoor-air-quality-iaq
Tony doesn’t leave a site unless temperature rise is PERFECT.
#3 — 🧮 The Gas Meter Clock (for BTU Input Testing)
The Ultimate Tool That Exposes Gas Line Starvation — The Most Common DIY Failure
This tool doesn’t ship with the furnace.
But every pro carries one in their brain.
Clocking a gas meter means measuring:
-
how many seconds it takes for the meter to rotate
-
converting this to cubic feet per hour (CFH)
-
verifying BTU input matches the furnace rating
This is pure math — and it reveals the TRUTH about whether your furnace is getting the gas it needs.
Tony’s rule:
“If you didn’t clock the meter, you didn’t verify BTU input.
And if you didn’t verify BTU input, you didn’t install the furnace correctly.”
🧮 The Formula (Tony’s Version)
-
Turn off all other gas appliances.
-
Let furnace run in high stage.
-
Time one revolution of the smallest test dial.
-
BTU/hr = CFH × 1,000
If the furnace is rated for 100,000 BTU, but the meter shows:
-
75,000 BTU input → starved
-
60,000 BTU → severely starved
-
50,000 BTU → guaranteed comfort issues
This is why Tony says:
“You bought a 100k furnace. But your gas line is only feeding it 70k.
That’s not installation — that’s malpractice.”
📉 Gas Starvation Is Everywhere
DIYers assume:
-
“The old furnace worked fine.”
-
“The pipe is already there, so it must be right.”
-
“The gas line looks big enough.”
None of that is true.
IFGC pipe capacity tables prove most gas lines are undersized:
👉 https://codes.iccsafe.org/content/IFGC2021P2/chapter-4-gas-piping-installations
Tony teaches that ½" pipe almost always fails past 20–30 feet, especially with elbows and multiple appliances.
💥 The Biggest DIY Mistake: Installing Without Measuring Anything
DIYers install furnaces like this:
-
hook up gas
-
connect flue
-
connect thermostat
-
turn it on
They never measure:
-
static pressure
-
temperature rise
-
BTU input
-
manifold pressure
-
filter pressure drop
-
blower torque
-
venting vacuum
-
inducer performance
Tony’s summary:
“You can’t tune what you didn’t measure.
And you can’t trust what you didn’t tune.”
🧠 Why These Three Tools Matter Even MORE on High-Efficiency Furnaces
High-efficiency furnaces are NOT plug-and-play.
They require:
-
proper vent slope
-
proper condensate drainage
-
BTU input verification
-
precise airflow tuning
-
ECM blower table programming
-
staging calibration
-
return drop sizing
-
filter face velocity control
-
static pressure balancing
These systems are engineered to run at:
-
tight tolerances
-
low excess air
-
high efficiency
-
low noise
-
stable combustion
They CANNOT run correctly without:
-
A manometer
-
A digital thermometer
-
The gas meter clock test
Tony’s version:
“A high-efficiency furnace without commissioning is a grenade without a pin.”
🛠️ **Tony’s 10-Minute Commissioning Routine
(Using the Three Tools)**
Here’s how Tony uses all three tools in sequence.
Step 1 — Check gas pressure with the manometer
-
inlet pressure
-
manifold pressure
Step 2 — Clock the meter
-
verify BTU input
-
confirm furnace is fed properly
Step 3 — Measure total static pressure
-
supply + return
-
verify duct performance
Step 4 — Measure filter pressure drop
-
confirm correct filter rack sizing
Step 5 — Tune blower speeds
-
adjust low & high stage CFM
Step 6 — Measure temperature rise
-
verify heat exchanger performance
Step 7 — Final gas pressure verification
-
ensure stability after blower tuning
Step 8 — Document everything
-
readings
-
model/serial
-
setup profile
Tony never leaves without this data.
🏆 Tony’s “No-Compromise” Rule
“If you see an installer without these three tools,
you’re not looking at a furnace technician.
You’re looking at a parts changer.”
🔥 Final Word from Tony
“Installing a furnace takes skill.
Commissioning it takes science.
A high-efficiency furnace is a precision machine.
If you don’t measure gas, air, temperature, and pressure — you didn’t set it up right.
Every DIYer gets this wrong because they install furnaces the way you’d install a microwave.
But a furnace isn’t an appliance.
It’s a combustion system, an airflow system, and a pressure system — all in one.”
“And that’s why I never arrive without:
-
A manometer
-
A digital thermometer
-
The gas meter clock test
If you’re missing even ONE, the system WILL fail.”
Buy this on Amazon at: https://amzn.to/48LE6e5
In the next topic you will know more about: Why Your Furnace Won’t Hit 96% Unless You Install the Venting Like This


