Key Takeaways
-
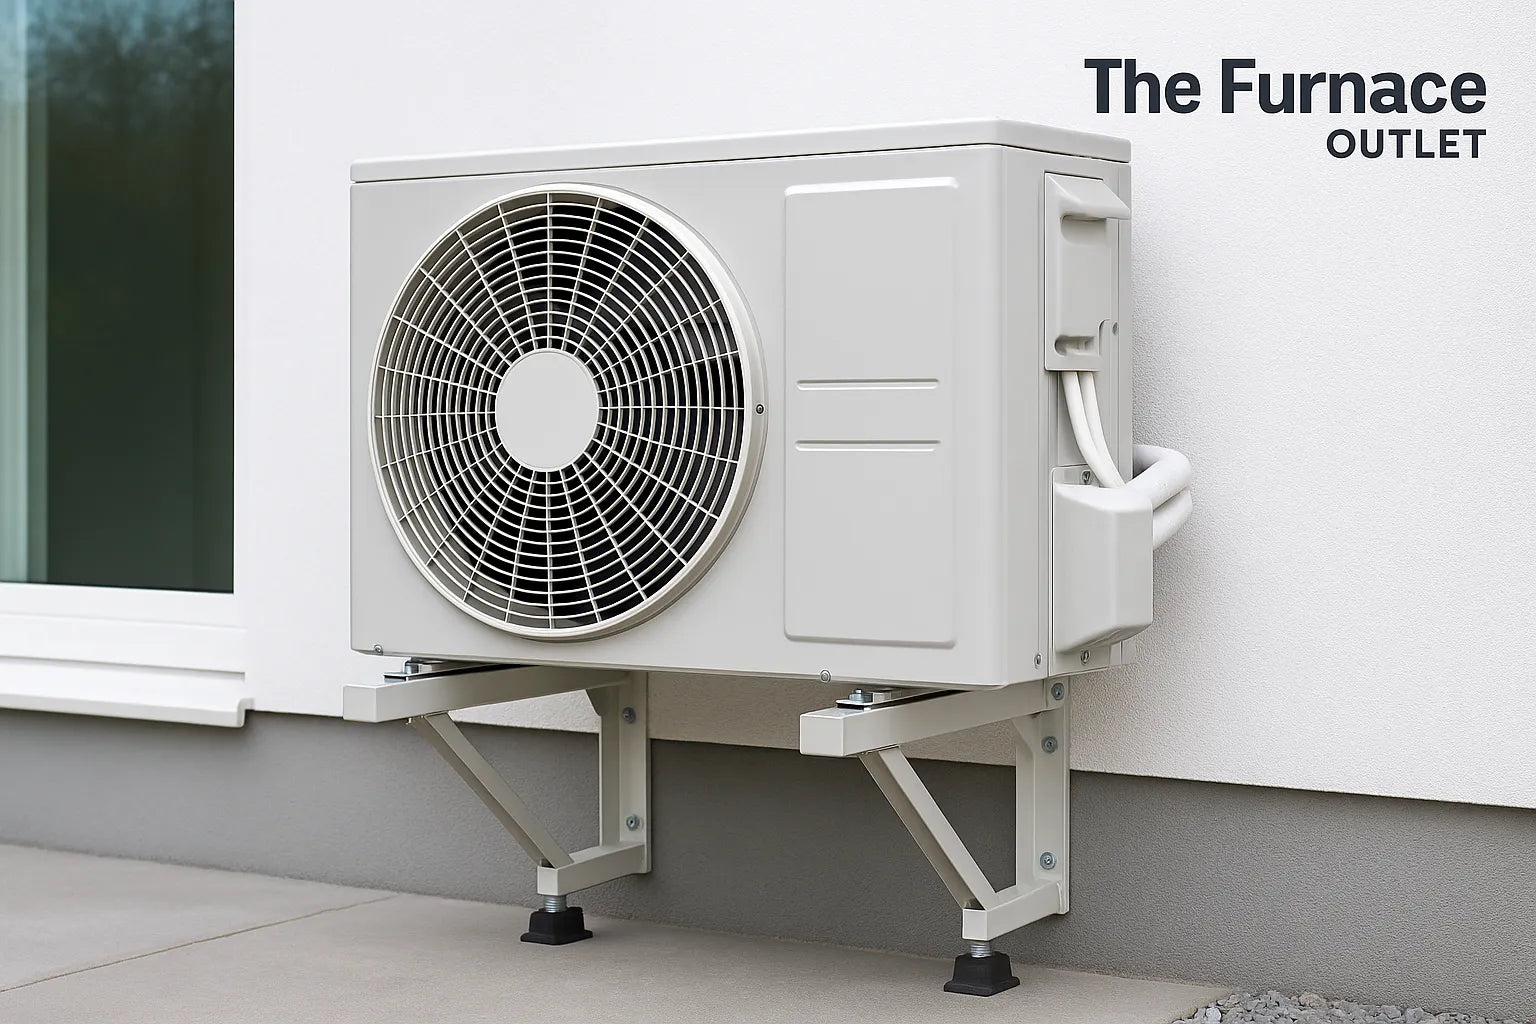
Pick the right bracket: wall, ground, roof, or pad.
-
Choose a bracket rated for 2× the unit’s weight.
-
Use weather-resistant materials like coated or stainless steel.
-
Maintain 12–18 in clearance and follow code for height.
-
Add rubber pads or dampers to reduce vibration and noise.
Mini‑Split Brackets 101

Installing a new system? Start with a DIY mini-split kit.
The Big Problem: Wrong Bracket, Big Headaches

Solving these issues up front means fewer service calls and better energy bills. Remember, most condenser warranties require proper mounting, so the bracket is not optional insurance; it’s step one of a reliable system.
Four Main Types of Mini‑Split Mounting Supports

Ground stands sit on concrete or gravel, raising the condenser above snow or debris—great for northern states.
Roof frames spread weight across rafters when no wall or ground space exists, but need a pro to confirm load limits.
Pads (dense plastic or rubber) aren’t brackets at all; they rest on level ground to cut vibration and cost. Combining pads with anti‑vibration feet often gives the quietest result. Pick a type that matches your climate, space, and service‑access needs.
Capacity and Weight Rating: Safety First

Need the right accessories? Shop mounting kits and pads.
Material and Durability: Built to Last

Galvanized steel adds a zinc layer that pushes life to roughly 12 years.
Stainless steel (304 or 316) laughs at coastal salt and can hit 20 years or more, making it worth the premium in Florida, the Carolinas, or the Gulf.
Whichever you choose, keep hardware consistent: stainless bolts in stainless brackets avoid galvanic corrosion. A quick yearly rinse removes salt or fertilizer spray that can shorten any metal’s lifespan.
Using a ground stand?Choose a compatible outdoor condenser.
Location, Clearance, and Code Rules

Pair your unit with confidence.Browse matched indoor air handlers.
Quiet Comfort: Taming Noise and Vibration

Live near salt air?Pick long-lasting stainless option
Installation Tips for a Safe & Efficient Setup

-
Read both the condenser and bracket manuals—bolt patterns vary.
-
Mark stud or block locations; use sleeve anchors for masonry, lag bolts for lumber.
-
Pre‑assemble bracket arms on the ground for easier leveling. Many kits include magnetic levels for accuracy.
-
Lift the condenser with a friend; never rely on one person and a ladder.
-
Torque bolts to spec, then add anti‑seize compound to exposed threads.
-
Finish by running the line‑set with a gentle drip loop and UV‑rated insulation.
Want a quieter install? Get low-noise support gear.
Common Mistakes + Quick FAQ
The biggest slip‑ups are undersized brackets, short arms that block airflow, and anchors sunk into weak siding instead of solid framing. Double‑check load ratings and clearances, and you’ll avoid 90 % of service calls.
Frequently Asked Questions
Can I put the condenser on a wooden deck?
Only if the deck is structurally rated for 4× the unit’s weight and vibration pads are used.
Do I still need vibration pads on a ground pad?
Yes—pads cut noise and keep bolts from walking loose.
How far from my oil tank must the condenser sit?
At least 3 ft, but check local fire code for your state.
Which bracket lasts longest at the coast?
316‑grade stainless with stainless hardware.


