Key Takeaways
-
Mini-split installs follow six key steps from prep to testing.
-
Careful prep avoids most future issues—check walls, space, and breakers.
-
Only licensed techs can handle refrigerant and leak tests.
-
You can get up to $2,000 in 2025 tax credits for qualifying mini-splits.
-
A well-installed mini-split can last 15–20 years.
-
Check our HVAC Tips archive for free guides and tools.
Why Mini-Split Installations Matter in 2025
 Mini-split heat pumps are booming across the United States because they heat and cool without ducts, cut energy use by around a third, and qualify for fresh federal and state rebates. Yet many homeowners still picture installation as mysterious or risky. This guide breaks the job into everyday language so even a middle-schooler could follow the logic. You will learn each step, the tools needed, and where DIY ends and pro work begins.
Ready to upgrade? — Shop high-efficiency mini-splits
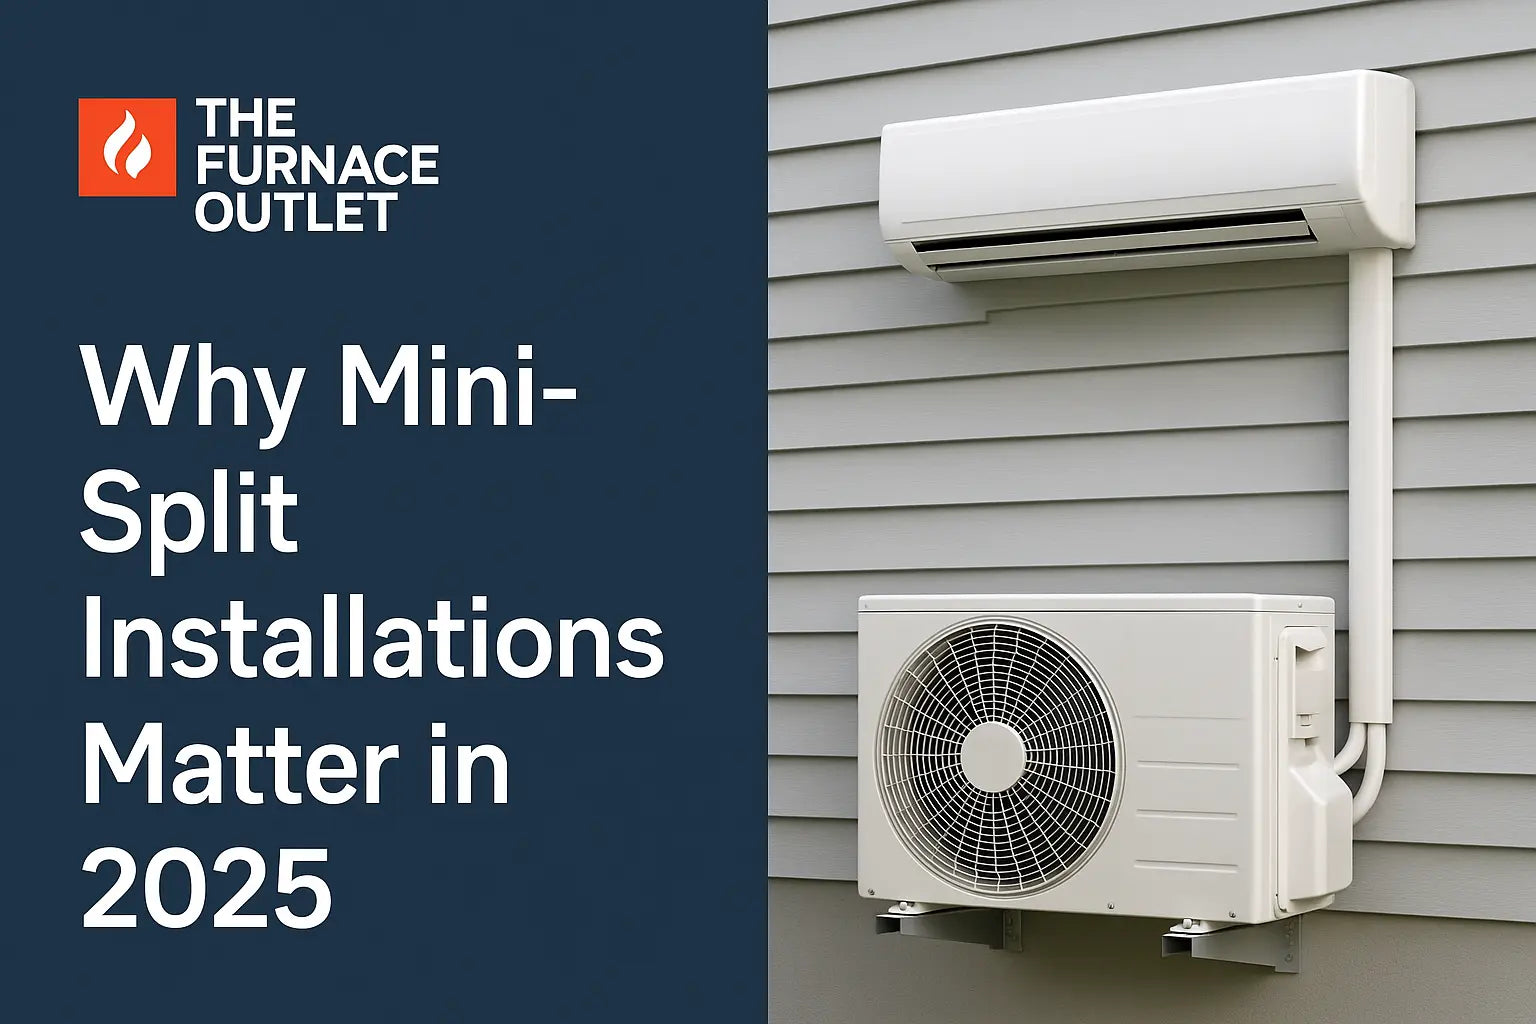
Understanding Mini-Split Components
 Before you pick up a drill, know the parts you’re dealing with. Indoor air handler: hangs on a wall and blows conditioned air into the room. Outdoor condenser: sits on a pad or bracket and moves heat in or out. Line-set pair: two small copper pipes carrying refrigerant. Drain line: lets moisture exit safely. Communications cable: low-voltage link between the two units. Knowing where each piece goes helps you plan clean, short runs that boost efficiency and look professional.
Planning & Site Preparation
 Smart prep saves hours later. First, mark stud locations and make sure the chosen wall bears at least 50 lb—the average weight of a single-zone indoor head. Outside, pick a spot with 12 – 24 in clearance on all sides to keep airflow strong. Set a level concrete pad or a steel wall bracket high enough to avoid snow or pooling water. Finally, open your service panel: a single-zone 12 k BTU unit often needs a 15-amp 230 V breaker, but check your model sticker. Add a disconnect box within line-of-sight of the condenser so technicians can shut power safely during service.
Check breaker sizing fast — Use our mini-split sizing and wiring guide
Mounting the Indoor Unit
 Hold the steel mounting plate against the wall and level it—if it’s off now, the head will tilt and spill water later. Use wood screws into studs or heavy-duty anchors for drywall. Next, drill a 2 ½- to 3-in hole at a gentle downward angle toward the outside; this prevents rain from blowing in and lets condensate drain naturally. Feed the bundled line-set, drain hose, and cable through the sleeve, then snap the indoor unit onto the plate until it clicks. A gentle tug confirms it’s seated.
Setting Up the Outdoor Unit for Long Life
 Place the condenser on the pad or bracket and check for level—yes, bubble-level accuracy matters to keep compressor oil where it belongs. Use anti-vibration pads or rubber bushings to cut noise. Bolt the feet to the pad so high winds can’t budge the machine. Maintain the 12 – 24 inside clearance and 60 in above if possible. Keep shrubs trimmed; leaves block coils and slash efficiency. For a deep dive into longevity, read our mini-split lifespan guide.
Connecting Refrigerant Lines, Drain, and Power

Uncoil the soft-drawn copper gently—sharp kinks mean leaks. Run the suction (larger) and liquid (smaller) lines between units, slipping foam insulation over both. Flare and tighten fittings with two wrenches to factory torque. Next, route the drain line downward all the way; gravity does the work, so avoid “uphill” sections. Secure the communications/power cable in UV-rated conduit for outdoor runs. Tie everything into a tidy bundle and cover with line-hide for a professional look.
Cut install costs — Get up to $2,000 in 2025 rebates
Vacuum, Charge, and Leak-Test
 Now the licensed technician steps in. They connect a micron gauge and vacuum pump to pull air and moisture out of the lines—usually to ≤ 500 microns. A dry system stops acid formation and extends compressor life. Next, they pressurize with nitrogen to confirm zero leaks, then open the service valves so the factory refrigerant charge flows. Extra refrigerant may be weighed in if the line-set exceeds the pre-charged length (often 15 ft). Skipping the vacuum or leak test is the fastest way to murder a new system—don’t rush this part.
Final Testing & Code Compliance
 Flip the breaker, power the system, and use the remote to start cooling mode. Measure supply-air temperature and airflow with a simple thermometer and anemometer; compare to the spec sheet. Listen for rattles and watch the outdoor fan spin smoothly. Check that the condensate drains outside without dripping down the siding. The installer will record model and serial numbers on the permit paperwork and leave a copy by the electrical panel, as most U.S. jurisdictions now require. This protects resale value and insurance claims.
Only licensed techs can vacuum/charge — Find install support near you
Troubleshooting & Expert Tips for DIY Enthusiasts
 If the indoor unit shows an error code, consult the manual—it often points straight to the faulty sensor. Warm air in cooling mode? First, confirm the outdoor breaker is on; many calls end right there. A gurgling sound usually means air trapped in the line-set—call your tech to re-vacuum. To keep your new system humming, follow the mini-split maintenance checklist every month.
Still stuck? — Browse mini-split error guides and fix tools
Frequently Asked Questions
Q: Can I install a mini-split myself?
A: You can mount the equipment, but U.S. law requires an EPA-certified technician to handle refrigerant charging.
Q: What size breaker does a 12 k BTU mini-split need?
A: Most models use a 15-amp, 230-volt breaker, but always match the exact rating on the unit’s label.
Q: Do I need a permit?
A: Nearly every municipality asks for an electrical/mechanical permit; fees run $50–$300 and protect your warranty.
Q: How long should the vacuum run?
A: Until the micron gauge stays below 500 microns for at least 10 minutes.
Q: How often should I clean the filters?
A: Once a month; dirty filters can cut efficiency by up to 20 %.