Hey Mike! Choosing where and how to mount your MRCOOL outdoor condenser unit is a big decision. Should you lift it off the ground or set it on a pad? Both options are solid—but knowing the differences in noise, vibration, drainage, airflow, and durability helps you pick what works best for your place. Here’s your one-stop guide for making that choice confidently for your MRCOOL DIY Mini-Split Series 5th Generation 18,000 BTU 2-Zone Wall Mounted 9K+9K Heat Pump System
🧭 1. Overview: Your Mounting Options
You have three main ways to support the MRCOOL unit:
-
Ground Mount on Pad – simplest, easiest, and lowest cost.
-
Ground Mount on Stand – elevated pad to handle snow or flooding.
-
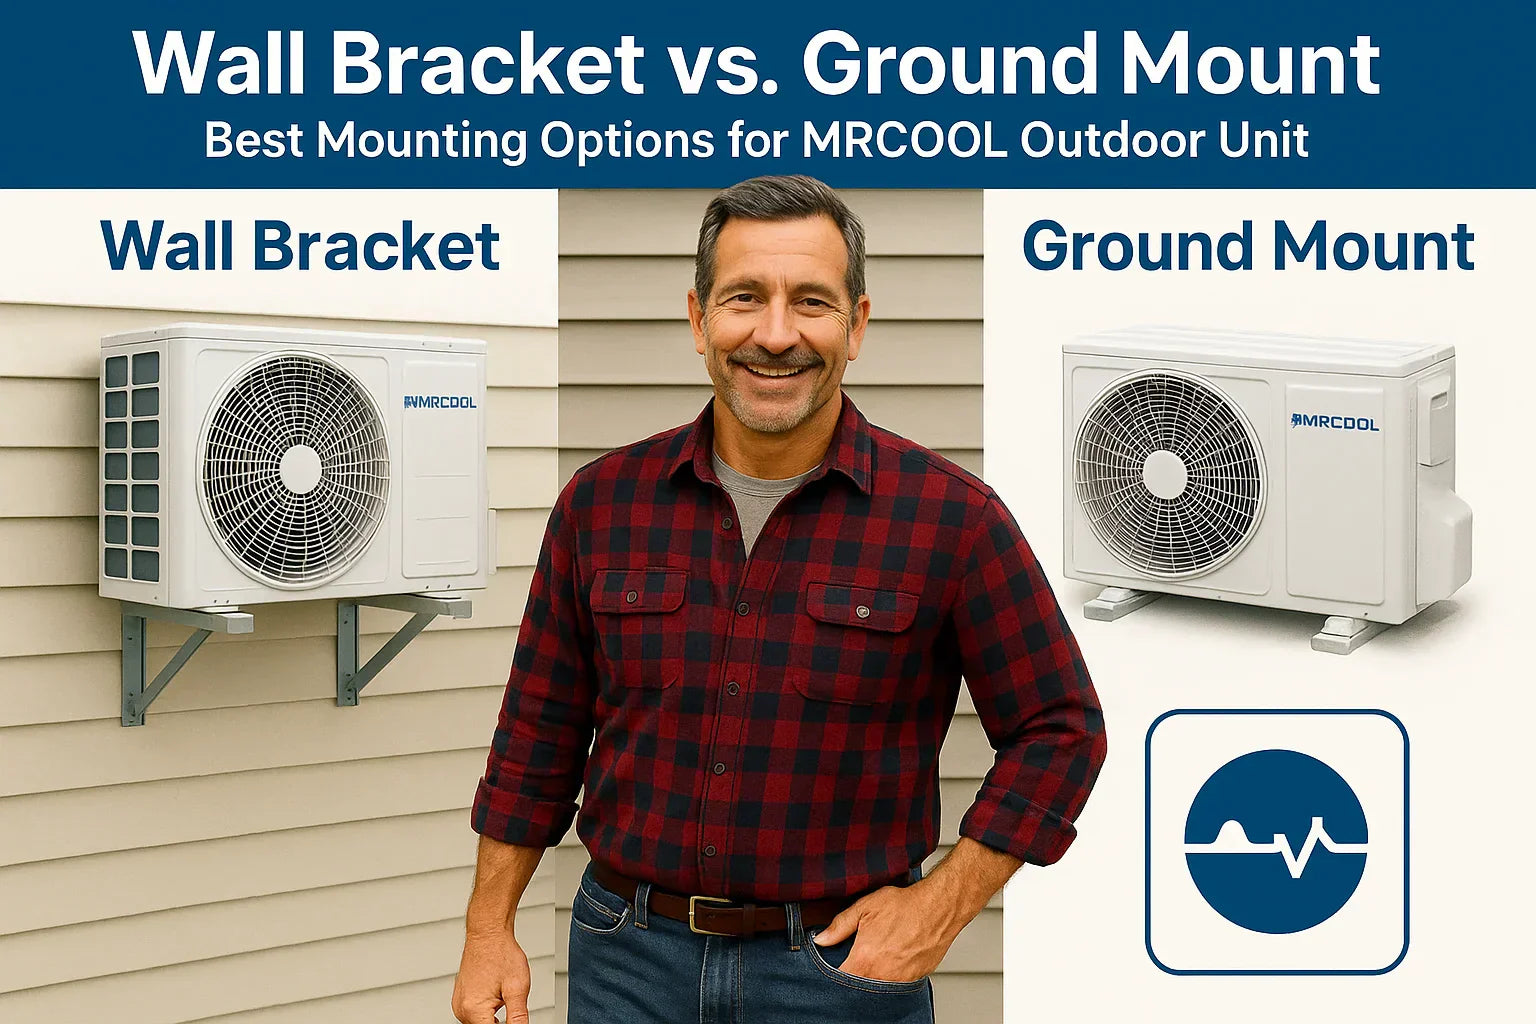
Wall Bracket Mount – lifts unit off ground completely, ideal for tight spaces.
Each has pros and challenges—let’s dive deeper.
🪨 2. Ground Mount: Stability & Simplicity
✅ Pros:
-
Simple setup—just pour a concrete pad or use rubber/stone blocks.
-
Natural stability resists wind and shifting (3 Factors to Consider When Mounting A Mini-Split Condenser)
-
Lower vibration transmission—no bracket to transfer noise to walls GreenBuildingAdvisor.
-
Easy to maintain—safe ground access for servicing.
⚠️ Cons:
-
May get deep in snow or collect debris.
-
Requires at least 4 inches of clearance from ground per airflow spec
-
Needs extra measures in wet zones—like elevated stands.
Best for: yards with safe ground clearance, low snow, and accessible space.
🧱 3. Ground Stand Mount: Middle Ground
Think of a raised platform—steel or concrete—just high enough for clearance and flood resistance.
✅ Pros:
-
Keeps unit clear of snow, debris, or standing water
-
Reduces rodent and critter infestations.
-
Easier to shovel around and access for service.
⚠️ Cons:
-
More costly than flat pad.
-
Needs precise leveling and secure anchoring.
Best for: snow-prone or damp climates needing elevation and accessibility.
🏗️ 4. Wall Bracket Mount: Space-Saving & Clean
✅ Pros:
-
Frees up ground space—perfect near walkways or landscaping (11 Types of Air Conditioners and How to Choose)
-
Protects from floods or snow piling.
-
Can reduce noise inside if bracket has vibration dampers (Intolerable Vibrations From Minisplit Outdoor Unit)
⚠️ Cons:
-
Must attach to solid structure—brick, concrete, or reinforced studs .
-
Potential vibration/nuisance noise if not isolated properly .
-
Slightly more complex to install—anchors, brackets, and alignment.
Best for: limited ground space, flood risk, or aesthetic landscaping.
📊 5. Quick Comparison
| Feature | Ground Pad | Ground Stand | Wall Bracket |
|---|---|---|---|
| Installation Ease | ✅ Easy | ⚠️ Moderate | ⚠️ More complex |
| Cost | ✅ Lowest | ⚠️ Moderate | ⚠️ Moderate to high |
| Vibration Transfer | ✅ Minimal | ✅ Low | ⚠️ Needs isolators |
| Snow/Flood Resistance | ⚠️ Poor | ✅ Good | ✅ Excellent |
| Access for Maintenance | ✅ Excellent | ✅ Excellent | ⚠️ Moderate |
| Ground Space Usage | ⚠️ Blocks space | ⚠️ Blocks some space | ✅ Frees up space |
| Structural Requirements | ⚠️ None | ⚠️ Low | ⚠️ High (solid wall) |
🛠️ 6. Installation Tips for Each Option
⚠️ 6.1 Ground Pad / Stand
-
Use 4 inches min clearance from ground and 14 inches from walls
-
Level the surface; ensure firm anchoring for wind, snow, or children.
-
Apply anti-vibration pads between pad and stand to reduce noise
🏗️ 6.2 Wall Bracket
-
Confirm your wall supports ≥4× unit weight—stud or masonry required
-
Use expansion bolts or anchors, level carefully.
-
Include vibration dampers/rubber grommets in mounts to reduce transfer
-
Ensure CO clearance from roof, soffit, overhang—manual details matter .
-
Remove rubber pads from condenser feet when using bracket
🔊 7. Noise & Vibration Management
-
Ground mounts transfer less vibration; wall mounts need rubber bushings .
-
Use high-quality wall bracket kits with isolators—e.g., $77 MRCOOL DIY bracket w/ built-in dampers
-
Ensure unit doesn’t touch exterior walls or siding to prevent resonance (Outdoor unit installation)
🌀 8. Airflow & Clearance Rules
-
Maintain ≥4 inches clearance from wall behind unit, 14 inches on sides/front, and >24 inches top
-
Ensure airflow paths are unobstructed by plants or fences MRCOOL.
-
Keep line sets within 50 ft of indoor unit to avoid performance losses.
💧 9. Drainage & Condensate Considerations
-
Ground pads are less ideal—condensate may pool on soil.
-
On stands or wall kits, consider adding drain pan extension toward a safe drain.
-
Ensure slope on pad/stand directs drain away from foundation and walkways.
🛡️ 10. Durability: Installing for the Long Haul
-
Wall brackets should be powder-coated steel or galvanized.
-
Use Gold Fin corrosion protection—especially in coastal or snowy areas.
-
Ground pads may settle; You may need occasional releveling upkeep.
-
Wall mounts reduce snow accumulation risk—ideal for northern or snowy climates.
🔧 12. Real-World User Scenarios
A. Urban Suburb with Small Yard
-
Mike mounted on wall bracket with rubber isolators—space saved, low vibrations reported.
B. Rural Home with Snow Pack
-
Ground stand used with anti-vibration pad—easy shovel access, stable in snow.
C. Coastal Cabin
-
Wall mount placed close to foundation—salty air eliminated pad freeze-up risk.
🚀 13. Final Recommendation for Mike
✅ Use Ground Pad if:
-
You have space and low snow/drain issues.
-
Budget-conscious and want simple install.
✅ Use Ground Stand if:
-
You expect snow, flooding, or critters.
-
Don’t want wall involvement.
✅ Use Wall Bracket if:
-
You’re tight on ground space or want aesthetic clarity.
-
Your wall is strong and vibration isolation is installed.
-
You can follow airflow clearances precisely.
✅ 14. What to Prepare Before You Mount
-
Check wall strength & pad ground soil.
-
Gather tools: drill, level, anchors, pad or bracket kit.
-
Plan drainage slope & clearance around unit.
-
Locate line set route to keep runs short.
✅ 15. Quick Maintenance & Safety Tips
-
Inspect mounting yearly—anchors, level, corrosion.
-
Check anti-vibration pads for wear.
-
Clear debris/snow from top and sides regularly.
-
Keep brackets painted or coated to prevent rust.
✅ Final Take
Whether you opt for ground pad simplicity or wall bracket convenience, this MRCOOL 18k system can be mounted with pro-grade reliability. Use this guide to choose the best option for your space, safety, and lifestyle—DIY style.
In the next topic we will read more about: Maintenance Checklist for Your MRCOOL 18k DIY System


