A Step‑by‑Step Guide for First-Time Home Installers (Hey Mike, this one’s for you!)
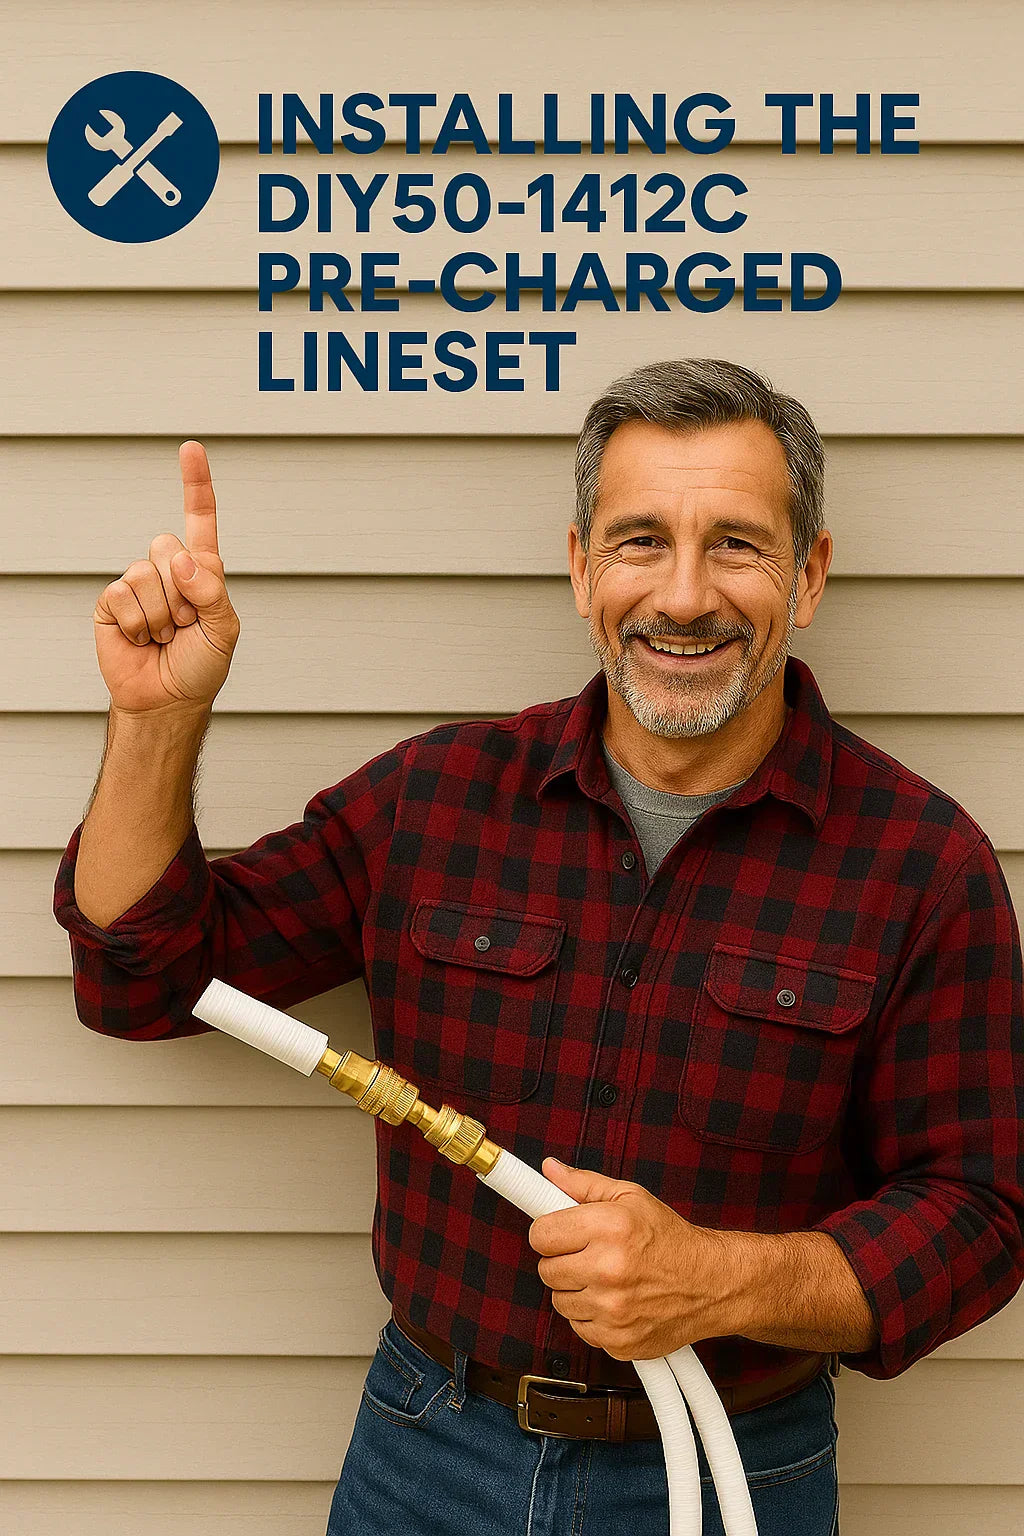
So you’ve got the MRCOOL 5th Gen 50 ft pre‑charged lineset (DIY50‑1412C). Now let’s walk through everything you need to make your DIY mini‑split install smooth, efficient, and stress-free.
📌 1. Why This Guide Matters
-
Save time: Avoid costly callbacks by doing it right the first time
-
Avoid mistakes: Skip improper bends, leaks, or misalignments
-
Stay compliant: Follow manufacturer specs to maintain your warranty
🧰 2. Tools & Prep Checklist
Lay out these before you begin:
-
Tools: Level, drill with hole saw, two open-end wrenches (7/8″ & 1-1/8″), Phillips screwdriver, torque wrench
-
Materials: DIY50‑1412C lineset, wall sleeve, caulk, insulation tape, wall anchors, optional line cover
-
Safety kit: Gloves and protective eyewear
-
Manuals: Keep MRCOOL’s Quick Start and full installation guides handy (DIY50-1412C 50' Pre-Charged Line Set 1/4"-1/2")
📍 3. Choose & Prep Locations
🏠 Indoor Unit Placement
-
Must be on a sturdy interior wall, ~7–8 ft off the floor
-
Provide space above/below for air intake/discharge MRCOOL DIY Direct
-
Keep away from heat, direct sun, or smoke sources
🌳 Outdoor Unit Placement
-
On a stable pad or wall bracket with at least 12″ clearance behind and front (Owner & Installation Manual)
-
Ensure level placement (use shims if needed) and drainage away from the foundation
🧭 4. Mark & Drill the Wall Hole
-
Use wall bracket template from the Quick Start guide
-
Drill a 3.5″ hole slightly downward-grade to prevent water pooling (Quick Start Guide)
-
Install the provided wall sleeve for a clean finish
📦 5. Unpack & Prep the DIY50‑1412C Lineset
-
Confirm it’s the correct R‑410A 1/4″–1/2″, 50 ft set
-
Inspect quick‑connect fittings. Clean any debris and protect them
🔄 6. Route Lineset, Drain, and Wiring
-
Soften the lineset by uncoiling it gradually outdoors
-
Gently feed the refrigerant lines, drain, and control wire through the wall hole (avoid kinks)
-
Leave about 6–8 ft of slack inside for final hook‑ups
🔩 7. Mount the Indoor Unit
-
Hook unit onto bracket
-
Ensure it clicks in place securely
-
Double-check levelness; adjust bracket if needed
🔧 8. Connect Refrigerant Lines (Quick Connect)
-
Remove plastic caps on quick‑connect ends
-
Align inner pipes: tighten fitting nut #2 hand-tight
-
Torque with wrench per MRCOOL spec (typically snug + 1/8 turn)
-
Repeat at both indoor and outdoor ends
👉 Pro Tip: Use two wrenches—hold the fitting steady while tightening to avoid forcing the whole unit.
🧰 9. Install Drain Tubing
-
Ensure grade allows proper condensate flow
-
Seal around drain inside and outside the wall for pest & moisture protection
⚡ 10. Electrical Hookup
-
Outdoor unit requires a dedicated breaker (usually 15–20 A, depending on model)
-
Follow the color-coded wiring diagram found inside the electrical panels
-
Grounding is critical—ensure secure grounding conductor
⚙️ 11. Open Service Valves & Test for Leaks
-
Remove valve caps and use 5 mm Allen wrench to open valves fully
-
Check with soapy water around fittings—even the smallest bubble indicates a leak
-
After 5 minutes, ensure no bubbles appear
🔄 12. Initial System Startup
-
Install batteries in the remote or insert the Wi-Fi dongle
-
Power on unit via breaker (indoor and outdoor both get power)
-
Cycle through cool, heat, and fan modes
-
Check airflow and temperature output after 10 minutes
📊 13. Fine-Tuning & Troubleshooting
| Sensation or Sign | Likely Cause | Action |
|---|---|---|
| Poor cooling/heating | Incorrect refrigerant flow or valve | Recheck connections and valves |
| Leaking water indoors | Poor drain pitch or sealant | Adjust drain line and reseal |
| No power or unit won’t start | Faulty breaker or wiring mistake | Re-examine electrical and breaker |
| Hissing at fittings | Refrigerant leaking | Tighten fittings; leak-test again |
🧭 14. Maintenance & Follow-Up
-
Inspect fittings and insulation 1–2 months post-install and then annually
-
Replace insulation tape if worn; keep lineset clear of debris
-
Seal openings and topside slab for weather protection
🧾 Final Word for Mike
Installing your own MRCOOL system—especially with the DIY50‑1412C pre‑charged lineset—is not only possible, it’s a smart home upgrade. With just basic tools, your drill, and a few hours:
-
You’ll save thousands on labor costs
-
Avoid special vacuum gear or refrigerant handling
-
Keep your warranty intact by following the guide
-
Gain satisfaction in your handiwork
Mike, if you've ever changed your car's oil or built a deck, you're more than capable. Measure smart, follow steps precisely, and enjoy your cool (or warm!) results.
In the next topic we will read more about: Installing the DIY50‑1412C Pre‑Charged Lineset


