The simple physics: thinner air, less oxygen, different burn
At higher elevations, air pressure drops, so every lungful and every burner port pulls in fewer oxygen molecules. Oxygen is still ~20.9% of air by composition, but the absolute amount per cubic foot is lower. Example: by 5,000 ft, the “effective” oxygen available per volume meaningfully drops; by 8,000–10,000 ft, it’s even lower. Gas burners are tuned for a precise fuel-to-air mix. When the air side thins out, the flame changes, heat output falls, and emissions rise unless we adjust. That adjustment is derating reducing the furnace’s input BTUs so combustion stays clean and the heat exchanger isn’t over-stressed.
What “derating” means and when you must do it
Derating = intentionally lowering a furnace’s input BTUs to match the oxygen available at your elevation. A widely used rule is reduced 4% per 1,000 ft above 2,000 ft. Quick reference:
-
3,000 ft: ~4% reduction
-
5,000 ft: ~12% reduction
-
7,000 ft: ~20% reduction
This keeps the fuel-to-air ratio within a safe range, stabilizes the flame, and protects the heat exchanger. Manufacturers and codes expect this; many provide altitude kits and tables. Skipping derating risks incomplete combustion (more CO), nuisance lockouts, and overheating.
How to calculate your derated BTUs (with real examples)
Use this handy formula (common in manuals and selection standards):
Derated Input = Original Input × [1 − (0.04 × (Elevation − 2,000)/1,000)], for elevations above 2,000 ft.
Example A (5,000 ft, 80,000 BTU furnace):
Above 2,000 ft = 3,000; 3 × 4% = 12%.
Derated input = 80,000 × (1 − 0.12) = 70,400 BTU.
If the furnace is 80% AFUE, rough output ≈ 56,320 BTU.
Example B (Denver ~5,280 ft, same furnace):
Above 2,000 ft = 3,280; 3.28 × 4% = 13.12%.
Derated input ≈ 69,504 BTU; 80% AFUE output ≈ 55,603 BTU.
Signs you need derating (or more adjustment) right now
Skipping altitude setup can show up fast:
-
Flame changes: lifting, fluttering, or yellowing tips
-
Sooting in the burner area or flue parts
-
Higher CO (measurable only with a combustion analyzer)
-
Temperature rise across the heat exchanger above the nameplate range
If you see any of these, pause operation and schedule a tune-up. The fix could be as simple as an altitude orifice kit, blower speed change, or vent length correction.
Heat transfer at altitude: why your blower works harder
Thinner air moves less mass for the same volume. That affects two things:
-
Heat carry-off: Less mass flow = each cubic foot carries less heat.
-
Temperature rise: With less mass flow, heat stacks up, so temperature rise increases and can approach (or exceed) the furnace’s target range.
What we do in the field:
-
Increase blower speed (within noise and comfort limits).
-
Verify filter size and duct static so the blower can actually move air.
-
Measure temperature rise and land it inside the nameplate window.
AFUE on the label vs. efficiency you actually feel
Your furnace’s AFUE rating doesn’t change with altitude—it’s a lab number. But real-world delivered efficiency can dip if combustion isn’t tuned or airflow is low. At elevation we often see:
-
Reduced steady-state efficiency from poor fuel/air mixing
-
More cycling losses if sizing or venting is off
-
Extra maintenance if incomplete combustion leaves residue
The good news: when you derate correctly, set airflow, and follow the vent length rules, performance stabilizes and your fuel dollars go further.
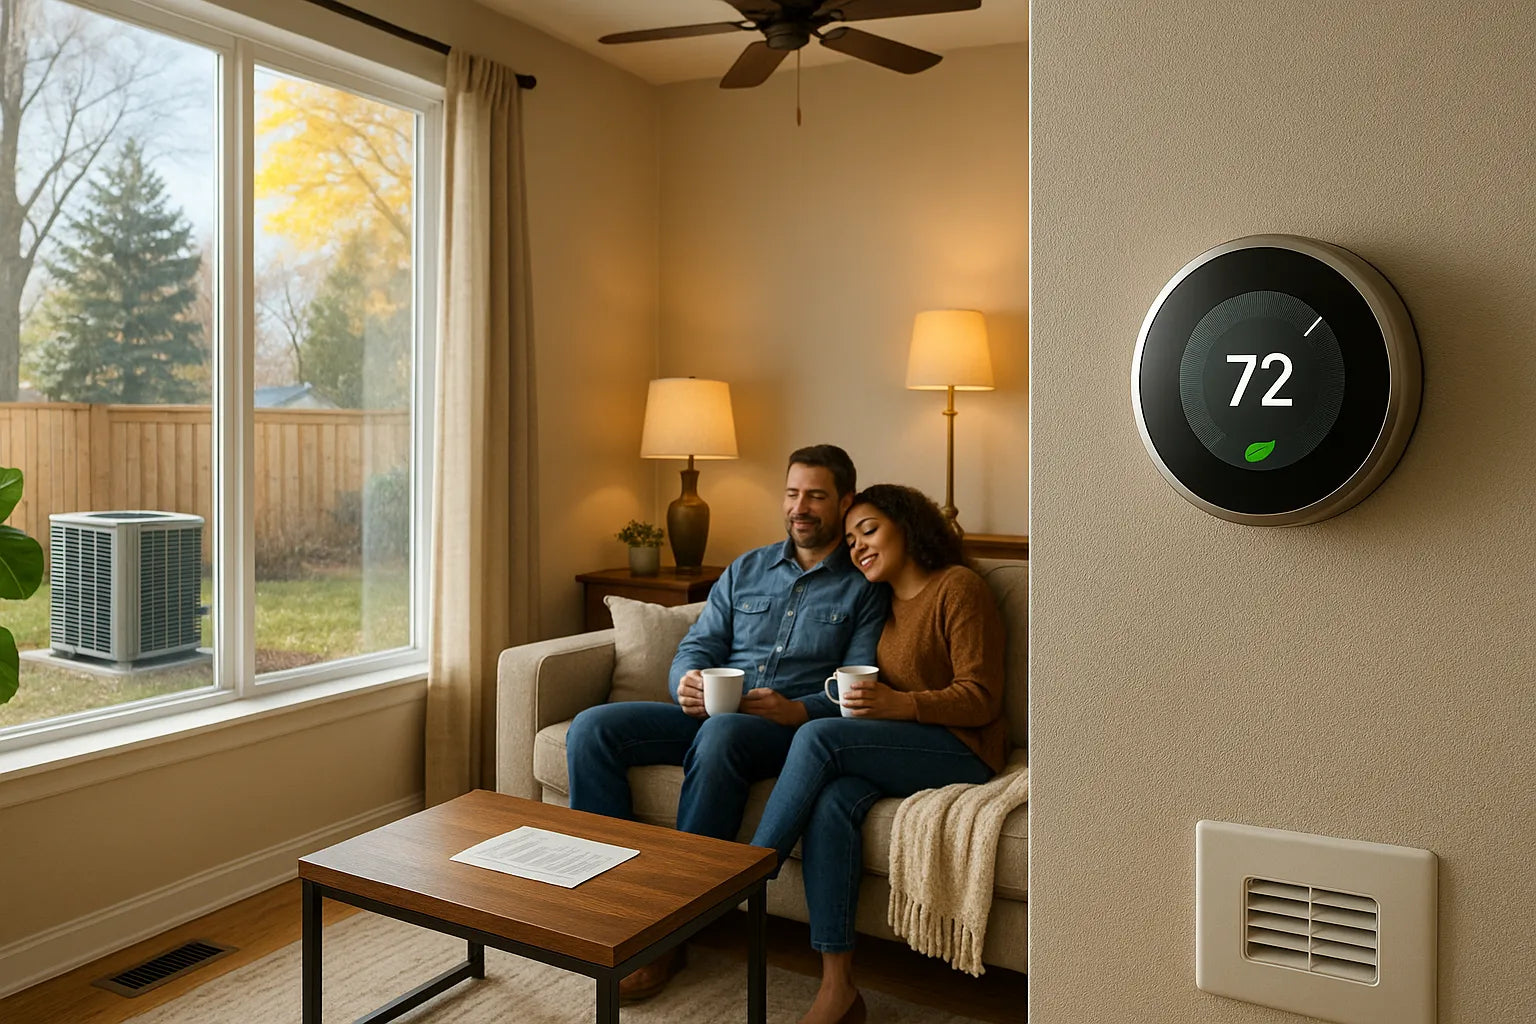
On tune-up day, ask your tech to print the analyzer results (O₂, CO, CO₂, flue temp) and the measured temperature rise. Keep that with your furnace manual.
High-altitude kits: what’s in the box and what each part does
Most brands offer altitude conversion kits starting around 4,000–5,500 ft. Typical contents:
-
Pressure switch matched to lower atmospheric pressure
-
Burner orifices (smaller) to trim gas input
-
Instructions with elevation tables and gas BTU notes
Installed together, these parts restore a clean, stable burn. We also re-check manifold pressure, combustion, and temperature rise after the kit goes in.
Pro tip: If you’re shopping, look at models with clear altitude documentation and readily available kits. Browse our furnace selection, and if you’re unsure, send photos via Quote by Photo. We’ll help you match the right kit the first time.
Orifice sizing 101: gas quality + elevation + manufacturer tables
Factory orifices are usually sized for sea level with ~1,075 BTU/ft³ gas. In the Rockies or Sierra, your utility’s heating value might differ. That’s why pros check three things before picking orifices:
-
Local gas BTU/ft³ (from your utility)
-
Elevation (your address or GPS)
-
Manufacturer or ACCA tables for your model
Then we confirm with a combustion analyzer and adjust manifold pressure if allowed.
-
Keep the old orifices in a labeled bag in case you move or resell.
-
If you switch fuels (NG ↔ LP), you’ll need the proper conversion kit, not just a pressure tweak.
Need parts? Check Accessories or ask us via the Help Center.
Venting rules at altitude: shorter runs, happier pressure switches
Condensing furnaces are sensitive to vent length and fittings. At altitude, the draft pressure available is lower, so we usually reduce maximum equivalent length from what you might get away with at sea level. Long runs, too many 90s, or poor slope can cause pressure-switch lockouts, especially on windy nights.
Field checklist we use:
-
Count fittings Shorten runs where possible; use sweep 90s.
-
Confirm proper slope back to the furnace for condensate.
-
Terminate per manufacturer spec (clearances matter in snow country).
Codes and safety: the playbook we follow
High-altitude installs must line up with NFPA 54 (National Fuel Gas Code), ACCA Manual S for equipment selection, and the International Residential Code. Following these isn’t red tape it’s how we make sure your home stays warm and safe.
What we never skip:
-
Proper derating per elevation and brand tables
-
Combustion testing (CO/O₂/CO₂) at start-up
-
Temperature rise and static pressure checks
-
Clearances to combustibles and vent terminations
Add CO alarms and keep them within end-of-life dates. And stash your startup report with your manuals; it helps on future service calls and warranty questions.
Real-world planning: city examples & equipment choices
Here are typical derates (using the 4%/1,000 ft above 2,000 ft guide):
-
Denver, CO (5,280 ft): ~13% derate
-
Salt Lake City, UT (4,330 ft): ~9% derate
-
Albuquerque, NM (5,310 ft): ~13% derate
-
Flagstaff, AZ (6,910 ft): ~20% derate
If you’re on the fence between gas and electric, today’s cold-climate heat pumps are worth a look, especially with good insulation and sealed ducts. See R-32 Heat Pump Systems.
For mixed-fuel options (heat pump + gas backup), explore packaged units or ask our Design Center to run the numbers for your climate zone.
Your next steps: a simple checklist (and where to get help)
Use this to move from “curious” to “dialed in”:
-
Find your elevation and local gas BTU/ft³.
-
Pick your furnace (or heat pump) with altitude in mind: Shop furnaces.
-
Apply derating and verify orifice/pressure from the brand’s table.
-
Check vent lengths/fittings; shorten if needed.
-
Set blower speed to land temperature rise on the nameplate.
-
Combustion-test at start-up and record results.
-
Add CO alarms and calendar a yearly tune-up.
Need a hand? Start a Quote by Photo, or talk to us via Contact Us and Financing.
We’ll help you set up an altitude-ready system that burns clean, heats evenly, and passes inspection the first time. Browse Accessories.


