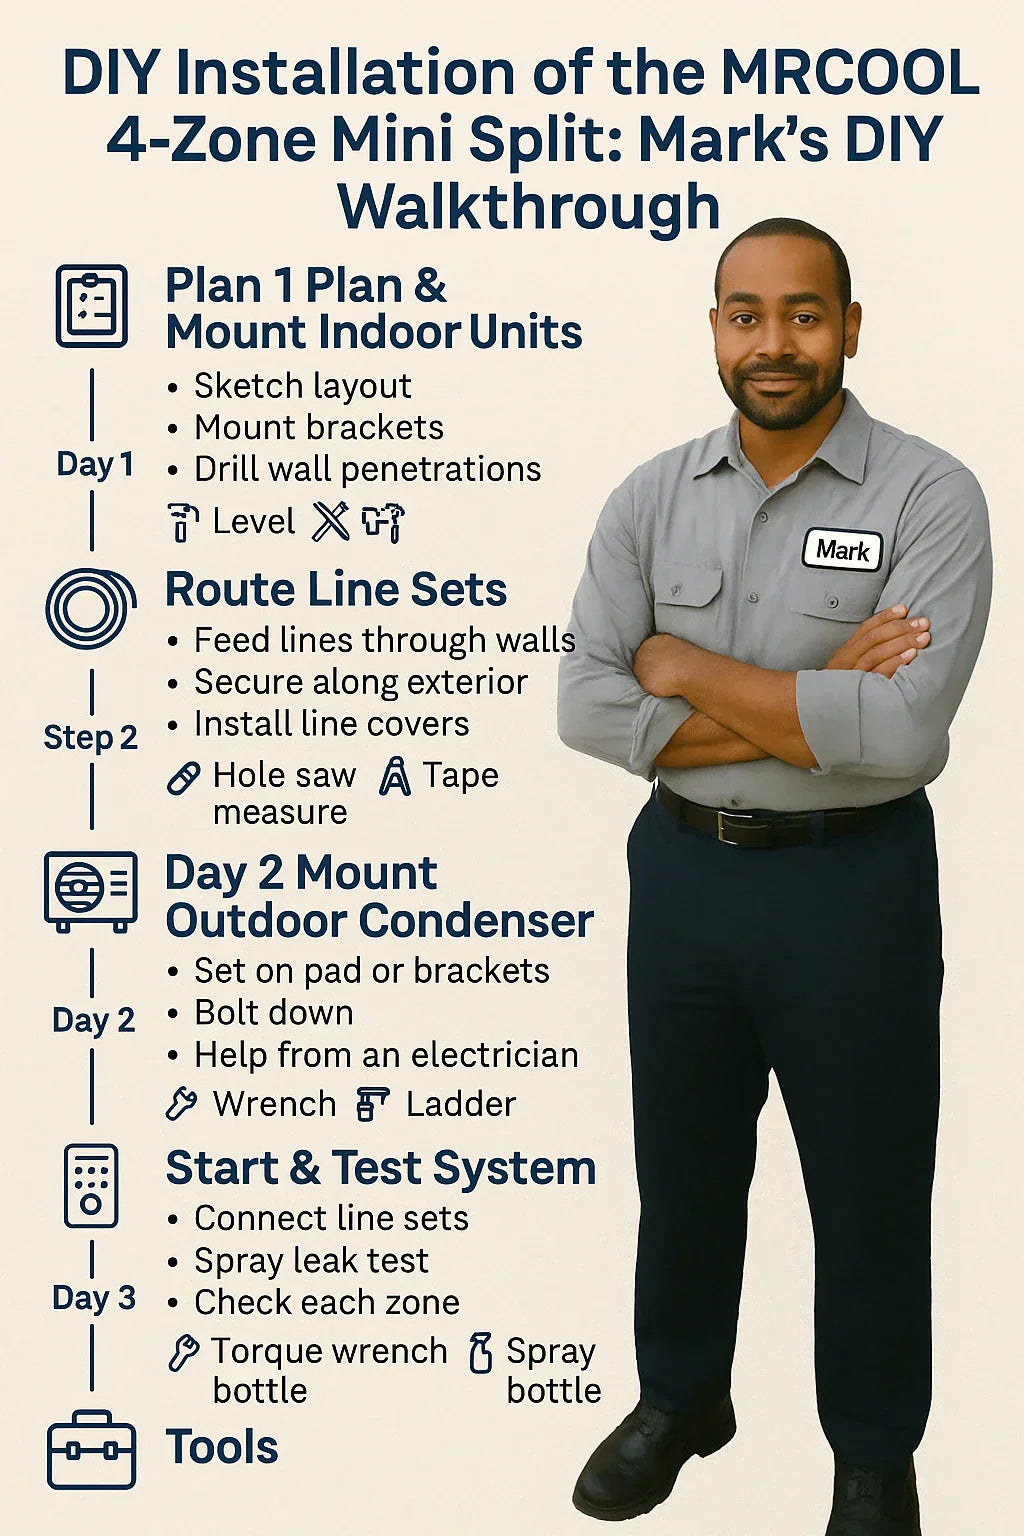
🧠 Why Go DIY With MRCOOL?
For homeowners like Mark, the appeal of the MRCOOL DIY 5th Gen 4-Zone System is simple: powerful performance without professional installation. Thanks to the Quick Connect™ pre-charged line sets, MRCOOL has made it possible for motivated DIYers to install a full multi-zone HVAC system.
But while it's achievable, it’s not a walk in the park.
This guide outlines:
-
Tools and supplies you'll need
-
A realistic 2–3 day timeline
-
Key installation stages
-
Common mistakes to avoid
-
When to call a professional
🧰 Tools & Supplies Checklist
Before Mark began his install, he laid out every tool he’d need.
🛠️ Tools:
-
Drill with hole saw (3.5–4")
-
Stud finder
-
Level
-
Tape measure
-
Ladder (for indoor heads & condenser)
-
Torque wrench (included, but optional upgrade)
-
Utility knife & shears
-
Caulk gun
-
Work gloves
🧾 Supplies:
-
MRCOOL DIY 4-Zone system (includes heads, condenser, line sets)
-
Line set cover kit
-
Wall sleeve & grommets
-
Surge protector (recommended)
-
Mounting pad or condenser bracket
-
Exterior caulk
🗓️ Timeline: How Long Will This Take?
For a first-time installer like Mark, here’s the breakdown:
| Task | Time Estimate |
|---|---|
| Planning & layout sketch | 2–3 hours |
| Mounting indoor heads | 4–6 hours total |
| Routing & securing line sets | 5–8 hours |
| Mounting & wiring condenser | 2–4 hours |
| Leak test & startup | 1–2 hours |
| App pairing & zone testing | 1–2 hours |
Total: 2 full days minimum, or 3 moderate-paced days
⚠️ If line set extensions or difficult wall penetrations are involved, expect another half day.
📐 Step 1: Plan Your Layout
Mark started by measuring room sizes and determining the best wall for each indoor unit, making sure:
-
At least one wall stud could hold the bracket
-
The line set would have a short, clean exit to the outside
-
The condenser could be positioned with direct runs to each zone
💡 Use MRCOOL’s install manual diagrams for guidance. Download here
🧱 Step 2: Mount Indoor Units
Each head comes with a steel wall bracket. Mark’s steps:
-
Use stud finder and level to secure bracket 7–8 feet above the floor.
-
Drill 3.5" hole for the line set — angle slightly downward to the outside.
-
Feed the line set, power, and drain through the wall.
-
Mount unit on bracket and lock it in place.
Pro Tips:
-
Avoid placing heads above windows or doors.
-
Seal all wall penetrations tightly.
-
For thicker walls (e.g., brick), use a longer drill bit and sleeve.
🔄 Step 3: Line Set Routing
Mark ran most of his lines along the exterior wall, protected with line set covers.
Do:
-
Use gentle bends (no tight kinks)
-
Wrap insulation around coupler joints
-
Anchor every 2–3 ft with mounting clips
-
Use line set covers for UV and impact protection
Don’t:
-
Exceed 75 ft per line
-
Use more than 2 couplers per zone
-
Let refrigerant lines sag or bend sharply
🧯 Step 4: Mount the Condenser
Mark set his condenser on a 3” plastic mounting pad, 12” above the ground.
Key specs:
-
24–36” clearance on all sides
-
6” minimum from wall
-
Level surface with vibration pads
⚠️ Electrical wiring should be done by a licensed electrician. Mark hired a pro for this part.
🔌 Step 5: Connect the Line Sets
This is where MRCOOL shines — no vacuum, no refrigerant charging needed.
Steps:
-
Hand-thread each line to matching condenser port.
-
Tighten using included wrenches to specified torque.
-
Spray with leak detection or soapy water.
-
Open service valves (hex key provided).
-
Listen for gas movement — then recheck for leaks.
🧪 Step 6: Startup & Testing
Once wired and connected, Mark:
-
Powered on the breaker and outdoor disconnect.
-
Verified LED power on each indoor head.
-
Used remote and SmartHVAC app to test each zone.
-
Checked for:
-
Proper airflow
-
Temp drop (cooling mode)
-
Condensate drain
-
Any error codes (none!)
-
❄️ Recommended: Run each zone in cooling mode for 15–30 minutes to verify performance.
📱 SmartHVAC App Pairing
Each MRCOOL indoor unit can be paired with:
-
Alexa or Google Assistant
-
SmartThings platform
Mark used the app to:
-
Set daily schedules
-
Name zones by room
-
Control temp remotely
-
Receive filter reminders
⚠️ Common DIY Challenges & Fixes
| Issue | Cause | Fix |
|---|---|---|
| Line set won’t reach | Poor layout planning | Use extensions (max 2 couplers) |
| Unit doesn’t power on | Electrical disconnect off | Check breaker and power feed |
| Loud vibration from condenser | Uneven surface or loose pad | Re-level or add vibration isolators |
| Leaks at coupler | Improper torque | Retighten or replace seal |
| Zone doesn’t cool or heat | Line set valve not open | Double check hex valve positions |
🧾 Cost Breakdown (Mark’s Real Install)
| Item | Cost (USD) |
|---|---|
| MRCOOL 48k 4-Zone System | $4,999 |
| Line set extension (x2) | $265 |
| Electrician (panel + disconnect) | $500 |
| Tools (hole saw, clips, etc.) | $110 |
| Total | $5,874 |
Mark saved over $3,000 in labor by going DIY.
✅ Final Thoughts: Should You DIY?
For Mark — and thousands of DIYers — the answer was a confident yes.
✅ DIY if:
-
You’re comfortable with tools
-
You have help lifting the condenser (140+ lbs)
-
You can drill clean wall penetrations
-
You’re willing to follow directions closely
❌ Call a Pro if:
-
You’re unsure about electrical work
-
You live in an HOA or restricted permit area
-
You’re uncomfortable sealing walls or caulking
In the next topic we will read more about: Maintenance Tips for Your MRCOOL Through-the-Wall AC/Heat Pump Combo


