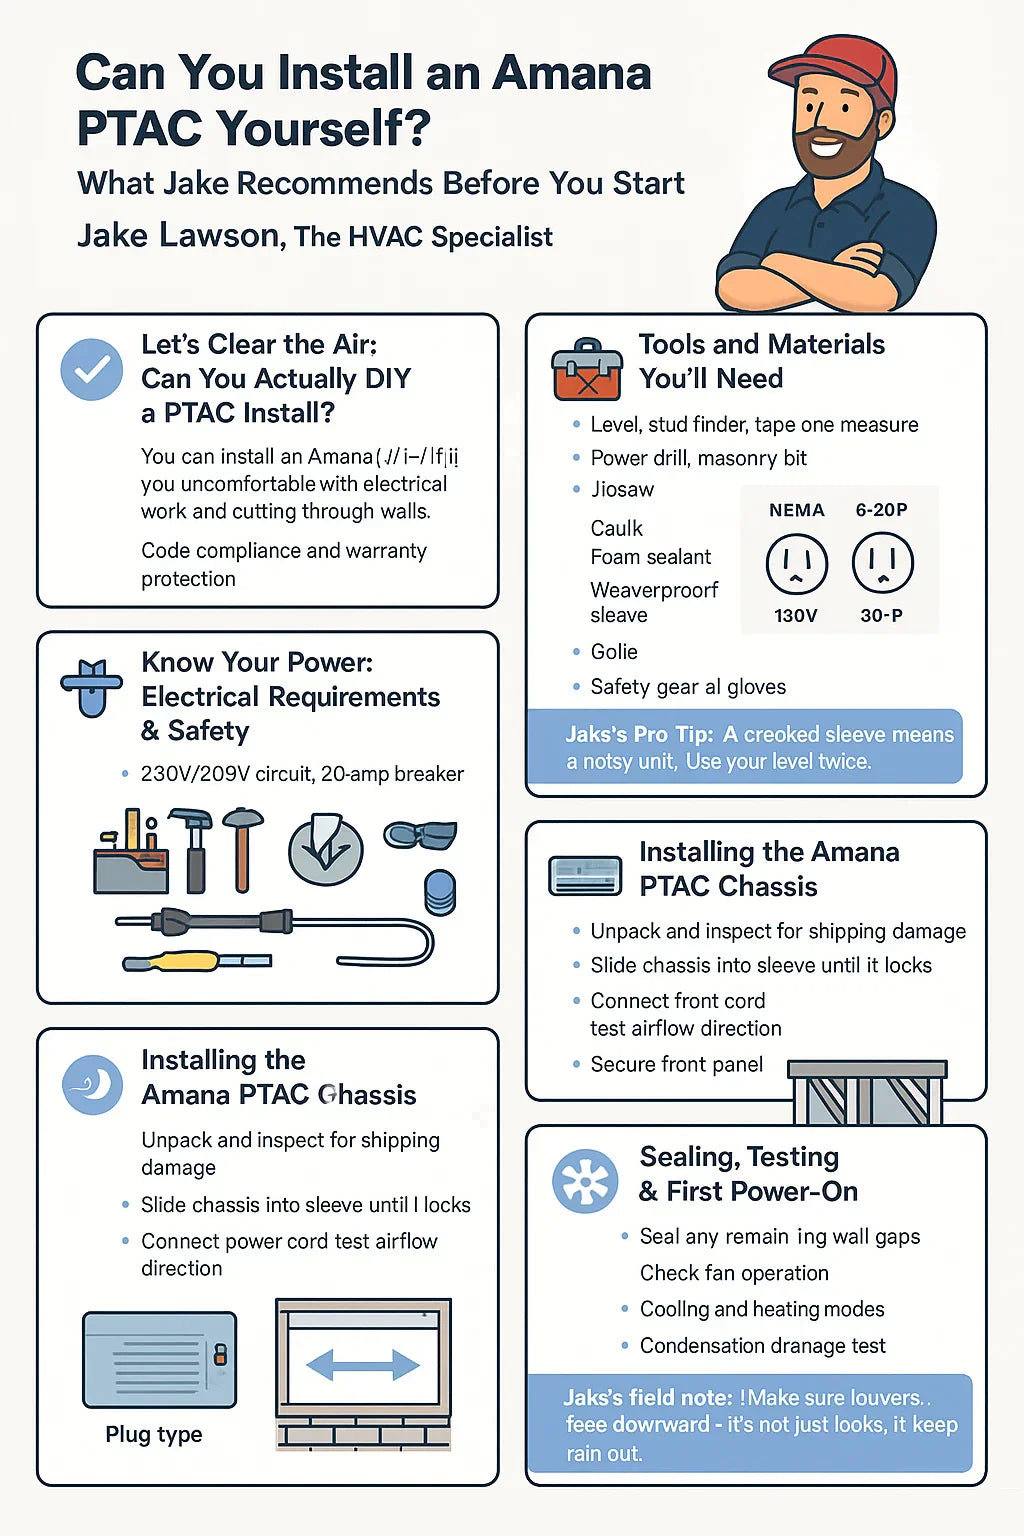
🏁 Let’s Clear the Air: Can You Actually DIY a PTAC Install?
If you’ve ever stayed in a hotel room, worked in an office suite, or lived in a small apartment, chances are you’ve felt the quiet hum of a PTAC unit — a Packaged Terminal Air Conditioner. It’s that all-in-one heating and cooling system mounted right through the wall.
Unlike a traditional split system, a PTAC doesn’t need outdoor condensers, ducts, or complex refrigerant lines. That’s why so many homeowners and property managers love them — they’re self-contained, affordable, and surprisingly efficient.
Now the question: Can you install one yourself?
If we’re talking about the Amana Distinctions 12,000 BTU PTAC, the answer is… yes — with a few caveats. You can absolutely install it yourself if you’re comfortable using power tools, measuring precisely, and following electrical safety rules.
But — and this is important — the installation involves cutting through your wall and connecting to a 230V circuit. That’s serious voltage. If your electrical confidence ends at plugging in a toaster, it’s best to have an electrician handle that part.
Here’s my honest take, from years of installing these:
“A PTAC is one of the most homeowner-friendly HVAC systems you can install — but it’s not a plug-and-play window unit either. Get the power and sleeve right, and the rest is straightforward.”
Before we dive into step-by-step setup, let’s make sure you’ve got the right tools and expectations.
🧰 Tools and Materials You’ll Need
This is not the kind of project you want to stop halfway through because you forgot a caulk gun. Having everything on hand makes the job smooth and safe.
Here’s your complete tool and material checklist:
🧱 Basic Tools
-
Level (a must for drainage and quiet operation)
-
Tape measure
-
Stud finder
-
Power drill + masonry bits (if installing in brick or block)
-
Jigsaw or reciprocating saw (for cutting through siding or drywall)
-
Screwdrivers (Phillips and flathead)
-
Caulking gun
-
Utility knife
⚙️ Materials
-
Amana wall sleeve (usually 42" x 16")
-
Exterior grille (matching your PTAC model)
-
Weatherproof caulk (silicone-based)
-
Expanding foam or backer rod (for sealing gaps)
-
Flashing tape (optional for masonry walls)
-
Mounting brackets (if required for thicker walls)
⚡ Safety Gear
-
Safety glasses
-
Gloves
-
Hearing protection (if cutting through concrete or brick)
-
Voltage tester
Jake’s Tip 💬:
“Don’t skimp on the wall sleeve and grille. They’re not just accessories — they control drainage, insulation, and noise. The wrong fit can ruin an otherwise perfect install.”
👉 You can find Amana-approved accessories at The Furnace Outlet – PTAC Accessories.
⚡ Understanding the Power: Electrical Requirements and Safety
This is where most DIYers get nervous — and rightly so. The Amana Distinctions PTAC is a 230V (or 208V) system that pulls around 15–20 amps depending on whether you’re heating or cooling. That means:
-
You need a dedicated circuit (not shared with other appliances).
-
The circuit must have the correct breaker and wire gauge.
-
No extension cords. Ever.
🔌 Plug Types Matter
PTACs come with different plug configurations based on amperage:
| Amperage | Plug Type | Typical Breaker | Power Cord Example |
|---|---|---|---|
| 15A | NEMA 6-15P | 15A breaker | 250V / 15A cord |
| 20A | NEMA 6-20P | 20A breaker | 250V / 20A cord |
| 30A | NEMA 6-30P | 30A breaker | 250V / 30A cord |
Make sure your wall outlet matches the plug on your PTAC model. Mismatched circuits can lead to tripped breakers — or worse.
Jake’s Safety Reminder ⚠️
“If you’re not sure what kind of outlet you have, or if your panel can handle a 230V line, bring in an electrician for an hour. That’s a small price to pay for peace of mind.”
Learn more about code compliance from the NFPA – National Electrical Code.
🧱 Wall Sleeve 101: Cutting, Mounting, and Sealing
The wall sleeve is the unsung hero of your PTAC system. It’s what supports the entire chassis, directs condensation drainage, and prevents outdoor air and moisture from sneaking inside.
The Amana wall sleeve is 42 inches wide and 16 inches high — a standard PTAC size across brands.
🪚 Step 1: Measure and Mark the Opening
-
Identify a clear section of wall free from plumbing or wiring.
-
Use a stud finder to mark joists and avoid cutting through load-bearing areas.
-
Outline a 42" x 16" rectangle with a pencil and level.
🧩 Step 2: Cut the Opening
-
Cut interior drywall or paneling first.
-
Drill pilot holes through each corner to mark the outside.
-
Move outside and cut the exterior surface (vinyl, wood, brick, etc.).
-
For masonry, use a masonry blade or hammer drill with patience — take your time.
🧱 Step 3: Install the Sleeve
-
Slide the sleeve into the opening until it’s flush inside and slightly tilted 1/4 inch outward for drainage.
-
Use screws to secure the sleeve to framing.
-
Seal the perimeter with silicone caulk or flashing tape to weatherproof.
Jake’s Pro Tip 🧠:
“Get that slope right. If you install it level or tilted inward, condensation can drip inside. Always slope outward, even slightly — trust me, it’s worth the extra check with a level.”
Need visuals? See The Furnace Outlet – Wall Sleeve 101.
🌬 Installing the Amana PTAC Chassis
Now comes the satisfying part — sliding the system into place.
Step-by-Step:
-
Inspect the unit. Check for dents, damaged fins, or loose packaging debris.
-
Align the chassis. Lift the PTAC by its base (not the front panel) and gently slide it into the sleeve.
-
Connect the power. Plug into your dedicated outlet — but don’t turn it on yet.
-
Check airflow. Look through the front grille; ensure the blower isn’t obstructed.
-
Attach the front cover. Snap or screw it into place according to Amana’s instructions.
Jake’s Tip 💬:
“Before securing the front panel, run the fan-only mode for a minute. You’ll catch any rubbing or vibration sounds while you still have access to fix them.”
🧩 Installing the Outdoor Grille
Your PTAC needs to breathe — the grille allows exhaust air to exit and fresh air to circulate. It also protects coils from debris and pests.
-
Align the grille’s mounting holes with the sleeve flanges.
-
Attach using stainless-steel screws (they resist corrosion).
-
Make sure louvers angle downward to block rainwater intrusion.
Jake’s Field Tip 🛠️:
“I’ve seen people install these upside down — don’t. The downward angle is crucial for airflow and rain protection.”
💨 Sealing, Testing, and First Power-On
You’re almost there! But before you fire up your PTAC, take a few final steps.
✅ Seal It Tight
-
Use expanding foam or backer rod to fill any gaps between the sleeve and wall.
-
Apply weatherproof caulk around exterior trim.
-
Inside, run a small bead of silicone around the sleeve perimeter for a clean finish.
⚡ First Power-On Checklist
-
Flip on the breaker.
-
Set the thermostat to Cool mode.
-
Verify that air is flowing freely and the compressor starts after a few seconds.
-
Switch to Heat mode and test the heating coil or heat pump.
-
Inspect for condensate leaks at the drain edge of the sleeve.
Jake’s Tip 💬:
“Listen closely during that first run. A good PTAC purrs like a quiet fan — if you hear rattles, check your sleeve alignment and mounting bolts.”
⚒️ DIY vs. Professional Installation — When to Call a Pro
So, where’s the line between DIY and “call the expert”? Let’s be honest: not every job should be a solo mission.
✅ DIY-Friendly Tasks
-
Wall preparation and cutting
-
Mounting the sleeve
-
Installing grille and front panel
-
Sealing gaps
-
Initial testing
⚠️ Call a Professional For
-
Electrical wiring and breaker installation
-
Thick masonry wall cutting
-
Multiple-unit installs in commercial settings
-
Any structural changes
A pro can finish a PTAC install in 1–2 hours, ensuring compliance with local electrical codes and Amana’s warranty terms.
According to Energy.gov’s Installation Guide, improper electrical work or sleeve alignment are the two most common causes of early PTAC failures.
Jake’s Honest Advice 💬:
“If you can handle drywall and caulk, do it yourself. If you have to open your breaker box, call in a pro.”
🧠 Jake’s Troubleshooting and Setup Tips
Even a perfect install can run into a few hiccups. Here’s how to spot and fix common PTAC problems right away:
| Issue | Possible Cause | Quick Fix |
|---|---|---|
| Unit powers on but no cooling | Incorrect voltage / tripped breaker | Verify 230V power and reset breaker |
| Condensation leaks indoors | Sleeve not sloped outward | Re-shim or adjust slope |
| Rattling noise | Loose sleeve or grille screws | Tighten all hardware |
| Burning smell | Dust on heating coil (first run) | Normal; should clear in 5–10 minutes |
| No airflow | Dirty filter or fan obstruction | Clean filter and check blower wheel |
Jake’s Maintenance Rule 🧰:
“Every spring and fall, pop off the front cover, vacuum the coil, and rinse the filter. It’ll run quieter, cooler, and longer.”
Need more? The Amana PTAC Maintenance Guide has step-by-step visuals.
🧾 Final Checklist Before You Call It Done
Here’s my “Pro Sign-Off” list — run through this before declaring victory:
-
Dedicated 230V circuit verified
-
Sleeve installed with ¼” outward slope
-
Exterior grille mounted correctly (louvers down)
-
Unit seated flush and level inside
-
No rattles or vibration noises
-
Condensate draining outside
-
Thermostat responds properly
-
Caulking and insulation complete
-
Breaker labeled for PTAC circuit
If every box is checked, you just installed a professional-grade system — yourself.
Jake’s Parting Line 🧠:
“If your sleeve is straight, your power is safe, and your seal is tight — you just joined the ranks of pro-level installers.”
🧩 Common Mistakes First-Time Installers Make
I’ve seen a few recurring errors over the years — and if I can save you from them, I will.
-
Leveling the sleeve perfectly flat.
-
❌ Wrong. You want that outward slope for drainage.
-
-
Using the wrong power cord.
-
PTAC cords are model-specific. Always match your Amana unit’s amperage rating.
-
-
Forgetting to check wall thickness.
-
If your wall is thicker than 16", you may need an extension sleeve or brackets.
-
-
Blocking outdoor airflow.
-
Don’t install behind bushes or fences — it restricts ventilation.
-
-
Skipping sealant.
-
Air leaks make your PTAC work twice as hard.
-
Jake’s golden rule?
“Measure twice, cut once, seal everything.”
🧭 Final Thoughts: Should You DIY or Hire Out?
Installing an Amana PTAC yourself can save hundreds of dollars and give you that satisfying sense of I built this.
Just remember — it’s part carpentry, part electrical, part precision.
If you’ve got basic tools and aren’t afraid of a little wall dust, it’s completely doable.
If wiring diagrams make your eyes cross? Bring in a licensed electrician for that piece, then finish the rest yourself. You’ll still save time and money — and get it done right.
Jake’s Closing Words
“I’ve seen homeowners knock this out in an afternoon and pros overcomplicate it for days. The secret is patience, precision, and prep. Amana makes it simple — your job is just to follow through.”
When you’re ready to get started, make sure you’ve got the right tools, the right sleeve, and the right safety mindset. Then, your Amana Distinctions 12,000 BTU PTAC will keep your room perfectly comfortable for years — and you’ll know you made it happen.
In the next topic we will know more about: What’s the Best Wall Sleeve and Grille for Your Amana PTAC? Compatibility & Fit Tips


