Installing a heat pump system like a through-the-wall unit with heat pump functionality (Amana PBH073J35AA) can improve comfort and energy efficiency, but many homeowners ask: Can I install it myself, or do I need a professional?
Mike Sanders explains the pros, cons, safety considerations, and practical guidance for DIY-minded homeowners.
🔍 What Is a Heat Pump?
A heat pump heats and cools your home by transferring heat rather than generating it directly, providing energy-efficient comfort year-round.
✅ Cooling mode: Removes heat from indoors.
✅ Heating mode: Extracts heat from outdoor air, even in cool weather, and transfers it indoors.
Further reading:
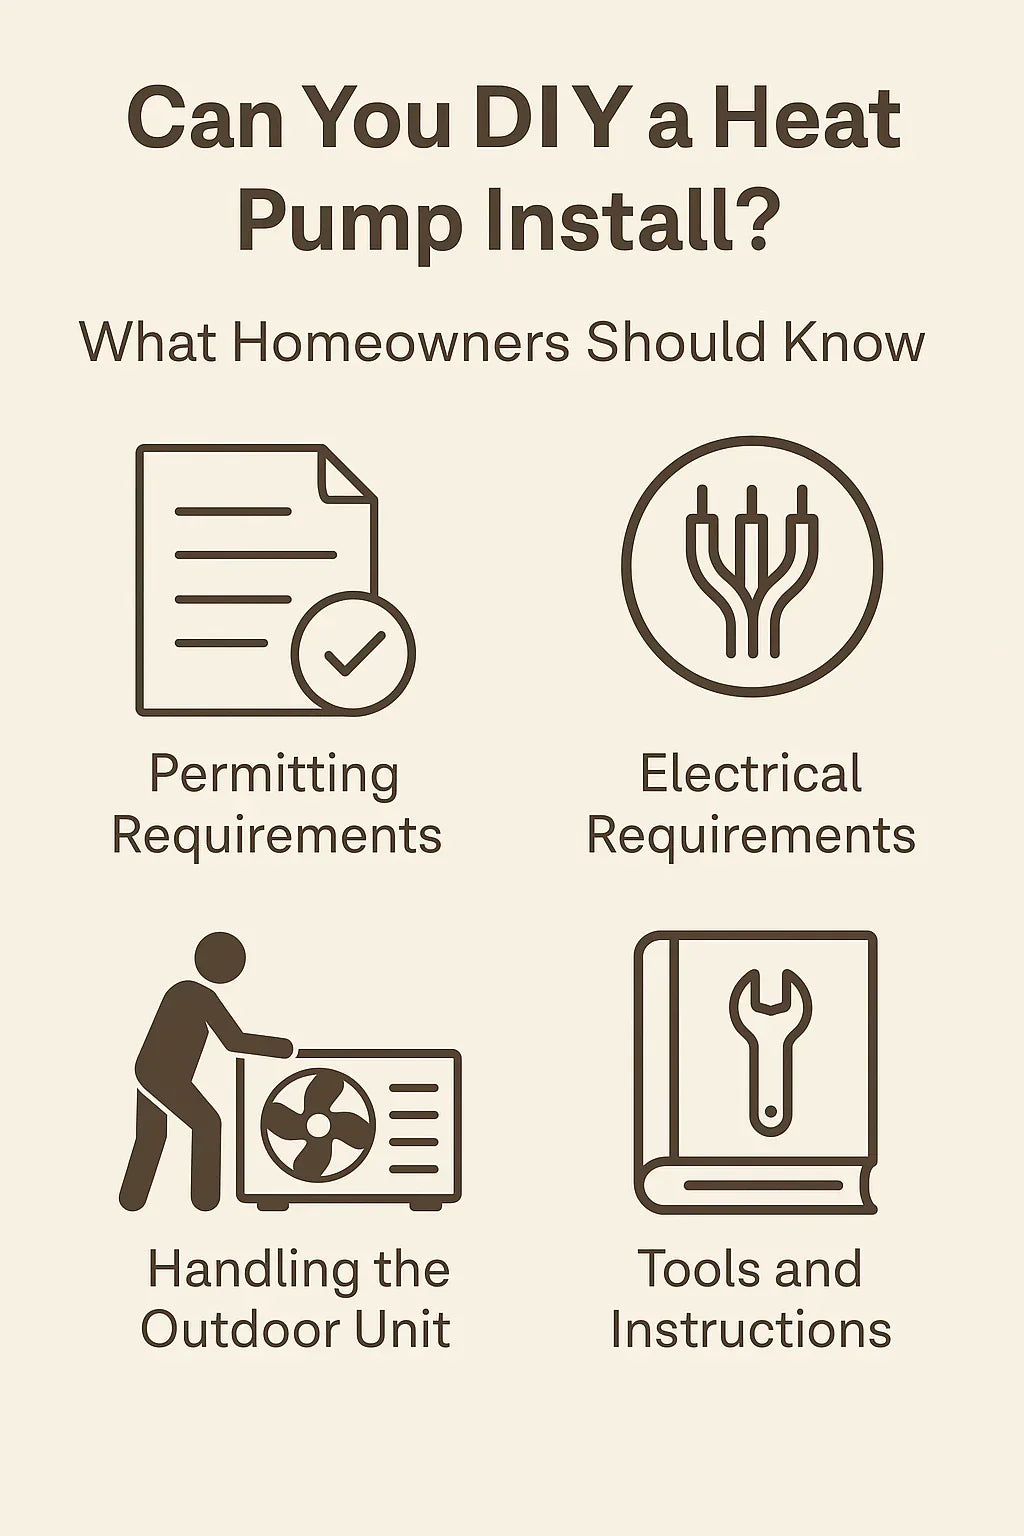
🛠️ Can You DIY a Through-the-Wall Heat Pump Install?
Yes, but only under certain conditions:
✅ You have strong DIY skills (electrical, carpentry, sealing).
✅ The unit is pre-charged and sealed (like most through-the-wall heat pump AC units).
✅ You have the correct 230/208V dedicated electrical line ready.
✅ You are comfortable cutting into exterior walls and installing wall sleeves.
✅ You understand local code requirements.
No, if:
❌ Your unit requires refrigerant line connections or vacuum charging. ❌ You lack the tools or experience for wall cutting and electrical work. ❌ Your local regulations require professional installation for code compliance.
Most through-the-wall heat pump AC units are designed for easier installation than split systems, but some homeowners may still prefer professional help for warranty protection and safety.
⚡ Electrical Considerations
✅ Units like the Amana PBH073J35AA require a dedicated 230/208V circuit.
✅ Confirm your panel can support the additional load.
✅ Use the correct outlet and breaker size.
✅ Electrical work should comply with local codes.
✅ If uncomfortable with electrical work, hire a licensed electrician.
🧱 Wall Sleeve and Framing Considerations
✅ Measure and cut the wall precisely to fit the wall sleeve.
✅ Ensure no plumbing or electrical wires are in the cut area.
✅ Frame the opening for structural support.
✅ Insert the sleeve with a slight outward tilt for drainage.
✅ Seal around the sleeve to prevent air and water leaks.
Further reading:
⚙️ Sealing and Insulation
✅ Seal gaps around the sleeve with weatherproof caulking.
✅ Insulate any gaps to prevent drafts.
✅ Check drainage holes to ensure moisture flows outward.
🧰 Tools You Will Need
-
Stud finder
-
Level
-
Saw for cutting drywall and sheathing
-
Caulking gun and weatherproof sealant
-
Insulation foam
-
Screwdriver and drill
-
Electrical tester
-
Measuring tape
-
Ladder (if installing higher on the wall)
⏱️ Installation Time Estimate
✅ Experienced DIYers: 4-8 hours, depending on electrical readiness and wall cutting.
✅ First-time installers: May require 1-2 days, including planning and finishing.
🛡️ Warranty Considerations
Many manufacturers require professional installation to maintain full warranty coverage.
✅ Check the product warranty terms.
✅ Keep all receipts and installation documentation.
✅ Confirm if DIY installation impacts your coverage.
🔧 When to Call a Professional
✅ No dedicated electrical line installed.
✅ Complex framing or structural modifications are needed.
✅ Uncertainty about local code requirements.
✅ To preserve full warranty protection.
✅ If uncomfortable with electrical or wall-cutting work.
✅ Conclusion: Should You DIY a Heat Pump Install?
You can DIY a through-the-wall heat pump installation if you have strong DIY skills, the correct electrical setup, and confidence in cutting and sealing your wall.
However, many homeowners opt for professional installation to:
✅ Ensure code compliance
✅ Preserve warranty coverage
✅ Guarantee safety
✅ Avoid unexpected complications
If you’re unsure, consulting with an HVAC professional before beginning can save time, money, and frustration while ensuring your unit performs efficiently and safely.


