Newsletter Subscribe
Enter your email address below and subscribe to our newsletter

HVAC made simple
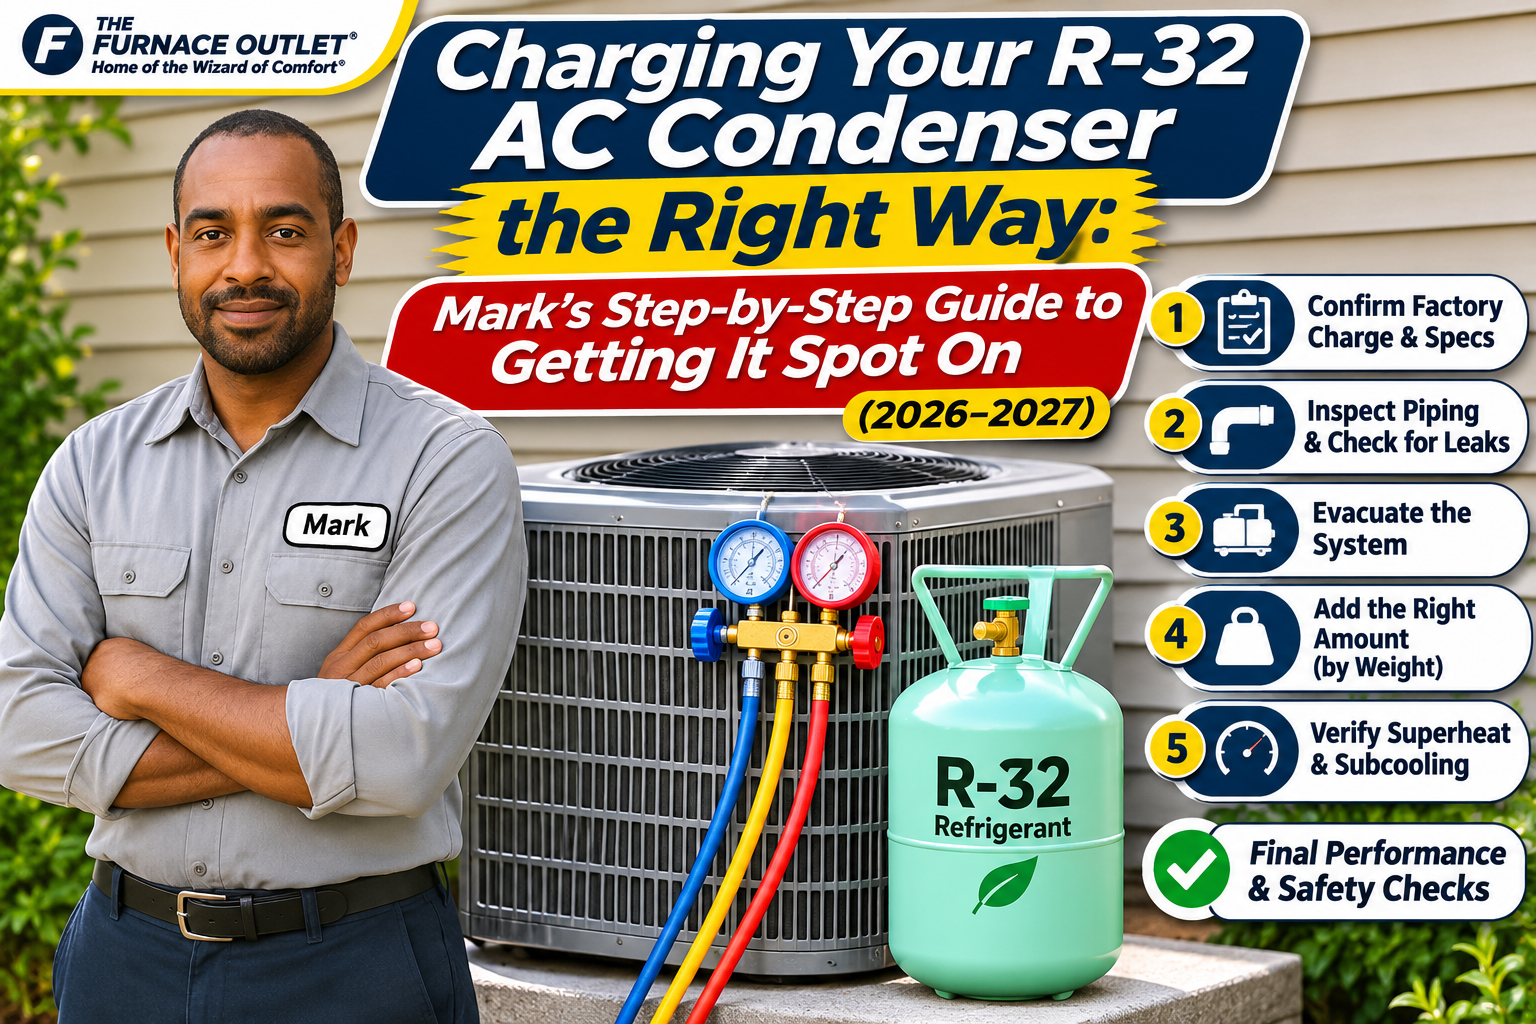
By Mark Callahan | HVAC Installation Specialist | The Furnace Outlet | Updated November 2026
When installing a new air conditioner, one of the most important steps is ensuring the refrigerant charge is correct. Too little refrigerant can reduce cooling performance, while excessive refrigerant can create abnormal operating conditions, increase compressor stress, and potentially damage expensive components. With R-32 becoming increasingly common in modern residential air-conditioning equipment, understanding the correct charging process is especially important.
I’ve worked on enough HVAC installations to know that refrigerant charging isn’t simply a matter of connecting a cylinder and watching a pressure gauge. A properly charged system depends on accurate measurements, correct airflow, manufacturer specifications, and careful verification. R-32 also requires additional safety precautions because it belongs to the A2L refrigerant classification, meaning it has lower flammability than highly flammable refrigerants but is not nonflammable.
In this guide, I’ll explain how professional technicians approach R-32 condenser charging, which measurements matter, how superheat and subcooling are used, and the mistakes that can turn a straightforward installation into an expensive repair.
R-32, also known as difluoromethane, is a single-component refrigerant used in air conditioners and heat pumps specifically designed for it. Unlike R-410A, which is a refrigerant blend, R-32 consists of one refrigerant component. It also has a lower global warming potential than R-410A, making it one of the refrigerants adopted during the industry’s transition toward lower-GWP cooling systems. However, R-32 is not interchangeable with R-410A. An air conditioner designed for R-410A cannot simply be converted to R-32 by changing the refrigerant.
Compressors, controls, safety components, refrigerant charge limits, and other system characteristics must be suitable for R-32 operation. The Air Conditioning Contractors of America explains these equipment compatibility and safety considerations in its guidance on A2L refrigerants.
Before any charging work begins, the technician must confirm the refrigerant designation on the equipment nameplate and review the exact manufacturer’s installation instructions.
Most new residential split-system condensers leave the factory containing a specified amount of refrigerant. That factory charge is often designed to accommodate a particular combination of approved indoor equipment and a specified refrigerant line-set length. The amount already contained in the outdoor unit is not necessarily the final charge required for every installation. If the actual refrigerant piping exceeds the manufacturer’s factory-charge allowance, additional refrigerant may be necessary. Different indoor coil configurations or installation conditions may also affect the approved charging procedure.
The technician should identify the factory charge from the nameplate, verify the approved indoor equipment combination, and consult the manufacturer’s charging instructions. Never assume that two condensers of the same nominal tonnage contain identical refrigerant quantities. The correct charge is determined by the specific equipment and installation, not by capacity alone.
Before charging, the entire refrigerant circuit should be inspected for proper installation. This includes checking line-set routing, pipe dimensions, connection quality, insulation, and compliance with manufacturer limits for piping length and elevation differences. A damaged refrigerant line, incorrect connection, or installation outside the approved piping limits can interfere with system performance.
The technician must also verify that the indoor coil and metering device are approved for use with the outdoor condenser. On systems requiring field-installed refrigerant piping, the manufacturer’s procedures for pressure testing and leak detection must be completed before evacuation and charging. Any leak must be corrected before refrigerant is introduced. Adding refrigerant to a leaking system without repairing the underlying problem wastes refrigerant and may expose the compressor to further damage.
R-32 is classified as an A2L refrigerant, so technicians must follow the safety procedures specified for mildly flammable refrigerants. The work area should be adequately ventilated, potential ignition sources should be controlled, and appropriate protective equipment should be used. Service tools, including recovery equipment, vacuum pumps, leak detectors, and other devices where applicable, must be suitable for the refrigerant and the work being performed.
Technicians should also observe electrical isolation procedures and confirm that required safety components are installed and functioning. The Air-Conditioning, Heating, and Refrigeration Institute provides detailed recommendations in its A2L Equipment Best Practices guide. These precautions aren’t optional details. They are part of completing a safe, professional installation.
After the refrigerant piping is properly installed, the technician performs the required pressure test using the manufacturer’s approved procedure. Dry nitrogen is commonly used for pressure testing because it helps identify leaks without introducing moisture into the refrigeration circuit. The exact test pressure, duration, and acceptance criteria must come from the equipment manufacturer. Once the system passes the required leak checks, the field-installed piping and indoor components are evacuated using appropriate equipment.
Evacuation removes air and moisture that could otherwise interfere with refrigeration performance or damage internal components. A micron gauge allows the technician to evaluate evacuation quality and determine whether the system meets the manufacturer’s vacuum and standing-test requirements. For a new precharged split system, the factory charge remains isolated as specified during the applicable installation procedures. The technician should never release the factory charge into untested or inadequately evacuated piping.
This is where accurate measurement becomes particularly important. If the manufacturer specifies additional refrigerant for piping beyond the factory-charge allowance, the technician calculates the required amount using the approved charging schedule. For example, imagine a hypothetical system that includes a factory charge covering 15 feet of piping and specifies an additional 0.6 ounce per foot beyond that allowance.
If the actual line-set length is 35 feet, the additional length is 20 feet, resulting in a calculated addition of 12 ounces. These numbers are examples only and must never be applied to an actual condenser without consulting its installation manual. Some equipment has different charging requirements, while other systems use different procedures altogether.
Daikin’s R-32 installation documentation illustrates why refrigerant quantities must be calculated according to the exact equipment and piping configuration. The goal is to establish the correct charge from manufacturer data rather than estimating it from pressure readings.
When additional refrigerant is required, an accurate electronic refrigerant scale is essential. Charging by weight allows the technician to measure the amount transferred into the system and compare it with the manufacturer’s calculated requirement. The refrigerant cylinder, charging connections, valve positions, and refrigerant transfer method must follow the specific equipment instructions.
Although R-32 is a single-component refrigerant, many manufacturers specify liquid-phase charging procedures. The technician must follow those instructions rather than assuming that any charging method is acceptable. Charging should also account for the maximum allowable refrigerant quantity and any applicable installation safety limits. An overcharge can create serious operating problems, so the technician must not add extra refrigerant simply because the system appears to be cooling slowly. Accurate weighing is particularly important when performing a complete recharge after a repair.
One of the biggest charging mistakes I see is attempting to correct refrigerant measurements before checking indoor airflow. A restricted air filter, incorrect blower setting, dirty evaporator coil, or undersized duct system can affect refrigerant pressures and temperatures. If airflow is inadequate, the technician may incorrectly interpret the readings as a refrigerant shortage.
The indoor airflow should be evaluated against the equipment manufacturer’s specifications. For many conventional central cooling systems, airflow may be approximately 350–400 CFM per ton, but the correct target depends on the actual equipment, humidity requirements, and operating conditions. A 3-ton system, for example, may operate around 1,050–1,200 CFM under certain configurations. That is a general illustration, not a universal requirement.
Before final charge verification, the technician should confirm that filters, coils, blower operation, duct static pressure, and thermostat settings are appropriate. Otherwise, even accurate refrigerant measurements may lead to the wrong diagnosis.
Superheat and subcooling help technicians evaluate refrigerant-system operation, but the correct charging method depends on the equipment design. Superheat describes how much warmer the suction vapor is than its saturation temperature at the measured pressure. Subcooling describes how much cooler the liquid refrigerant is than its saturation temperature at the measured pressure.
On conventional systems with fixed metering devices, manufacturers may specify a target-superheat charging procedure. Systems equipped with thermostatic expansion valves may use a target-subcooling procedure. However, modern inverter-driven systems and equipment using electronic expansion valves may require specialized operating modes, weight-based charging, or manufacturer-specific diagnostic procedures.
The California Energy Code refrigerant charge verification guidance explains the distinction between superheat and subcooling methods for applicable conventional systems. The important point is that there is no universal superheat or subcooling target for every R-32 air conditioner. A technician must use the correct refrigerant pressure-temperature data, appropriate measurements, and the manufacturer’s approved procedure.
Refrigerant readings can change significantly during startup and when the system adjusts its operating capacity. Before evaluating final performance, the technician should allow the equipment to stabilize under the conditions specified by the manufacturer. Outdoor temperature, indoor return-air temperature, humidity, compressor operating stage, and blower airflow all influence system readings.
For inverter-driven systems, the manufacturer may require a particular charging or test mode to produce meaningful measurements. If outdoor conditions fall outside the manufacturer’s permitted charging range, the technician may need to rely on the specified weight-based procedure and schedule final performance verification when conditions are suitable.
Adding refrigerant repeatedly while the system is still stabilizing can result in overcharging. Patience and accurate measurements are far more valuable than rushing toward a particular gauge reading.
Once the refrigerant charge has been established and verified, the technician should complete the manufacturer’s commissioning procedure. This may include checking operating pressures and temperatures, supply and return air conditions, compressor current, indoor airflow, condensate drainage, electrical operation, and communication between system components.
Refrigerant connections should be inspected for leaks using approved methods. The technician should also confirm that all required service caps, covers, insulation, and safety components are properly installed. The final refrigerant quantity and any field-added charge should be documented as required. A detailed commissioning record provides useful information for future maintenance and helps establish that the system was operating correctly when installed.
One of the most common mistakes is charging an air conditioner based on pressure alone. Refrigerant pressure varies with operating conditions, so a single reading cannot establish whether the system contains the correct amount. Another mistake is adding refrigerant before investigating airflow problems or confirming that a leak exists.
Overcharging can be just as damaging as undercharging, particularly when technicians ignore the manufacturer’s maximum allowable charge. Using incorrect refrigerant, unsuitable tools, or procedures intended for another model can also create serious safety and performance problems. Finally, skipping proper documentation makes future troubleshooting more difficult. A careful installation should leave the homeowner with a properly commissioned system and a record of the work performed.
Can you charge an R-32 AC condenser using pressure alone? No. Pressure readings are useful diagnostic information, but they must be interpreted alongside temperatures, airflow, equipment operating conditions, and manufacturer specifications.
Does R-32 need to be charged as a liquid? Many R-32 manufacturers specify liquid-phase charging. Because R-32 is a single-component refrigerant, the reason is not blend-composition preservation. Follow the exact manufacturer’s charging procedure.
Can R-32 be added to an R-410A air conditioner? No. R-32 must only be used in equipment specifically approved for that refrigerant.
What happens if an R-32 system is overcharged? Excess refrigerant can create abnormal pressures and operating conditions, reduce performance, and potentially damage the compressor.
Can homeowners recharge an R-32 condenser themselves? Refrigerant charging requires specialized tools, safety procedures, and technical knowledge. In the United States, technicians performing refrigerant service on covered stationary equipment generally require EPA Section 608 certification.
When I commission an R-32 air-conditioning system, I don’t begin by asking what pressure the gauges should show. I begin by checking the equipment specifications, refrigerant piping, factory charge, airflow, and manufacturer’s instructions. Those details determine how the system should be charged and how its performance should be verified.
My recommendation for any new R-32 installation is to have a qualified technician complete the charging and commissioning process, document the refrigerant quantity, and verify that the system operates within its approved limits. A properly charged condenser should deliver dependable cooling without unnecessary compressor stress or wasted electricity. Getting the charge right isn’t about reaching a magic pressure number. It’s about following the correct process and verifying the entire system.