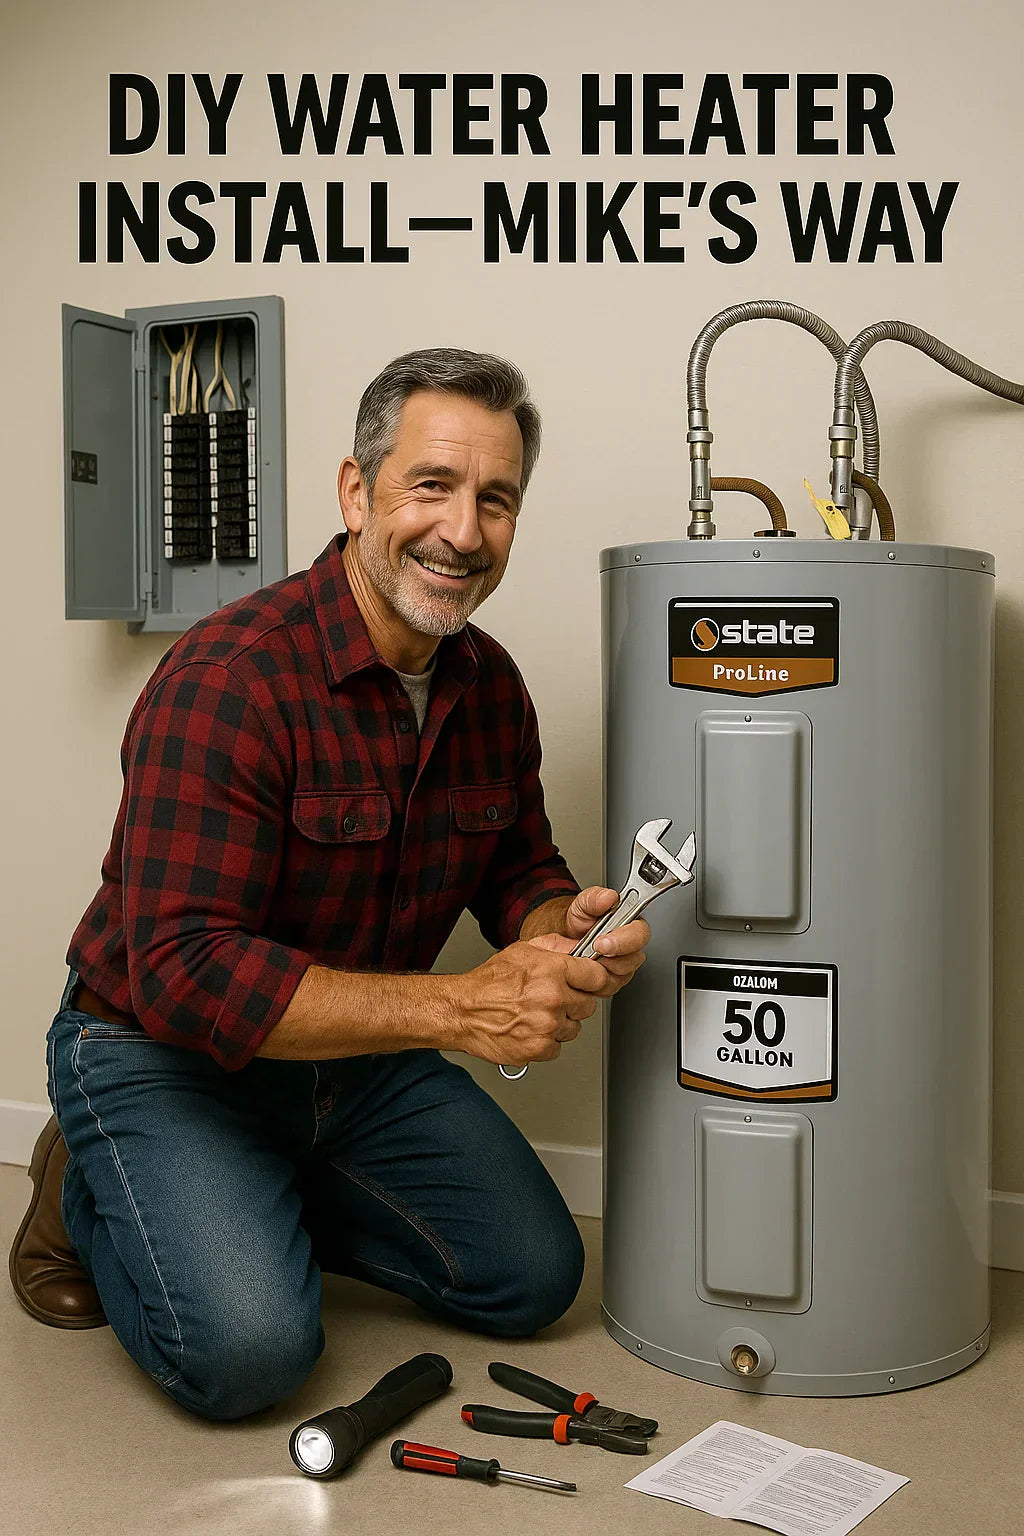
Hey there—Mike Sanders here. If you’ve just picked up a new 50-gallon tall electric water heater, like the dependable State ProLine Series, and you're thinking, “Can I install this myself?”—you're in the right place.
This guide walks you through the entire DIY process step by step, from prep work to final testing. It’s written for serious DIY homeowners who are comfortable around plumbing and electrical systems—but even if you’re a first-timer, you’ll find this guide clear and actionable.
📦 What You’ll Need Before You Begin
🔧 Tools
-
Pipe wrench
-
Channel locks
-
Flathead and Phillips screwdrivers
-
Tubing cutter
-
Multimeter
-
Voltage tester
-
Bucket & rags
-
Level
-
Pipe dope or Teflon tape
-
Cordless drill (optional)
🧰 Materials
-
Flexible water heater connector hoses (hot & cold)
-
Pipe insulation
-
10/2 or 10/3 NM-B cable (if replacing wiring)
-
Electrical whip (if using armored cable)
-
Drain pan (especially if installing in attic or upstairs)
-
Water heater stand (if required by code)
-
Expansion tank (check local codes)
⚠️ Safety Gear
-
Work gloves
-
Safety glasses
-
Non-contact voltage tester
⚠️ Safety First: Before You Touch Anything
-
Turn off power at the breaker panel (usually 240V double pole).
-
Turn off the water supply to the water heater.
-
Double-check power is off at the unit using a multimeter or non-contact voltage tester.
-
Drain the old tank completely using the drain valve and a garden hose.
Mike’s Tip: Check your local code. Some areas require permits, expansion tanks, or seismic straps. Don’t guess—Energy.gov has great general guidance, and your local inspector or utility may offer homeowner resources.
🔄 Step 1: Remove the Old Water Heater
🛠 Disconnect Water Supply
-
Use channel locks or a pipe wrench to loosen the cold water inlet and hot water outlet pipes.
-
If your old unit has copper connections, you may need to cut the pipes with a tubing cutter.
⚡ Disconnect Electrical
-
Remove the access panel and disconnect the black and red hot wires and ground wire.
-
Cap the wires temporarily using wire nuts for safety.
💧 Drain the Tank
-
Connect a garden hose to the drain valve at the bottom.
-
Open a hot water faucet in the house to release vacuum.
-
Fully drain the unit—this can take 20–30 minutes for a 50-gallon tank.
♻️ Remove the Unit
-
Water heaters are heavy. Use a dolly or get help.
-
Dispose of the unit according to local recycling or appliance disposal rules.
📐 Step 2: Prep the New Installation Area
🧼 Clean the floor and surrounding area
-
Make sure the surface is level and free of debris.
🛑 Check clearance
-
For a tall 50-gallon tank, ensure minimum clearance:
-
2–3” on each side
-
12” in front for service access
-
Ceiling height of at least 60–65”
-
-
If installing in a closet, verify that the door clears the tank top and connections.
💦 Install a Drain Pan
-
Especially important in upstairs or finished space installations.
-
Run the drain line to a floor drain, sump pump, or exterior line.
Mike’s Tip: Some codes now require a dedicated shutoff valve within a foot of the water heater. Check with your building department or local plumber.
🔩 Step 3: Position the New Tank
-
Carefully move the State ProLine 50-gallon electric heater into place.
-
Line it up with your existing water and electrical lines.
-
Double-check that it’s level front to back and side to side using a bubble level.
🔌 Step 4: Electrical Hookup
⚠️ Only attempt this step if you are confident working with 240V electrical circuits. Otherwise, call a licensed electrician.
🧷 Strip wires
-
Open the top access panel.
-
Feed the electrical whip or cable into the strain relief connector on the tank.
-
Strip about ¾” of insulation from each wire.
⚡ Connect wires
-
Black → Black, Red → Red, and Ground → Green screw or tank chassis.
-
Tighten all connections securely with wire nuts.
-
Reattach the access panel and insulation cover.
Mike’s Tip: Use 10-gauge wire and a 30-amp double-pole breaker per NEC. Check the State ProLine spec sheet to match breaker and wire size.
🚰 Step 5: Connect Water Lines
-
Wrap Teflon tape or apply pipe dope to all male-threaded fittings.
-
Attach cold water supply line to the inlet and hot water to the outlet using flexible connector hoses.
-
Tighten fittings securely but avoid over-torquing.
🧪 Check for leaks
-
Slowly open the cold water valve and let the tank fill.
-
Leave a hot water faucet open until you get a steady stream—this ensures air is purged.
-
Inspect all joints for leaks.
🧯 Step 6: Pressure & Temperature Relief Valve
-
This valve comes factory-installed on most units like the State ProLine.
-
Connect a discharge pipe to the T&P valve outlet and run it to within 6 inches of a floor drain or pan.
Never cap or plug the T&P valve. It’s a safety device that protects against overpressure or overheating.
🔌 Step 7: Power It Up
-
Confirm the tank is full (you must purge air from the tank before turning it on).
-
Flip the 240V breaker to the “ON” position.
-
The unit will begin heating. Expect full temp in about 1.5–2 hours.
🔥 Check for operation
-
Listen for gentle heating sounds (not loud boiling).
-
In a few hours, test hot water from multiple faucets.
Mike’s Tip: Set the thermostat to 120°F for energy savings and safety. You can adjust this under the access panel with a flat screwdriver.
🛠 Maintenance After Installation
🧼 Flush Annually
-
Attach a garden hose to the drain valve once a year to remove sediment.
🔩 Check Anode Rod
-
After 3–5 years, inspect and replace the anode rod to prevent corrosion.
💡 Monitor Electrical Panel
-
If your breaker trips frequently, you may have a wiring issue or faulty element.
⚖️ Pros & Cons of DIY Installation
✅ Pros
-
Save $500–$1,200 in labor
-
Learn your system inside and out
-
Flexibility with scheduling
❌ Cons
-
Risk of incorrect wiring or leaks
-
May void warranty if not permitted/inspected
-
Plumbing/electrical mistakes can be costly
If you're unsure about electrical or local code requirements, it’s best to consult a licensed contractor.
🧭 Local Codes and Permits
Check with your local building department:
-
Many areas require permits even for like-for-like water heater swaps
-
Expansion tanks are often required if you have a closed-loop plumbing system
-
In earthquake-prone zones like California, you’ll need seismic straps
Visit your city’s permit website or use resources like EnergyStar.gov for rebate and efficiency info.
📘 External Resources for DIY Installation
🏁 Final Thoughts From Mike
Installing a 50-gallon tall electric water heater is absolutely doable if you’ve got basic plumbing and electrical know-how. Take your time. Double-check your connections. Use the right tools. And don’t be afraid to ask your inspector or hardware store crew for help if needed.
In the next topic we will know more about: What Makes the State ProLine Series Different from Other 50-Gallon Water Heaters?


