Key Takeaways
-
Gaps Around Unit: Lets in hot air — seal with foam, weatherstrip, caulk.
-
Wrong Tilt: Causes leaks/mold — tilt outward 1⅛–1½ in.
-
Weak Support: Risk of fall/frame damage — use rated metal brackets.
-
Shared Circuit: Trips breakers/fire risk — use dedicated, correct-sized circuit.
-
Skipping Manual: Misses safety/settings — follow it step-by-step.
The Core Problem: Small Mistakes, Big Energy Waste

If a window or through-the-wall AC is installed with tiny gaps, the unit fights against outdoor heat all day. That means higher bills and less comfort. Many homeowners also set the unit level (or tilted the wrong way), so water runs indoors instead of outside. Others skip sturdy brackets or share the AC on a busy electrical circuit, which can trip breakers and even void warranties. This guide keeps things simple: we’ll show you the most common errors and how to avoid them.
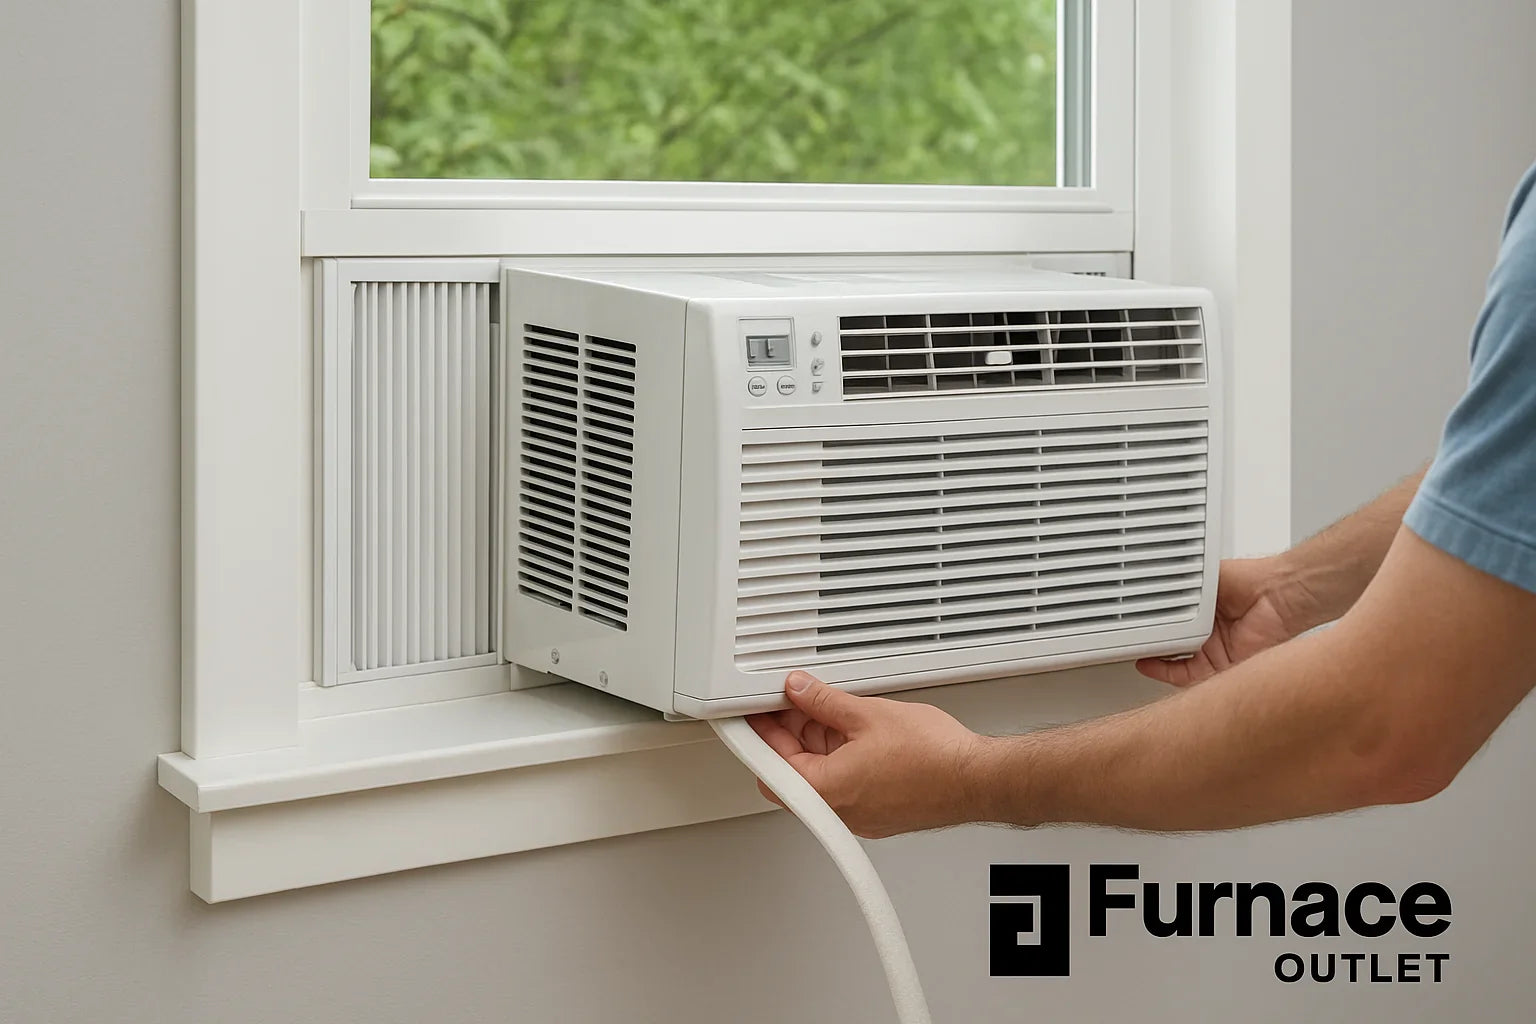
Seal It Tight: Stop Air Leaks Around the Frame

Even a pencil-thin gap around the chassis can undo a lot of cooling. Hot air seeps in, cooled air escapes, and the compressor runs longer. Start by dry-fitting the unit so the side panels reach the frame without bunching. Use the manufacturer’s foam strips to fill small gaps, then add quality weatherstripping where the sash meets the unit. For stubborn edges or older windows, run a neat bead of exterior-grade caulk along the outside perimeter (don’t block weep holes). On through-the-wall installs, add rigid insulation panels to close larger voids before trim. After sealing, stand inside on a sunny day and look for daylight; if you see light, you have a leak. A smoke pencil (or even a stick of incense) can also reveal drafts. Tight sealing can cut waste noticeably and makes rooms feel cooler at the same thermostat setting.
Set the Right Tilt: Help Condensate Flow Outside

Air conditioners pull water from the air and must drain it outdoors. If the unit is level—or, worse, tilted inward—condensate can drip into the room, stain walls, and feed mold. A small outward tilt is enough: aim for roughly 1⅛ to 1½ inches lower at the back of a typical window unit (about a 3–4° slope). Use a level during setting, then recheck after tightening brackets and closing the sash since things can shift. Confirm drainage: run the unit on cool for 10–15 minutes and watch the outdoor edge. You should see or hear water moving to the back pan and out. Never create a steep angle; too much tilt can rattle the fan or affect how the compressor oil settles. If you’re using a sleeve for a through-the-wall model, follow the sleeve’s slope spec and keep the drain path clear of caulk or foam.
Brackets & Support: Protect People, Windows, and the Unit

An AC can weigh 40–100+ pounds. Balancing that on a sill with a couple of screws—or a stack of wood shims—isn’t safe. Use metal support brackets rated for your unit’s weight and size. Brackets transfer the load to the building frame and cut vibration, which also lowers noise. Install per the bracket instructions: pre-drill pilot holes, hit studs or solid framing (not just trim), and tighten hardware evenly. On masonry, use proper anchors. After mounting, check that the bracket doesn’t block the drain path or force the unit to tilt inward. Lock the window sash with the included screws or add track locks so the sash can’t lift. For through-the-wall units, fasten the sleeve square and solid; then secure the chassis to the sleeve per the manual. Safer support protects pedestrians below, prevents window damage, and helps the AC last longer.
Power & Code Basics: The Dedicated Circuit Rule of Thumb

Electrical mistakes are both common and risky. Many window units under ~10,000 BTU draw enough current that sharing the circuit with lights or outlets can trip breakers. Larger 208/230-volt models often require 20-amp service. The key rule: follow the nameplate and provide a dedicated circuit when required, especially for units over about 7.5 amps. Use the correct receptacle type and wire gauge, keep cords visible (never buried), and avoid extension cords unless the manufacturer specifically allows a heavy-duty, short option. If you’re unsure about load or panel space, talk to a licensed electrician or visit our Help Center. A clean electrical setup prevents voltage drops that hurt compressors, avoids nuisance trips, and keeps warranties intact. When in doubt, don’t guess—size the breaker and wiring exactly to the label and manual.
Follow the Manual: Small Specs That Prevent Big Problems

The manual isn’t filler—it’s a safety and performance guide written for your exact model. Inside you’ll find required clearances for airflow and service, the correct tilt, how to secure side baffles, the right filter type, and any drain adapters or plugs. You’ll also see important notes on dedicated circuits, GFCI/AFCI requirements (if applicable), and mounting fastener sizes. Skipping these details can lead to poor cooling (from blocked coils or wrong fan settings), water leaks (from missed drain steps), or warranty issues (from improper power). Before installation, skim the whole booklet once, then keep it open while you work. Mark key steps with sticky notes. After install, write the filter cleaning schedule inside the cover. If your model supports smart features, set them up now; stable fan settings can smooth airflow and reduce temperature swings.
Plan the Install: Sizing, Placement, and Clearances

Good planning prevents most headaches. First, choose the right capacity: a unit that’s too large will short-cycle (on/off too often), and one that’s too small will run constantly and still feel weak. Use our Sizing Guide for a quick checklist. Next, pick a location with a dedicated outlet and shaded exterior exposure when possible—shade helps efficiency. Keep at least 2 inches clearance around sides/top/back if your manual calls for it, and don’t block the discharge grille with curtains or furniture. If you’re cutting a wall sleeve, verify stud locations and avoid exterior obstructions. Seal the sleeve to the wall, then install the chassis.
Still deciding between formats? Compare Window Units vs Through-the-Wall ACs for your room type
DIY vs. Pro: Cost, Comfort, and System Life
DIY 
Want a quick primer before you decide? Scan our HVAC Tips and this related explainer on PTAC capacity math: PTAC Sizing Chart & Guide.
After the Install: Easy Maintenance That Keeps Efficiency High

Good maintenance starts day one. Filters: check monthly; clean or replace as directed. A dirty filter chokes airflow, which can freeze the coil and cause water to spill indoors. Drainage: confirm water drips outside on a hot, humid day. If not, clear the pan outlet. Coils: dust the indoor grille and vacuum the intake; if fins are matted, schedule a cleaning. Seals: reinspect your weatherstripping at season start; sun and movement can loosen it. Noise: a new rattle often means a fastener backed out—re-tighten evenly. In spring, do a simple test run before the first heat wave to catch issues early. For broader how-tos and seasonal checklists, see our HVAC Tips
Need parts like trim kits or pads? Check Accessories.
FAQs (Quick Answers)
Q: What’s the correct tilt for a window AC?
A: Aim the back about 1⅛–1½ inches lower than the front so water drains outside.
Q: Do I really need a dedicated circuit?
A: If the nameplate or manual calls for it—or the unit draws around 7.5 amps or more—yes. It prevents trips and protects the compressor.
Q: How do I know if my unit is the right size?
A: Use room area, ceiling height, sun exposure, and insulation as inputs. Start with our Sizing Guide.
Q: My unit leaks water indoors. What should I check first?
A: Verify the outward tilt, clear the drain hole, and clean the filter so the coil doesn’t ice up.
Q: Are brackets optional on a window unit?
A: Use rated brackets. They protect the window, reduce vibration, and lower the risk of the unit shifting or falling.
Q: How often should I clean the filter?
A: Check monthly and clean/replace as directed. In dusty homes or heavy use, inspect every 2–4 weeks.
Q: When should I call a pro?
A: If you need a new circuit, a wall sleeve cut, or you’re unsure about sealing/structural support. A pro gets it right and keeps your warranty safe.


