Key Takeaways
-
Power & Wiring: Correct voltage, test LCDI/GFCI, tight connections prevent shocks
-
Level & Seal: Sleeve sealed, airflow clear — avoid rattles, leaks, drainage issues.
-
Thermostat Accuracy: Within ~3°F — maintain comfort, save energy.
-
Temp Change: Heat rise 40–70°F, cool drop 18–22°F — confirm capacity.
-
Airflow & Noise: Normal flow/sound — protect compressor, improve comfort.
Why a First Test Run Matters (Before Anyone Sleeps in the Room)

A PTAC might power on and blow air, but that doesn’t prove it’s safe or sized right. A structured first test run catches small mistakes like a loose ground, a clogged filter, or a crooked sleeve before they harm the unit or waste energy. In hotels, senior living, and home offices, a missed problem shows up later as hot rooms, water on the floor, or burnt smells at 2 AM. In this guide, we use simple checks any careful installer or homeowner can follow, with a few pro-level measurements to lock in performance. You’ll learn how to test the power path (voltage and the LCDI cord), confirm thermostat accuracy, measure heating rise and cooling drop, and verify airflow and noise. We’ll also show what normal sounds like, what isn’t normal, and when to call a technician.
If you’re still choosing gear, start with our PTAC Sizing Chart & Guide to match capacity to the room.
Quick Pre-Test Safety Checks: Power, Cord, and Wiring

Start at the panel: confirm the breaker size matches the unit’s nameplate. At the outlet, use a meter to verify voltage is within about ±10% of rating. For 208/230V units with a Leakage Current Detection and Interruption (LCDI) cord: plug in, press RESET, press TEST (you should hear a click and see the reset pop), then press RESET again so it latches. A cord that won’t reset needs replacement before you continue. Remove the front panel and tug-test wire terminations—snug, no copper showing. Confirm the ground is tight and bonded to metal parts. If your unit uses a wall thermostat, double-check the wiring matches the unit type (heat pump vs. electric heat only). These steps prevent shock hazards, nuisance trips, and overheated terminals. Keep a simple log as you go (breaker size, measured voltage, LCDI test pass/fail). That log becomes your baseline for future service calls and warranty claims.
If you need product help during this step, check our Help Center.
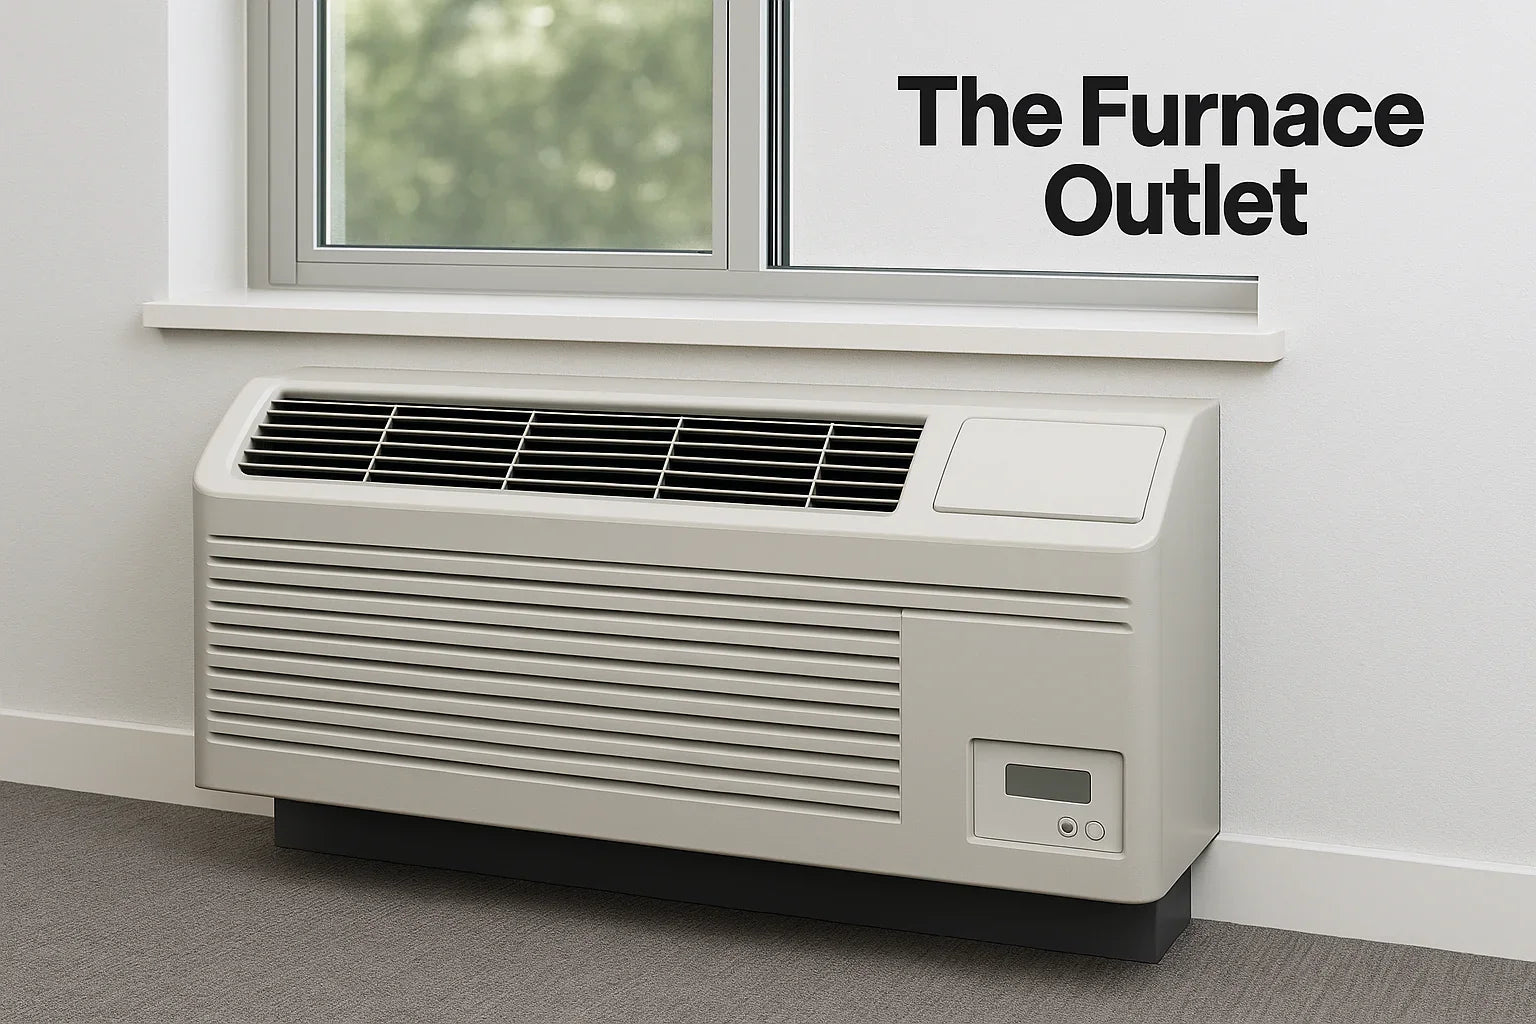
Mechanical Fit: Sleeve, Level, Seals, and Clearances

A solid mount makes a quiet, dry, efficient PTAC. Slide the chassis fully into the wall sleeve so the gasket seals all the way around. Use a small level: side-to-side should be level; a slight tilt to the outdoor side helps drainage. Tighten the four mounting screws (two per side) so the unit doesn’t rattle. Remove all packing foam, tape, and plastic. Look inside the blower section for stray screws or drywall dust, and clear the outdoor coil area of debris. Indoors, keep the front at least ¼ inch off the floor and avoid blocking the intake grille with furniture. Between multiple units, follow the manufacturer’s spacing so they don’t fight for air. Seal gaps around the sleeve to stop whistling and hot air leaks. These small details prevent rattles, water back-up, and “mystery drafts,” and they make temperature control steadier—especially in rooms with large windows or doors.
Shopping for matched systems? See R32 PTAC units.
Thermostat Setup, Accuracy, and Control Response

If you’re running the built-in controls, review the DIP-switches or setup menu. If you’re using a wall thermostat, set the unit to “remote” or “wall stat” mode and install the label over the local keypad so guests don’t fight the thermostat. Now check accuracy: place a simple glass thermometer 3–4 feet from the thermostat, at the same height, with a small sheet of paper behind it so the wall doesn’t warm it. Wait ~20 minutes for the room to settle. The displayed temperature should be within about 3°F. Next, command COOL, HEAT, and FAN. The fan should run smoothly at each speed; the system should start, run, and stop without odd delays. The thermostat should hit setpoint and cycle normally. If the room temperature reading is off by more than a few degrees, adjust calibration (if available) or relocate the stat away from heat sources and drafts.
For control basics and homeowner tips, browse our HVAC Tips section.
Heating Mode Verification (Electric Heat and Heat Pumps)

For electric resistance heat, use a clamp meter to confirm expected amperage during a heating call. Measure return air at the intake and supply air at the discharge. A normal temperature rise is often ~40–70°F for electric heat. If rise is low, check airflow (dirty filter, blocked intake) before blaming the heater. For heat pump PTACs, listen for the reversing valve click when switching modes and verify a steady discharge air temperature increase in HEAT. If outdoor conditions are cold and the unit has defrost, observe at least one defrost event—steam from the outdoor coil is normal; loud metal-on-metal scraping is not. Make sure backup electric heat (if equipped) engages only when needed. Log the temperatures and amps. These numbers prove the system can deliver heat on day one and help you spot drift months later.
Looking specifically for heat pump models? Explore PTAC Heat Pumps.
Cooling Mode Verification and Refrigerant Health

Set the thermostat to COOL a few degrees below room temperature. The compressor should start cleanly, without chattering contactors or rapid short cycling. After 10–15 minutes of steady run, measure the return air (usually 75–80°F) and the supply air. You want a temperature drop of about 18–22°F. If the drop is weak, first check the easy stuff: filter cleanliness, coil cleanliness, fan speed, and that doors/windows are closed. Hissing at the coil, ice forming on the indoor coil, or a noisy compressor can point to refrigerant or airflow issues. Pros will measure suction/head pressures and superheat/subcooling to confirm charge, but your baseline delta-T (supply vs. return) is still powerful. Record it. If you’re consistently outside the normal range after airflow fixes, call a licensed tech—refrigerant handling requires certification and proper tools.
Considering other room AC options? Compare through-the-wall units.
Airflow, Static Pressure, and Noise: What “Normal” Feels Like

Good airflow protects the compressor and makes rooms feel even. With the fan on high, check that air pushes evenly across the discharge. Make sure the return isn’t blocked by curtains or furniture. If you have access to a simple flow hood, you can log CFM at the grille; otherwise, note qualitative results and any hot/cold corners in the room. For static pressure, a pro can measure across the filter and coil to confirm it’s within manufacturer limits; you can still check the basics—clean filters and clear coils. On noise, a PTAC should sound like a steady whoosh with gentle compressor hum. Not normal: grinding (bearing/fan damage), sharp rattles (loose panels/screws), constant buzzing (electrical), or whistling (air gaps around the sleeve). Level the unit, tighten screws, remove debris, and seal sleeve gaps to quiet it down.
Need parts like filters or gaskets? See Accessories.
Safety Systems You Must Test (The “Oh No” Protection)

Safety features are there for rare, bad days—so test them when the room is empty. Confirm the LCDI/GFCI protection works (TEST/RESET as above). Verify breakers and any overloads are sized per the nameplate. Many PTACs include high/low refrigerant pressure cutouts, thermal overloads on motors, freeze protection, and high-temperature limits. You won’t trip all of these on purpose, but you can confirm their status lights/diagnostic codes, and ensure sensors are plugged in and leads are intact. If your model supports service mode, use it to read live sensor values. Any safety device that looks bypassed, taped, or disconnected is a stop sign—do not run the unit until it’s corrected. These checks guard the unit from coil freeze-ups, blocked airflow, locked rotors, and overheating, and they keep you on the right side of warranty terms and electrical codes.
Record Results, Train the Owner, and When to Call a Pro

Finish with a simple commissioning sheet: installation date, breaker size, measured voltage, LCDI test result, thermostat reading vs. thermometer, heating rise, cooling drop, and notes on noise/airflow. Include photos of the nameplate and the installed sleeve seal. Show the occupant how to use the controls, how often to clean the filter (monthly in normal use; more in dusty areas), what normal sounds like, and how to shut down in an emergency. Share the maintenance rhythm: clean filters, seasonal coil checks, and a yearly professional tune-up. If you see electrical smells, cords that won’t RESET, ice on coils, or error codes that won’t clear, stop and call a licensed tech. Save these links for later: Sizing Guide, HVAC Tips,
FAQs
How long should the first test run take?
Plan about 30–60 minutes. You need time for temperature to stabilize and to check both heating and cooling.
What’s a good cooling temperature drop?
Typically 18–22°F between return and supply after 10–15 minutes of steady cooling.
What if my thermostat reads 5°F different from a thermometer?
Relocate it away from drafts/sun, or recalibrate if your model allows. Aim for within ~3°F.
Is a little steam during heat pump defrost normal?
Yes. Steam from the outdoor coil in defrost can be normal. Loud scraping or burning smells are not.
My PTAC is loud on startup—should I worry?
A brief compressor start sound is normal. Ongoing grinding, sharp rattles, or whistling means check leveling, screws, debris, and sleeve seals.
Do I need a pro to check refrigerant charge?
Yes. Refrigerant work needs EPA-certified tools and training. Your job is airflow, filters, and a clean install; a licensed tech handles pressures and charge.


