A DIY-installed heat pump can be a game-changer for year-round comfort — but what happens when it stops doing its job? Whether it’s blowing lukewarm air, not running at all, or struggling to keep up with the weather, underperformance is a clear sign something’s wrong.
The good news? Many of the most common issues are easy to troubleshoot before you call a pro. In this guide, we’ll walk step-by-step through diagnosing the problem, making simple fixes, and knowing when professional help is the safest (and most cost-effective) move.
📘 If you’re still in the planning stages, you might want to bookmark the Complete Guide to DIY Heat Pump Installation — it covers everything from tools to testing so you can avoid these headaches in the first place.
Step 1 – Check Your Thermostat and Mode Settings
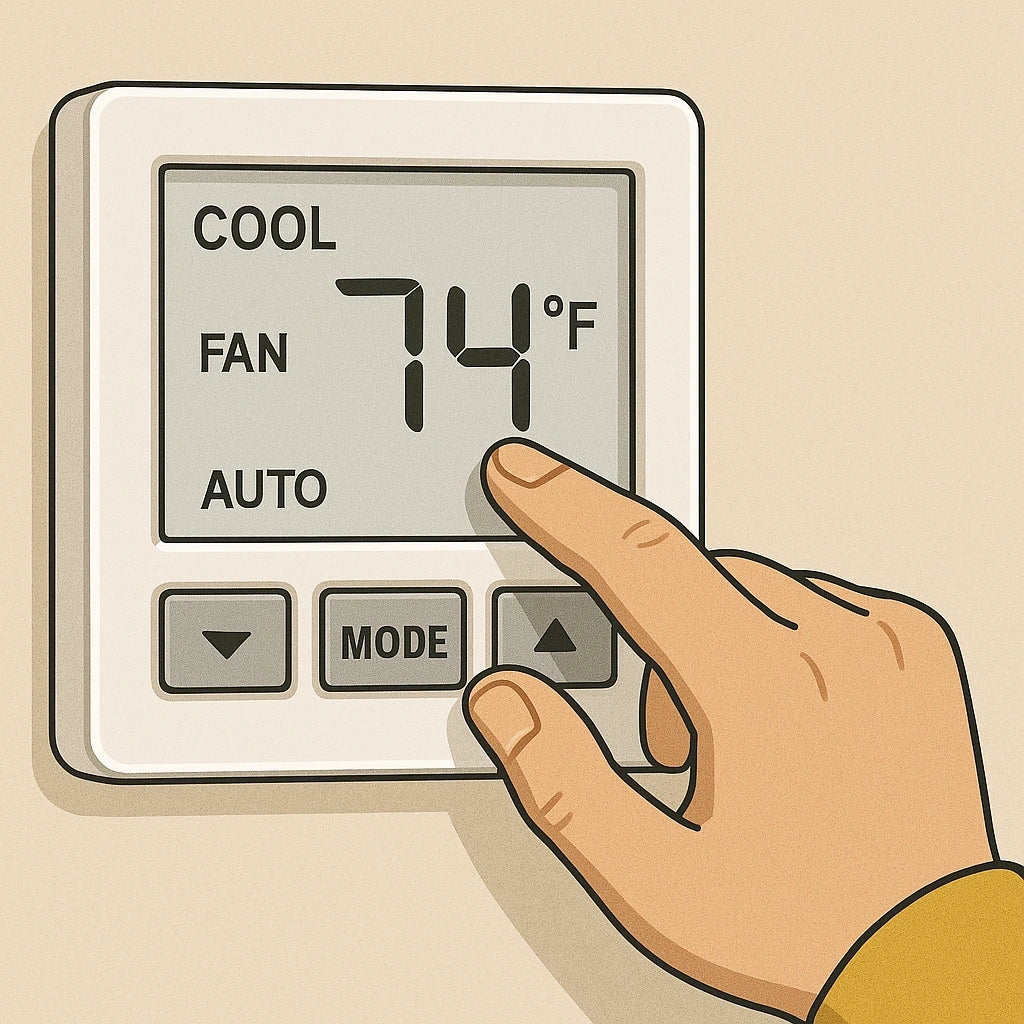
Before diving into mechanical issues, start with the brain of your system: the thermostat.
-
Confirm the mode: Make sure it’s set to heat or cool depending on your need, not fan only.
-
Check temperature setpoints: If your “cool” setting is only 1–2°F below the room temp, you may not feel much change.
-
Set the fan to “auto”: This prevents constant airflow without heating or cooling.
📘 According to ENERGY STAR, improper thermostat settings are one of the top reasons heat pumps fail to deliver comfort — especially in shoulder seasons when temperatures hover near your setpoint.
Step 2 – Inspect Airflow for Blockages
Your heat pump relies on steady airflow to move heat in and out of your home. Restricted airflow makes the system work harder, cutting efficiency and comfort.
Indoor Unit:
-
Clean or replace air filters every 1–3 months.
-
Keep furniture, curtains, or storage boxes from blocking airflow.
Outdoor Unit:
-
Clear away leaves, snow, and debris.
-
Maintain at least 2–3 feet of clearance on all sides.
📘 The U.S. Department of Energy notes that clogged filters can increase energy use by 5–15% and cause premature system wear.
Step 3 – Verify Power and Breaker Settings
If your heat pump isn’t running at all, you might be dealing with a power supply issue rather than a system fault.
-
Check that breakers for both the indoor and outdoor units are in the ON position.
-
Look for tripped GFCI outlets (common in garages or basements).
-
Ensure any exterior disconnect switches are fully engaged.
📘 Angi explains that repeated breaker trips can signal an underlying electrical issue — one that should be diagnosed by a qualified technician to prevent damage or safety hazards.
Step 4 – Check for Refrigerant Issues
Low refrigerant charge or leaks will prevent your heat pump from transferring heat effectively. Signs to look for:
-
Frost or ice buildup on refrigerant lines.
-
Hissing or bubbling sounds near connections.
-
Reduced heating or cooling performance over time.
⚠️ Important: Under EPA Section 608 rules, only licensed technicians can handle refrigerants legally. If you suspect a leak, it’s time to call in a pro.
📘 Learn more about refrigerant regulations from the EPA’s Refrigerant Management Requirements.
Step 5 – Review Your Installation Steps
Low refrigerant, leaks, or improper charging can all cause poor cooling or heating performance. Symptoms may include weak airflow, frost buildup on coils, or unusually long run times.
📘 Trane notes that improper refrigerant levels — whether from a leak or incorrect installation — can severely impact efficiency and potentially damage the compressor if left unresolved.
If you suspect a refrigerant problem, it’s best to call in a licensed HVAC pro. In many regions, handling refrigerants without certification is illegal.
Step 6 – Evaluate Outdoor Conditions
Sometimes the problem isn’t your heat pump at all — it’s the weather. In extreme cold, even the best models may need supplemental heating. In high heat and humidity, your system may take longer to reach setpoint.
If you’re in a climate with long periods of extreme weather, pairing your heat pump with a backup system (like electric resistance strips or a small furnace) may be worth considering.
Step 7 – When to Call a Professional
If you’ve worked through all the above steps and your system still isn’t performing, it’s time to bring in a licensed HVAC technician. This is especially true if:
-
You suspect a refrigerant leak.
-
There’s unusual noise from the compressor.
-
Electrical issues keep tripping breakers.
Sometimes paying for a one-time diagnostic can prevent much bigger repair bills down the road.
Preventing Future Heat Pump Problems
A little maintenance goes a long way toward avoiding heating and cooling issues:
-
Clean filters regularly.
-
Inspect insulation on line sets annually for cracks or UV damage.
-
Keep outdoor units clear year-round.
-
Schedule seasonal tune-ups even for DIY installs — a pro’s eye can spot developing problems before they become emergencies.
Final Thoughts from Alex
Troubleshooting a DIY heat pump doesn’t have to be overwhelming. Start with the easy fixes — thermostat settings, airflow, and power supply — before assuming the worst.
If you catch issues early, you can often restore performance without expensive repairs. And remember, the best defense is a good installation.
📘 Next up: Can You Install a DIY Heat Pump in an Apartment or Condo? — we’ll cover the rules, challenges, and workarounds for multi-unit living.
Alex Lane
Your Home Comfort Advocate


