Let's Get Started
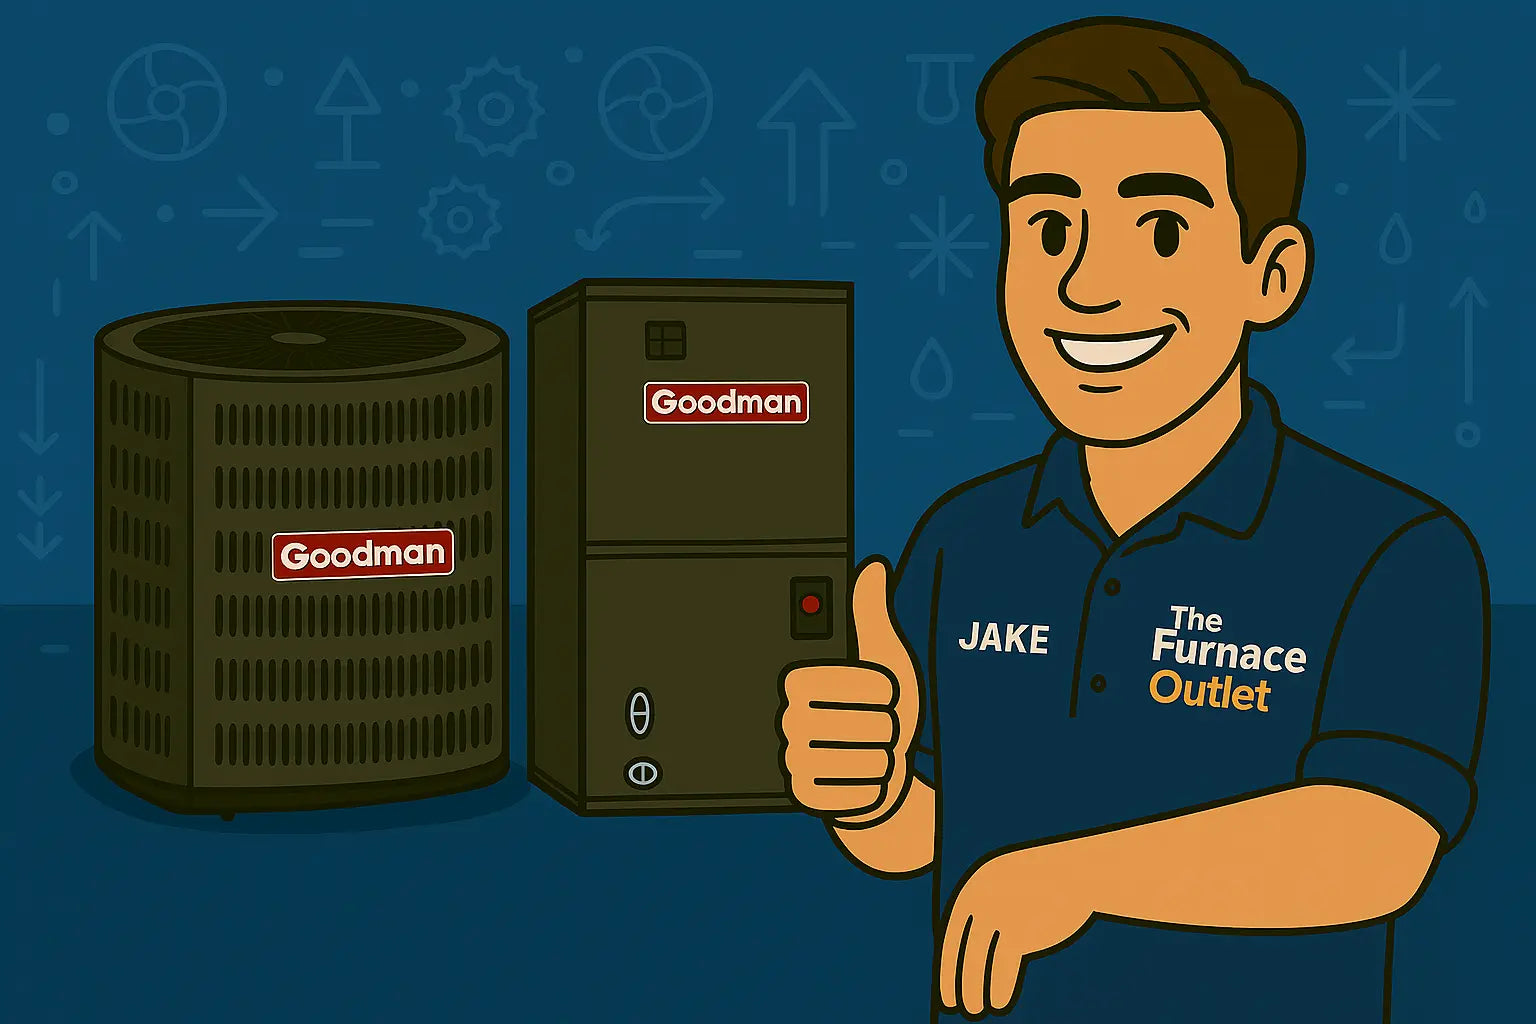
Yo, it’s Jake. Strap in, because today we’re diving headfirst into installing the Goodman 5-Ton 14 SEER2 R-32 system—GLXS4BA6010 condenser paired with the AMST60DU1300 air handler. Whether you’re a hands-on homeowner or a budding DIY HVAC hero, I’m gonna walk you through every step, from unpacking the units to firing them up for that first sweet blast of cool air.
We’ll talk about safety, proper wiring, leveling, duct alignment, and even a few tricks to make your life easier along the way. And yes, I’ll sprinkle in some pro tips so you don’t end up calling a tech for something you could’ve done yourself. Let’s get it! 🚀
1. Know Your Goodman System Before You Touch a Screwdriver
Before you lift a single unit, know your gear:
-
GLXS4BA6010 Condenser – 5-ton, single-stage, 14 SEER2, R-32 refrigerant. This is your powerhouse outside unit.
-
AMST60DU1300 Air Handler – Multi-position, blower-motor system for circulating cooled air efficiently.
R-32 refrigerant gives you high efficiency with a smaller environmental footprint, but handle with care—leak testing and proper charging are crucial. If you want full specs and manuals, Goodman’s Literature Library is the best resource: Goodman Literature Library.
2. Pre-Installation Prep: Lay the Groundwork
2.1. Right Sizing Matters
A 5-ton system isn’t small, so do a Manual J load calculation to make sure your space is properly cooled. The Department of Energy has a solid breakdown here: DOE Guide to Heating & Cooling.
2.2. Clear the Area
Move furniture, remove obstacles, and ensure pets are out of the work area. You’ll need clear access to walls, ducts, and electrical panels.
2.3. Gather Tools & Manuals
-
Level
-
Screwdrivers & nut drivers
-
Pipe insulation & deburring tools
-
Multimeter & wire strippers
-
Personal protective equipment (gloves, safety glasses)
Having the Goodman installation manuals handy is non-negotiable. HVAC.com has a solid library if you misplace yours: HVAC.com Goodman Manuals.
3. Setting Up the GLXS4BA6010 Condenser
3.1. Choosing the Right Location
-
Place on a level, sturdy pad—concrete or composite.
-
Ensure airflow clearance on all sides (at least 24 inches) to prevent overheating.
-
Avoid locations under eaves that can trap heat or debris.
3.2. Securing the Condenser
-
Use vibration-dampening pads or anti-vibration feet if possible.
-
Check that the unit is level front-to-back and side-to-side to prevent compressor strain.
3.3. Refrigerant Lines
-
Deburr and insulate your copper lines.
-
Pressure-test for leaks.
-
Remember: R-32 refrigerant must only be charged by certified professionals.
4. Installing the AMST60DU1300 Air Handler
4.1. Multi-Position Placement
The air handler can be placed horizontal, vertical, or upflow depending on your space. Choose the position that aligns best with existing ductwork.
4.2. Securing & Aligning
-
Attach firmly to framing.
-
Ensure duct connections are airtight with sheet metal screws and mastic sealant.
-
Confirm blower alignment for smooth airflow.
4.3. Electrical Connections
-
Both units require dedicated circuits (typically 208–230V).
-
Condenser usually needs a 50A breaker, AMST60DU1300 follows specs on its nameplate.
-
Grounding is critical for safety. Reference this guide for proper wiring: Goodman AMST Air Handler Install PDF.
5. Wiring & Safety Tips
-
Use proper gauge wire and check the breaker size.
-
Always turn off power before connecting or disconnecting wires.
-
Double-check the thermostat connections and ensure fan control is set correctly.
-
Consult NEC and OSHA guidelines for safe installation.
6. Initial Startup & Testing
-
Perform a vacuum and pressure test on the refrigerant lines.
-
Slowly power on each unit and observe for abnormal noises, vibrations, or leaks.
-
Confirm airflow, temperature drop, and error codes.
-
Make sure all registers are open and balanced.
For common troubleshooting issues and fixes, HVAC.com has a useful guide: Goodman AC Troubleshooting.
7. Maintenance Tips Post-Installation
-
Filters: Replace every 1–3 months.
-
Coils: Inspect and clean annually.
-
Drain Lines: Clear to prevent backups.
-
Electrical & Duct Checks: Inspect connections and ductwork periodically.
Keeping a maintenance schedule ensures your 5-ton system runs efficiently and lasts longer.
8. Common Installation Mistakes to Avoid
-
Skipping Manual J sizing → uneven cooling and higher bills.
-
Improper wiring → safety hazards and system damage.
-
Poor duct sealing → reduced efficiency and noise.
-
Ignoring manufacturer’s instructions → voided warranty and shortened system life.
For tips straight from the pros on safe installation, check out: DOE HVAC Installation Best Practices.
Jake's Final Thoughts
Alright, you HVAC hero—you made it through the full walkthrough! Installing the Goodman GLXS4BA6010 condenser and AMST60DU1300 air handler isn’t trivial, but with patience, proper prep, and a little Jake-style know-how, you’ve got this.
Remember: safety first. If any step feels above your comfort level—electrical, refrigerant, or ductwork—call a licensed pro. Protect your home, yourself, and your investment.
And hey, if you want to check out the official bundle, grab specs, or even plan your next upgrade, here’s the link: Goodman 5-Ton 14 SEER2 R-32 System.
Need more advanced troubleshooting tips for this bundle? Visit: Cooling Issues Solved.
Go on—show that system who’s boss! 😎
- Jake, your comfort loving tech!


