🛠️ The R-32 Install Shift
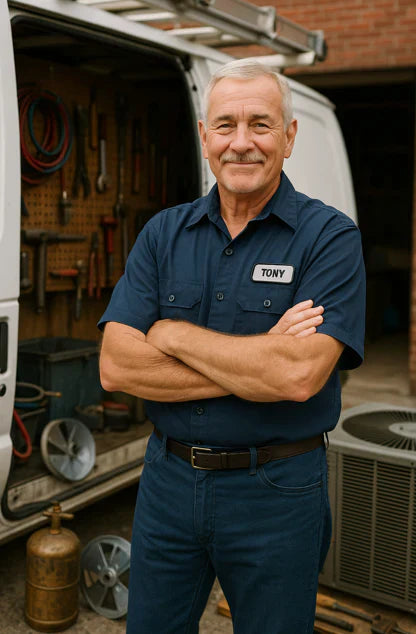
Tony here—if you’re working in today’s HVAC world, you’ve probably already heard the chatter about R-32 split systems. They’re cleaner, more efficient, and way more common in 2025 than even a year ago. But they also require a new level of precision during installation.
Today I’m walking you through how to install a 3-ton R-32 split system (air conditioner + furnace) safely and up to code. Whether you’re a seasoned installer or a DIY-savvy homeowner working with a licensed tech, this guide will help you understand every key step.
Let's roll. 🧰
📋 Step 1: Gather Your Tools and Materials
Don’t even think about starting your install without the right gear. R-32 (an A2L refrigerant) demands tools rated for flammable gas, even if it's just mildly flammable.
Here's what you need:
-
R-32-compatible refrigerant gauges and hoses
-
Recovery unit rated for A2L
-
Combustible gas detector calibrated for R-32
-
Vacuum pump (at least 500 microns)
-
Torque wrench and flare tools
-
Nitrogen tank for pressure testing and purging
💡 Check out the AHRI Tool Matchup for a full breakdown of tools and industry resources.
🏡 Step 2: Prep the Install Site
Whether you're replacing an old R-410A unit or starting fresh, make sure your site is up to the task.
Furnace Space:
-
Clearance around unit: 30" front, 1" sides
-
Secure electrical disconnect within sight
-
Return and supply plenum properly sealed
AC Condenser (Outside Unit):
-
Place on a solid, level pad
-
Minimum 12" clearance around the unit (per manufacturer specs)
-
Avoid overhangs or direct sun, if possible
For zoning and code tips, reference this ICC guide on HVAC installation clearances.
⚙️ Step 3: Connect the Line Set
With R-32, your line set work matters more than ever.
Steps:
-
Cut copper to length and use flare connections (R-32 systems do not use brazing near flammable charge)
-
Pressure test with dry nitrogen at 500 psi for 30 minutes
-
Pull vacuum to 500 microns and verify hold
Be sure to check your Goodman R-32 install manual for system-specific charge weights and line set lengths: Goodman HVAC Technical Literature.
🔌 Step 4: Electrical and Thermostat Setup
Now it’s time to wire your control board and thermostat. These systems often come with multi-stage ECM blowers, so getting your wiring right is key.
Checklist:
-
240V power to condenser
-
115V or 120V to furnace control board
-
Thermostat wires (R, G, Y, W, C)
-
Ground each unit to local code
Don’t forget to verify voltage before powering up. It’s simple, but skipping it is a rookie mistake. ⚡
🧪 Step 5: Charge the System
Here’s the big moment—charging with R-32.
Procedure:
-
Weigh in factory charge (check the unit’s label)
-
Add refrigerant only if additional line length exceeds factory spec
-
Use an R-32-compatible scale
-
Charge in liquid phase to suction side with charging cylinder upright
⚠️ Remember, venting R-32 is illegal. Use a certified recovery machine if removing refrigerant. Read more about legal refrigerant handling from EPA’s MVAC Guidelines.
🧯 Step 6: Perform Leak and Fire Safety Tests
Double check everything before handing the job over.
-
Use a combustible gas detector to scan all joints and flare nuts
-
Check return and supply for adequate airflow
-
Verify no refrigerant odor or hissing sound
-
Test fire-up on the furnace, observe for smooth ignition
🔥 Pro Tip: Have a Class B fire extinguisher on hand for first-time charge tests.
📄 Step 7: Final Documentation and Labels
Before calling it done, finish with full documentation:
-
Add R-32 and A2L safety label to indoor and outdoor units
-
Include service log with charge weight, vacuum pressure, and pressure test
-
Leave copy with homeowner and upload to your service portal
Transparency here builds trust. And if an AHJ inspector shows up, you'll be glad you logged everything.
🧠 Bonus: Tips for Homeowners
If you're the homeowner reading this—here's what to ask your tech:
-
“Did you weigh the charge based on the line set?”
-
“Can I see the leak test report?”
-
“What tools did you use for R-32 compatibility?”
Looking to upgrade your own system soon? Take a look at The Furnace Outlet’s R-32 Split Systems for fully matched, code-compliant packages.
Need help troubleshooting R-32 Furnace/AC Combos? Check out these 10 common issues and how to fix them.
✅ Final Thoughts: Future-Proof Your Install
Installing an R-32 split system isn’t just about swapping boxes—it’s a whole different mindset. You’ve got new tools, fire safety steps, charging techniques, and code compliance hoops to jump through. But it’s worth it.
Not only are these systems more efficient and affordable in the long run—they’re also better for the planet. So if you’re making the switch, do it right. Follow these steps, double check everything, and leave your name on that job with pride.
—Tony 🔧🔥


