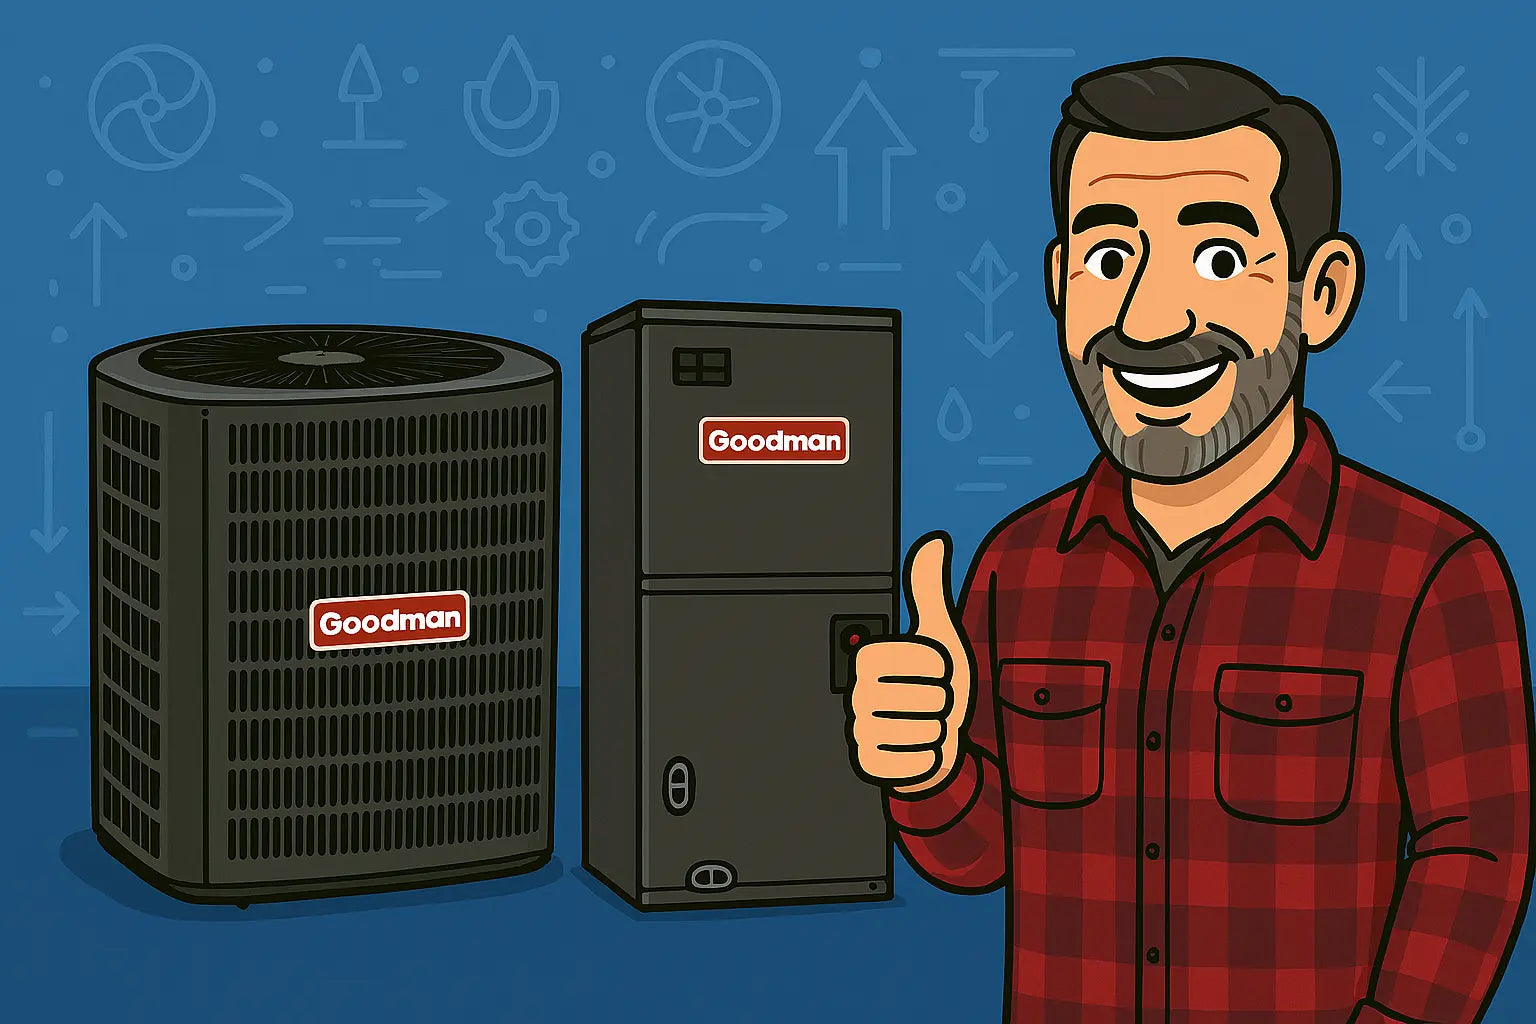
Hey There, Mike Sanders Here 👋
If you’ve just gotten your hands on the Goodman 5-Ton 14 SEER2 R-32 system—that’s the GLXS4BA6010 condenser and AMST60DU1300 air handler—you’re in for a smooth ride if you follow the right steps. Installing a 5-ton system might sound intimidating, but with the proper planning, tools, and a bit of patience, you can get it up and running like a pro. Today, I’m walking you through the full installation process, sharing tips, common mistakes, and troubleshooting insights along the way.
Why Proper Installation Matters
Installing a system like the Goodman GLXS4BA6010/AMST60DU1300 isn’t just about hooking up a condenser and air handler. If done improperly, you risk:
-
Reduced efficiency and higher energy bills
-
Shortened system lifespan
-
Refrigerant leaks or improper charging
-
Electrical hazards
Following proper installation procedures ensures your 5-ton system delivers peak cooling performance for years to come. Plus, it saves you from costly callbacks and repairs.
Before we dive in, make sure you’ve reviewed the official Goodman installation manuals and checked local building codes. Safety first! ⚡
Pre-Installation Checklist 📝
Before touching the equipment, get organized:
-
Permits & Codes – Many areas require HVAC installation permits. Check local regulations using EPA guidelines.
-
Tools & Equipment – Wrenches, refrigerant gauges, vacuum pump, nitrogen supply, multimeter, pipe insulation, PPE, and a level.
-
Space Assessment – Ensure your condenser has at least 2–3 feet clearance on all sides and that the air handler fits your ductwork configuration.
-
Load Calculation – Confirm your home’s cooling needs using a Manual J load calculation to verify that a 5-ton system is appropriate.
-
Electrical Prep – Ensure your electrical panel has the correct breaker size and that wiring meets the specs for the GLXS4BA6010 condenser and AMST60DU1300 air handler.
Step 1: Positioning the Condenser 🌳
Your condenser is the heart of your cooling system, so its placement is critical:
-
Set it on a level, stable pad—concrete or compacted gravel works well.
-
Allow 2–3 feet clearance on all sides and 5 feet above to ensure proper airflow.
-
Avoid direct sunlight if possible—it helps your system run more efficiently.
-
Keep it away from bushes, trees, and debris that could block airflow.
Proper placement prevents system strain and maximizes efficiency. Check out Energy Star’s HVAC placement guide for more tips on condenser positioning.
Step 2: Installing the Air Handler 🏠
The AMST60DU1300 air handler can be mounted vertically or horizontally depending on your duct layout:
-
Ensure the condensate drain slopes downward for proper drainage.
-
Confirm that the return air plenum is installed correctly.
-
Keep the blower accessible for future maintenance.
-
Check clearances for servicing and filter changes.
Pro Tip: Label all duct and wiring connections during installation to make future troubleshooting much easier.
Step 3: Refrigerant Line Connections ❄️
The GLXS4BA6010 uses R-32 refrigerant, which is highly efficient but mildly flammable:
-
Pre-flush the lines if required.
-
Use proper brazing techniques—avoid overheating the lines.
-
Insulate refrigerant lines to prevent condensation and efficiency loss.
-
Verify line lengths and sizes match the manufacturer’s specifications.
R-32 handling is covered in detail by EPA refrigerant safety resources.
Step 4: Electrical Connections ⚡
Electrical wiring is critical for safe and efficient operation:
-
Verify breaker size matches the system’s requirements.
-
Follow the wiring diagram in the Goodman manual precisely.
-
Double-check voltage and amperage during startup to avoid tripping breakers.
-
Ground all components according to local code.
If you’re not confident, call a licensed electrician—mishandling electricity is no joke. You can also reference HVAC.com’s electrical troubleshooting guide for tips.
Step 5: Evacuation and Refrigerant Charging 🧊
Before starting your system:
-
Pull a vacuum on the system for at least 30 minutes to remove air and moisture.
-
Charge refrigerant following the manufacturer’s pressure/temperature chart.
-
Check superheat and subcooling to ensure correct refrigerant levels.
Proper charging prevents poor cooling performance, compressor stress, and system inefficiency.
Common Installation Mistakes to Avoid 🚫
Even seasoned pros run into these traps:
-
Incorrect line length – leads to pressure and efficiency issues.
-
Poor condensate slope – water can back up and cause damage.
-
Skipping load calculation – oversizing or undersizing reduces efficiency.
-
Improper electrical connections – can blow breakers or damage equipment.
-
Neglecting insulation – reduces system efficiency and risks condensation damage.
Mike’s Pro Tips 😎
-
Label every wire and duct—future troubleshooting becomes a breeze.
-
Keep a set of refrigerant gauges and manifold handy for quick checks.
-
Never ignore odd sounds or leaks—they usually signal bigger problems.
Wrapping It Up
Installing the Goodman 5-Ton GLXS4BA6010 condenser and AMST60DU1300 air handler properly sets the foundation for years of efficient cooling. From proper condenser placement to air handler setup, refrigerant line handling, and electrical wiring, every step matters. By taking your time, following manufacturer specs, and leveraging trusted resources, you can avoid common mistakes and ensure your system performs at its best.
If any issue feels beyond your comfort level—like refrigerant leaks, electrical faults, or complex airflow problems—call a licensed technician. Proper installation now saves headaches and expensive repairs later.
For more details or to grab your system, check it out here: Goodman 5-Ton 14 SEER2 R-32 System
Need more advanced troubleshooting tips for this combo? Visit: Top Cooling Problems with the Goodman 5-Ton 14 SEER2 R-32 AC.
Stay cool and confident—Mike Sanders 😎


