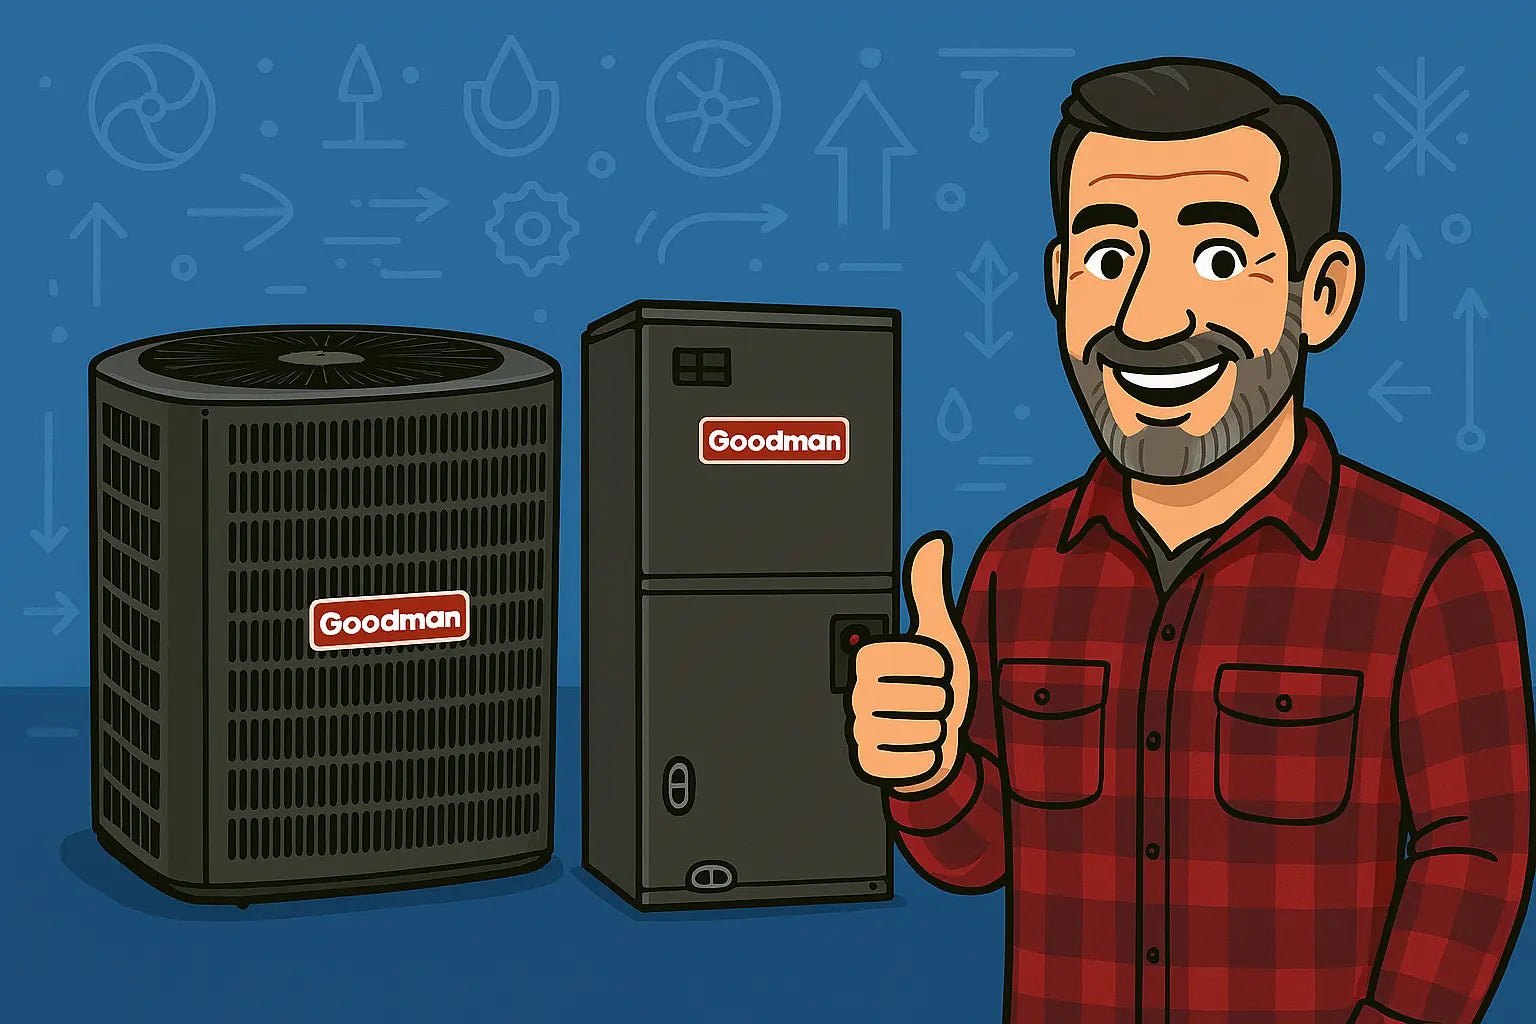
Hey Folks, Mike Here 👋
If you’ve just grabbed a Goodman 5-Ton 14 SEER2 R-32 system (GLXS4BA6010 condenser and AMST60DU1300 air handler), you’re in for a ride that’ll keep your home cool and cozy without frying your utility bill. I’ve been in HVAC for over 15 years, and today, I’m walking you through the nuts and bolts of installing this beast, troubleshooting common hiccups, and giving you my seasoned tips for peak performance. No fluff, just real talk.
Why Choose the Goodman 5-Ton 14 SEER2 R-32 System?
Before we roll up our sleeves, let’s understand why this system is a solid choice. The 14 SEER2 rating ensures better efficiency than older models, while the 5-ton capacity is perfect for homes around 3,000–3,500 square feet. Using R-32 refrigerant keeps it environmentally friendly without sacrificing cooling power.
R-32 refrigerant is mildly flammable but highly efficient. Unlike older R-410A systems, R-32 reduces greenhouse impact, and per EPA guidelines, handling it properly is crucial.
Pre-Installation Checklist 📝
Before you even touch a wrench, make sure you’ve got:
-
Proper Permits – Many states require HVAC installation permits. Check your local building codes via this EPA resource.
-
Correct Sizing & Load Calculation – A 5-ton system isn’t one-size-fits-all. Use a Manual J load calculation to confirm your home’s cooling needs.
-
Tools & Safety Gear – Refrigeration gauges, vacuum pump, nitrogen supply, multimeter, and PPE. Safety first.
-
Space Assessment – Ensure your condenser has 2–3 feet of clearance on all sides and the air handler fits your duct layout.
Step-by-Step Installation Guide 🛠️
1. Condenser Placement
-
Pick a level, solid surface outside. Concrete pad or compacted gravel works best.
-
Ensure no direct sunlight on top if possible – keeps efficiency up.
-
Leave clearances per Goodman’s installation manuals.
2. Air Handler Setup
-
Mount vertically or horizontally based on your ductwork.
-
Ensure the condensate drain has proper slope for gravity drainage.
-
Double-check electrical connections and breaker sizing.
3. Refrigerant Lines
-
Pre-flush lines if necessary.
-
Braze connections carefully – overheating can damage R-32.
-
Use proper insulation to prevent condensation and efficiency loss.
4. Electrical Hookup ⚡
-
Verify breaker size matches the unit’s specs.
-
Connect the thermostat wires according to Goodman’s wiring diagram.
-
Check voltage and amperage at startup to avoid tripping breakers.
5. Startup and Charging
-
Pull a vacuum on the system for at least 30 minutes.
-
Charge according to manufacturer’s pressure/temperature chart.
-
Test airflow and verify superheat/subcooling – see this guide!
Common Installation Mistakes to Avoid 🚫
-
Incorrect Line Length – Too long or short can cause pressure issues.
-
Skipping Load Calculation – Undersized or oversized systems are inefficient.
-
Poor Condensate Drain Slope – Leads to water damage and system shutdown.
-
Improper Electrical Connections – Can blow breakers or damage components.
Troubleshooting Your Goodman 5-Ton System 🔧
Even pros like me hit snags. Here’s a rundown of what to watch for:
1. AC Won’t Start
-
Check breaker and thermostat settings.
-
Inspect fuses and contactor relay.
-
Faulty capacitor? You can test it with a multimeter.
-
If nothing works, consult HVAC.com troubleshooting guide.
2. Poor Cooling Performance
-
Dirty coils or clogged filters restrict airflow.
-
Incorrect refrigerant charge?
-
Duct leaks can rob efficiency.
3. Strange Noises
-
Rattling = loose panels or debris.
-
Hissing = refrigerant leak. Call a certified tech immediately.
-
Clicking = faulty contactor or blower motor.
4. Short Cycling
-
Often caused by thermostat misplacement or oversized system.
-
Check airflow, refrigerant levels, and blower operation.
Maintenance Tips for Longevity 🕒
-
Change or clean air filters every 1–3 months.
-
Schedule professional tune-ups at least once a year.
-
Inspect condenser fins and air handler coils for dust buildup.
-
Lubricate blower motor if required.
Mike’s Pro Tips 😎
-
Label all wiring during installation – future troubleshooting will thank you.
-
Keep a small refrigerant gauge and manifold set handy for quick checks.
-
Never ignore minor sounds or leaks – small problems grow fast.
Wrapping It Up
Installing and troubleshooting the Goodman 5-Ton 14 SEER2 R-32 System (condenser model GLXS4BA6010 paired with the AMST60DU1300 air handler) doesn’t have to feel overwhelming. By following proper installation steps—like setting your condenser on a level pad, ensuring your air handler is correctly oriented, and carefully charging your R-32 refrigerant—you’re setting your system up for years of reliable, efficient cooling.
When issues pop up, whether it’s poor cooling, short cycling, or unusual noises, referencing the specific features and specs of this 5-ton system makes troubleshooting more precise and effective. Remember to check airflow, refrigerant charge, and electrical connections first, and don’t hesitate to call in a licensed professional for anything outside your comfort zone.
Stick with routine maintenance, watch for minor warning signs, and treat your GLXS4BA6010 condenser and AMST60DU1300 air handler with the attention they deserve. With that approach, your home stays comfortable, your system runs efficiently, and you get the full value out of your investment.
Need more advanced installation tips for this combo? Visit my guide: Smooth Starts.
Stay cool and confident—Mike Sanders 😎


