Key Takeaways
-
Air filter → clean/replace monthly.
-
Ice returns fast → call a pro.
-
Drain line → vac + vinegar flush.
-
Clog repeats/damage → pro.
-
Unit tilt → slope ¼ in per foot out.
-
Bad sleeve/corrosion → pro.
Why PTAC Water Leaks Happen More Than You Think

A PTAC cools by pulling moisture from indoor air. That water should slide to a pan and out a drain to the outdoors. When anything blocks that path—or the unit sits too level—water takes the wrong route and shows up on your floor or wall. In busy buildings and homes, filters clog, drains collect dust and algae, and coils get dirty faster than people expect. Newer refrigerants (like R-32) also make safe service choices more important. In short, leaks are common because the system is doing its job—removing moisture—but normal wear and simple setup mistakes get in the way. The good news: most leaks start with easy-to-spot clues. This article gives you a step-by-step way to find those clues and fix the basics first. Need model help or capacity checks? Use our Sizing Guide
The Core Problem: Leaks Damage Homes, Budgets, and Comfort

A small PTAC leak can lead to big problems. Moist carpet pads grow mold. Drywall swells and stains. Electrical parts can corrode. The unit works harder, raising bills. Kids, older adults, and people with allergies feel musty air quickly. Acting fast protects your home and your health. Here’s the practical way to look at it: water should only drip outside the building. Any dampness inside—under the unit, on the wall sleeve, or along the baseboard—is a warning flag. Common early signs include: 1) water marks below the grille, 2) musty odors near the unit, 3) a gurgling sound but no outdoor drip, and 4) visible algae or sludge at the drain outlet. If you see these, move to inspection and basic cleaning right away. When the unit is old or parts are failing, check replacement paths like hotel heat & air units to prevent repeat issues.
How PTAC Drainage Works (and Where It Fails)

Think of the PTAC like a cold glass of lemonade on a summer day—the outside sweats. Inside your unit, that “sweat” (condensation) forms on cold evaporator coils, drops into a drain pan, then exits through a condensate path to the outdoors. Leaks start when: (a) the drain line clogs with dust, algae, or mold; (b) the unit sits level or tilts inward, trapping water; (c) the drain pan cracks or shifts; or (d) airflow drops due to a dirty filter or coil, causing ice that later melts and overwhelms the pan. Do a quick visual: shine a light into the grille, look for standing water in the pan, and find the outdoor drain outlet—there should be a steady drip during cooling. No drip outside often means a blockage. If the pan looks misaligned or damaged, note the model before sourcing parts in Accessories
Installation & Tilt: The One-Minute Check That Prevents Leaks

PTACs should lean slightly toward the outdoors so gravity helps water flow out. A reliable rule is about ¼ inch of drop per foot of unit depth toward the exterior. Here’s a fast check: place a small level on the top or use a phone level app on the chassis edge. If the bubble centers, it’s too level; if it leans inward, fix it now. Common tilt problems include loose wall sleeves, missing shims, or compression over time. To correct: 1) loosen the mounting screws, 2) insert non-rotting shims under the indoor edge, 3) re-tighten and re-check. Also confirm the sleeve is square; a twisted sleeve can pool water on one side of the pan. If the sleeve is damaged or corroded, replacement is smarter than “more shims.”
When in doubt, request a quick photo review using Quote by Photo so a tech can advise without a site visit.
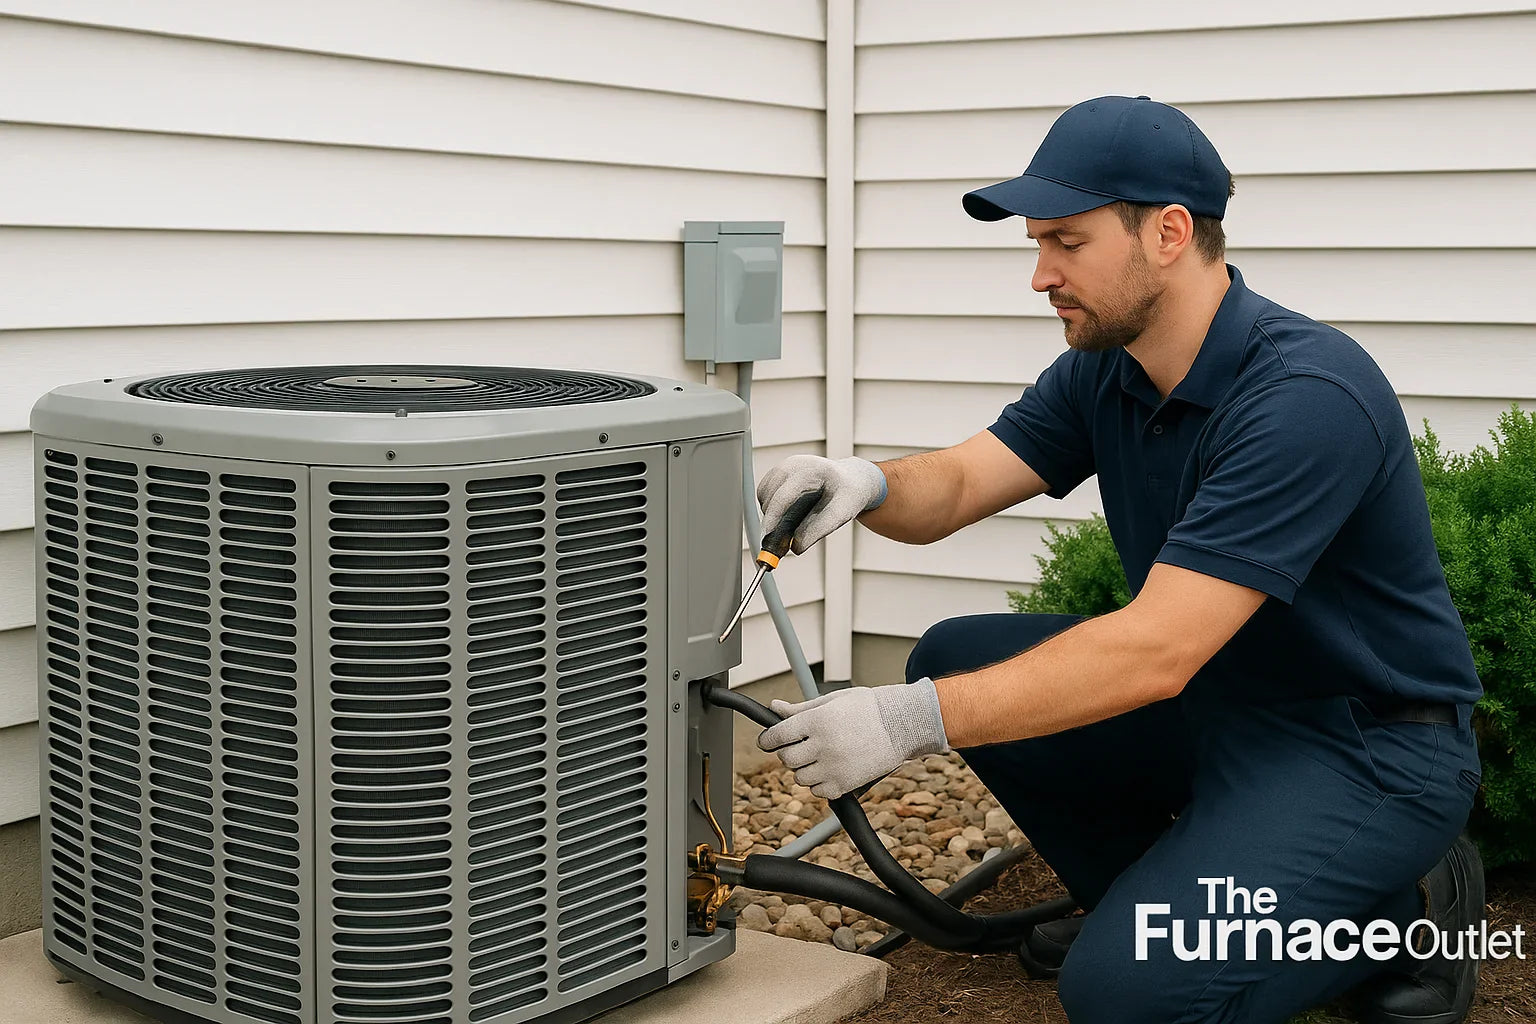
DIY Steps: Filters, Coils, and Clear Condensate Paths

Most leaks stop with airflow and drainage tune-ups you can safely do. Try this order:
-
Filter—Remove and clean or replace monthly during heavy use. A dirty filter starves airflow and encourages coil ice.
-
Drain line—At the outdoor outlet, use a wet/dry vacuum for 60–90 seconds to pull out debris. Then pour a cup of mild white vinegar into the indoor drain to slow algae growth.
-
Coils—Power off. If coils are dusty, use a soft brush and a no-rinse coil cleaner made for HVAC. Never bend fins.
-
Pan—Check for cracks or misalignment; reseat if shifted.
-
Re-test—Run cooling for 10–15 minutes and look for a steady outdoor drip.
If clogs return quickly, consider a drain line refresh or replacement. For replacement units, browse through-the-wall heat pumps For step-by-step visuals, visit our videos library.
When DIY Stops: R-32, Electrical Signs, and Persistent Leaks

Some situations call for a certified technician—no exceptions. If you notice refrigerant smells, repeated icing after fresh filters and clean drains, tripped breakers, or visible wiring damage, stop DIY. Newer systems that use R-32 (A2L) require techs trained for mildly flammable refrigerants. That protects you and ensures proper recovery, charging, and leak checks. Also call a pro if: the drain pan is rusted through, the sleeve is distorted, leaks return within a week, or the unit is short-cycling. Clear photos, the model/serial number, and a quick symptom list help speed the visit—use our Contact Us page to share details. If repair costs climb and the unit is old, compare with efficient R-32 PTAC models. You’ll get safer operation, better moisture control, and parts support that aligns with current standards.
Health & Property Risks: Why Fast Action Matters

Water near a PTAC is more than a puddle. Moist surfaces feed mold, which can bother asthma and allergies. Hidden leaks can warp flooring, swell baseboards, and stain drywall. The unit itself suffers too: corrosion raises the chance of future failures. Think of “leak time” as a clock—hours matter in humid weather. Do three things quickly: (1) stop the source by powering the unit off while you inspect, (2) dry the area with towels or a small fan, and (3) clear the drain so water exits outside again. After fixing the cause, keep an eye on the spot for a week. If odors or stains return, it’s not solved yet. For larger projects or multi-room properties, consider evaluating upgrade paths like commercial packaged air conditioners to improve drainage design and reliability across many rooms.
Maintenance Schedule & Costs: A Simple Plan That Saves Money

A light, regular plan beats emergency calls. Use this schedule: monthly—clean/replace the filter and confirm an outdoor drip during cooling; quarterly—inspect coils and pan, vacuum the drain outlet, and add a vinegar rinse; annually—have a pro service the unit (electrical checks, deep coil clean, refrigerant test if needed). Typical preventive care runs about $100–$200 per year, while one emergency leak visit can be $400+. Well-kept PTACs often last 12–15 years; neglected units may fail in 7–10. Keep simple records: date, task, and notes. That helps spot patterns like recurring clogs each spring. If you’re comparing replacement options, browse R-32 PTACs, through-the-wall units, for rooms that need extra moisture control.
For more how-to reading, visit our HVAC tips.
FAQs (no-nonsense answers)
-
How do I know if my PTAC is leaking inside?
Look for damp carpet, wall stains below the unit, musty smells, or no visible outdoor drip while cooling. -
What is the fastest safe DIY fix?
Clean/replace the filter, vacuum the outdoor drain outlet with a wet/dry vac, and pour a cup of white vinegar into the drain. -
What tilt should my PTAC have?
Aim for about ¼ inch per foot toward the outdoors so water naturally flows outside. -
Is vinegar safe for the drain line?
Yes—use mild white vinegar every few months to slow algae growth. Avoid harsh chemicals that can damage parts. -
When should I stop DIY and call a pro?
If leaks return quickly, coils keep icing, breakers trip, wiring looks damaged, or the unit uses R-32 and needs refrigerant work. -
Where can I get help or parts?
Start at our Help Center; for new systems, see Hotel PTAC units and Accessories. For general info, browse The Furnace Outlet and News


