Key takeaways
-
Clear plan = no guesswork; know each day of install.
-
Right size = right comfort; load calcs stop hot/cold spots, high bills.
-
Installs take 2–5 days; ducts/electrical set timeline.
-
Permits + codes protect safety, warranty, resale.
-
Airflow is key; tight ducts + correct pressure = performance.
Why a simple plan beats surprises

If you’re adding or replacing central air, the hardest part is often the unknowns—What happens first? How long does it take? Who does what? This guide answers those questions in plain language. You’ll see the same steps professionals follow: assessment, planning, preparation, installation, testing, and handoff. We’ll flag where timelines shift, which choices affect comfort and cost, and how you can keep the project on track. We also point you to The Furnace Outlet resources like the HVAC sizing guide, Design Center, and Quote-by-Photo so you can make decisions with confidence. Along the way, we’ll link to focused blog posts for deeper dives on efficiency, ductwork, and budgets tailored to U.S. homeowners.
Common concern: “What will happen and how long will it take?”

Most residential installs take 2–5 days. Simple replacements (no duct changes) often finish in 1–2 days. Add duct modifications, electrical upgrades, or tight attic work, and it can run a week. What helps: a clear daily plan and checkpoints. Day 0 usually covers measurement and load calculations; Day 1–2 is equipment set, lines, wiring; remaining time is duct adjustments, testing, and walkthrough. Ask for:
-
Daily arrival window and who your point of contact is.
-
Scope risks (e.g., hidden duct leaks, panel capacity).
-
Decision holds (when the crew pauses to get your approval).
A realistic timeline reduces stress and avoids rushed work that can hurt performance or warranty.
Pre-installation assessment: sizing, load, and home basics

A solid install starts with math, not guesses. Pros measure square footage, window types, insulation levels, and duct layout, then run a Manual J–style load calculation to select capacity. Too small = struggles on hot days; too big = short cycles, humidity issues, and wear. During this visit, techs also confirm electrical panel capacity, line-set route, condensate drain path, and thermostat location. Helpful prep for homeowners:
-
Gather recent power bills (helps discuss efficiency goals).
-
Clear access to the furnace/air handler and panel.
-
Review comfort trouble spots (rooms that run hot/cold).
Planning now avoids change orders later. Need a head start? Compare system options and accessories in our Design Center and check line sets if yours need replacing.
Choosing equipment: efficiency, controls, and fit for your home

During selection, your contractor should explain capacity, airflow needs, and efficiency ratings in simple terms. Higher efficiency can lower bills, but it must match your ductwork and climate. If you want connected controls, confirm your system plays nicely with smart thermostats and low-voltage wiring. For context, here’s a quick refresher on changes from SEER to SEER2 and what that means for selecting a new unit.
For a homeowner-friendly breakdown, see SEER2 vs. SEER: What’s the real difference?
Permits, safety, and pre-install prep (what pros handle)

Before tools come out, licensed installers secure required building/mechanical permits, confirm code compliance, and plan inspection timing. Inside your home, they protect floors and furniture, clear work paths, and stage materials. You can help by moving fragile items and making sure pets/kids are safe during work hours. Ask for communication checkpoints: a morning plan, midday update, and end-of-day recap. Keep important docs handy: panel diagrams, attic access info, and Wi-Fi details for the thermostat. If you want to see typical permit and inspection notes on real projects, check our installation-focused posts in the HVAC Tips hub.
Pro tip: If your ducts are older, schedule a duct inspection now; fixing leaks before startup protects comfort and efficiency.
Outdoor unit placement: pad, clearance, and service access

The condenser sits on a level concrete or composite pad with enough space for airflow and future service. Good placement reduces noise in bedrooms and keeps debris away from coils. Installers:
-
Keep clearances per the unit manual (air in and out).
-
Avoid downspouts or roof drip lines that dirty the coil.
-
Add vibration pads where needed and anchor per code.
Homeowner checklist: -
Confirm you can reach the disconnect.
-
Make sure landscaping won’t block airflow next season.
-
Ask where snow/leaf load might collect.
Choosing the correct location now saves service headaches later. If you’re comparing outdoor units, browse our R32 condensers category to understand footprint and clearance needs.
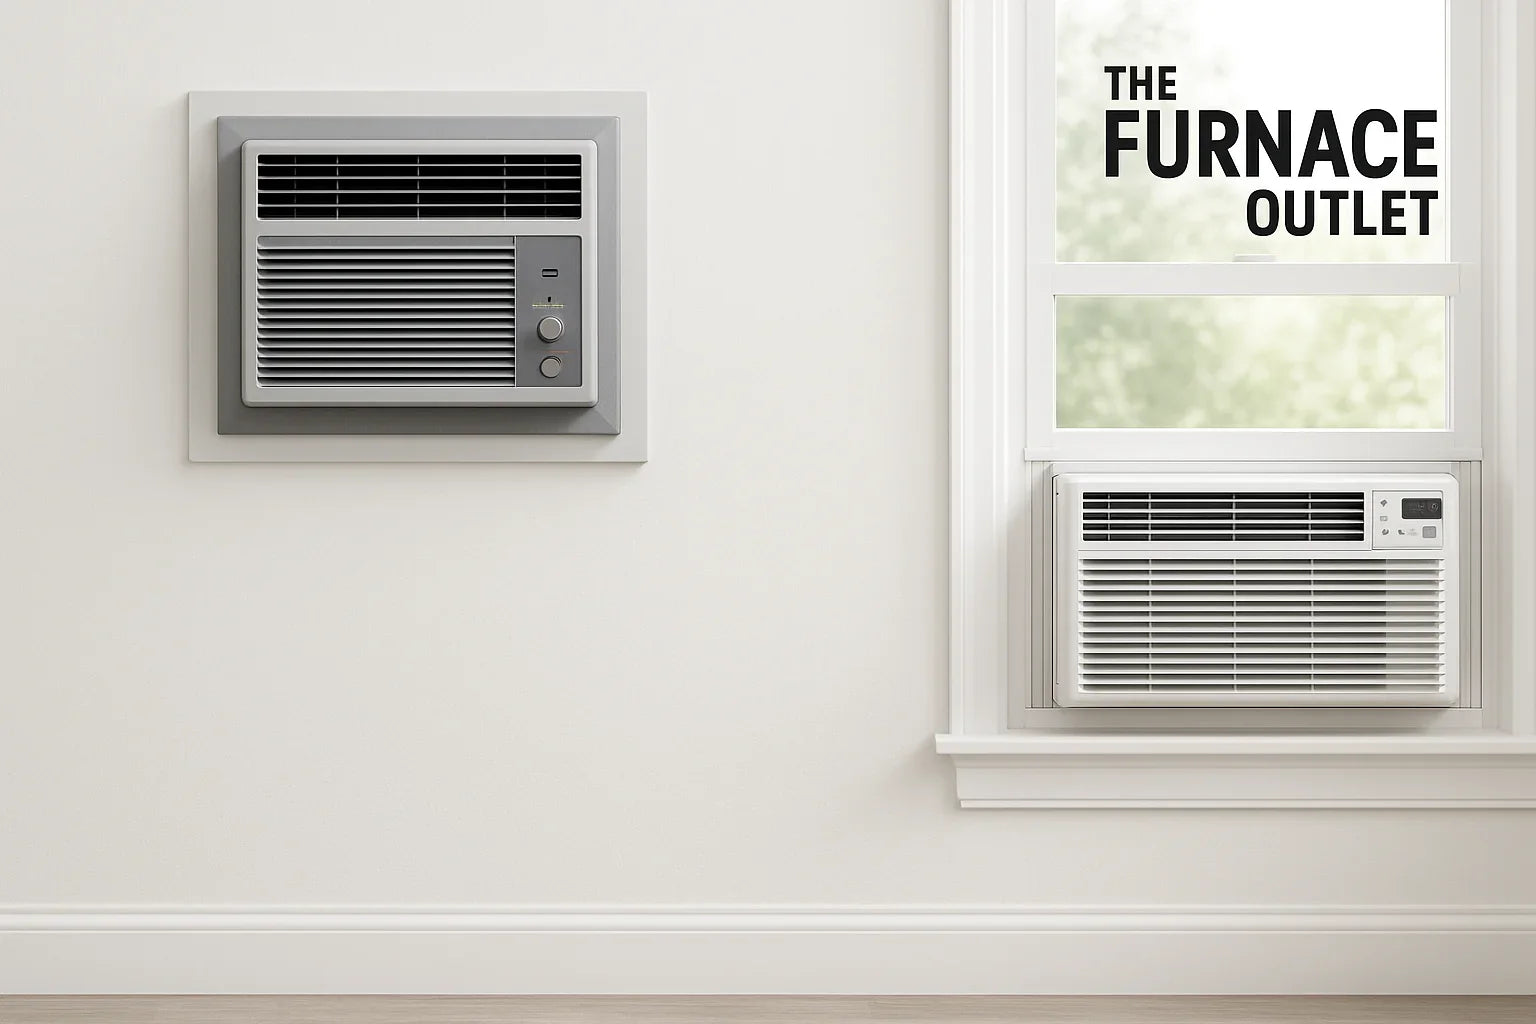
Indoor unit & ductwork: airflow is the make-or-break

Indoors, the air handler or furnace + coil is mounted securely, pitched for proper condensate drainage, and tied into the supply/return ducts. Pros seal joints with mastic or UL-listed tape, size returns to reduce noise, and balance registers so rooms get even air. A quick way to think about it: the best equipment can’t overcome poor static pressure caused by undersized or leaky ducts. If your home needs changes, installers may recommend a larger return, new plenum, or additional supply runs. For a deeper homeowner guide on ductwork design choices that improve comfort and cut noise, see Ductwork Design Guide: How to Build Quiet, Efficient Airflow Paths.
Want examples of layout options? Visit our Design Center, and if your current ducts are beyond repair, consider alternate comfort solutions like ductless mini-splits.
Lines, wiring & controls: the invisible work that protects your system

Refrigerant lines are routed with insulated copper, pressure-tested with dry nitrogen, and then evacuated with a micron gauge (targeting deep vacuum) to remove air and moisture. Only after passing tests do pros open valves and power the system. Electrical work includes properly sized breakers, grounded disconnects, and neat low-voltage wiring to the thermostat. During setup, the tech calibrates the thermostat and verifies the blower speed for your duct system.
Curious about costs tied to line-set and electrical complexity? See our 2025 central air installation cost guide for typical ranges and what drives them.
If you’re choosing a control, compare options in Choosing the Right Thermostat (smart vs programmable) for usability and features that fit your routine.
Commissioning, walkthrough & long-term support

A quality job ends with commissioning: verifying airflow, measuring temperature split, checking refrigerant charge, confirming safety features, and documenting settings. Then comes your owner walkthrough—filter sizes and change schedule, thermostat basics, breaker locations, and what to watch for in the first week. Ask for your equipment model/serial numbers and maintenance plan. Keep support close at hand via the Help Center, and use Quote-by-Photo for quick questions. For more homeowner-friendly deep dives, browse our HVAC Tips library; the posts on SEER2 vs. SEER, ductwork design, and 2025 cost ranges are great next reads.
FAQs
How long does central air installation take?
Most jobs finish in 2–5 days. Simple like-for-like swaps can be 1–2 days; duct changes or panel work extend timelines.
What size system do I need?
Size comes from a load calculation (not square footage alone). Ask your contractor to show the math and discuss rooms with comfort issues. Start with our Sizing Guide.
Do I need new ducts?
Not always. If ducts are leaky, noisy, or undersized, upgrades are worth it. For airflow basics and fixes, see our ductwork guide.
Which thermostat should I pick?
Choose what fits your routine. Smart stats add automation and reports; programmable models are simple and reliable. This overview can help.
How much will it cost in 2025?
Costs vary by home size, efficiency level, and duct/electrical work. Use our current ranges for planning.
Where can I learn more from The Furnace Outlet?
Browse the HVAC Tips hub for step-by-step homeowner articles and check our Help Center for quick answers.


