Key Takeaways
-
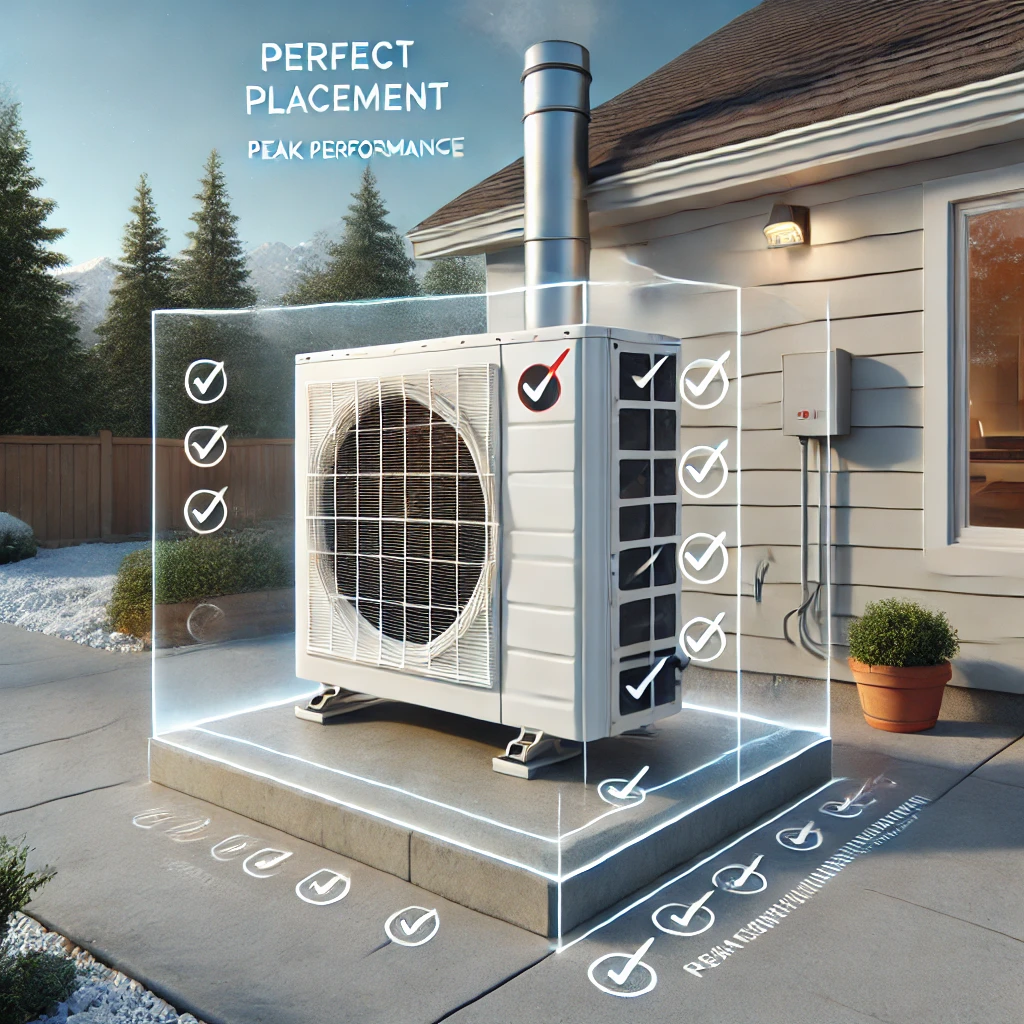
The outdoor unit needs 1–3 ft clearance and open airflow
-
Must sit on a level pad to prevent damage
-
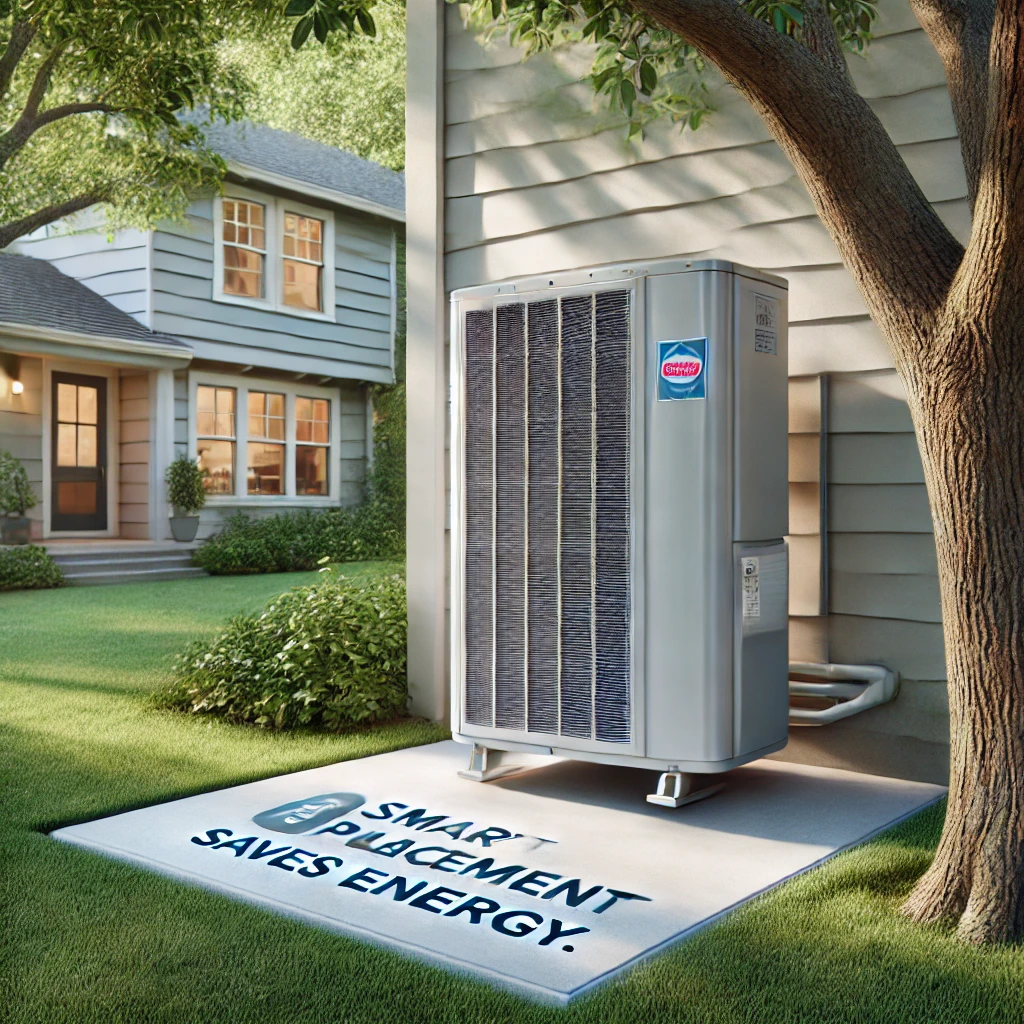
Shade it naturally to cut energy use by ~10%
-
Keep it away from noise-sensitive areas
-
Protect from harsh weather without blocking airflow
-
Enable easy access for cleaning and repairs
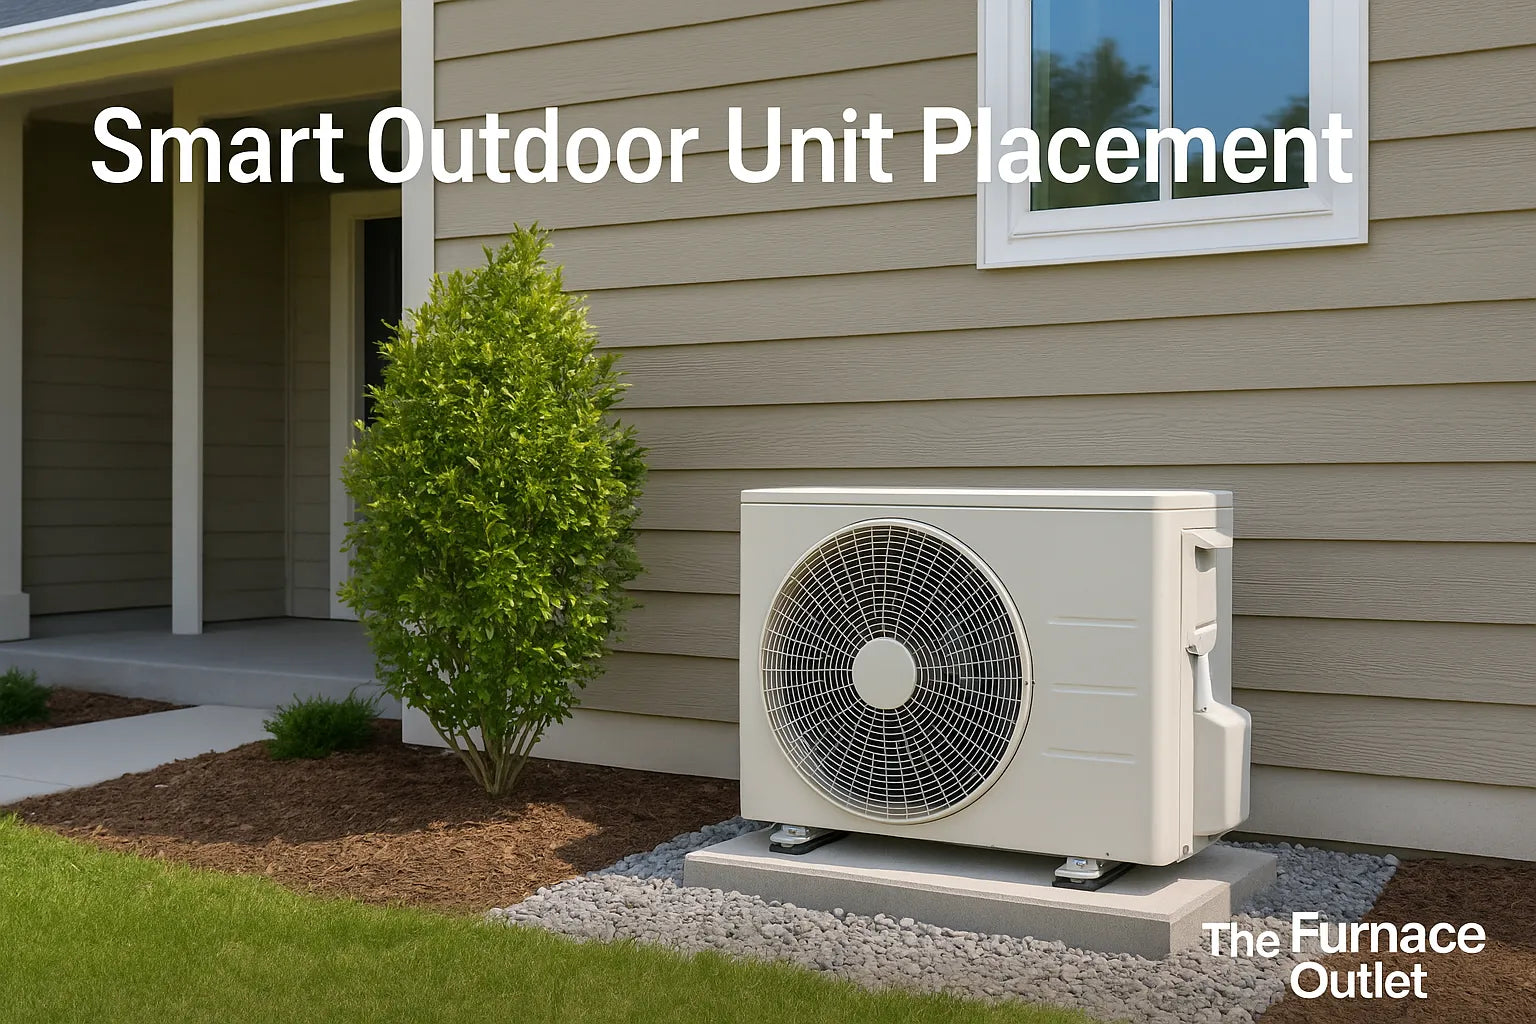
A humming mini‑split can save more power than a window A/C, but only if the outdoor unit sits in the right place. Below you’ll learn exactly where—and where not—to set that condenser so your system runs quietly, cheaply, and for a very long time.
Why Outdoor Unit Placement Matters for Mini‑Split Efficiency
Mini-splits work by transferring heat outside. If the condenser is cramped or sun-exposed, it runs hotter, wastes energy, and wears down faster. Explore DIY Mini-Split Systems – designed for easier and smarter installations.
How Much Space Does a Mini‑Split Condenser Need?
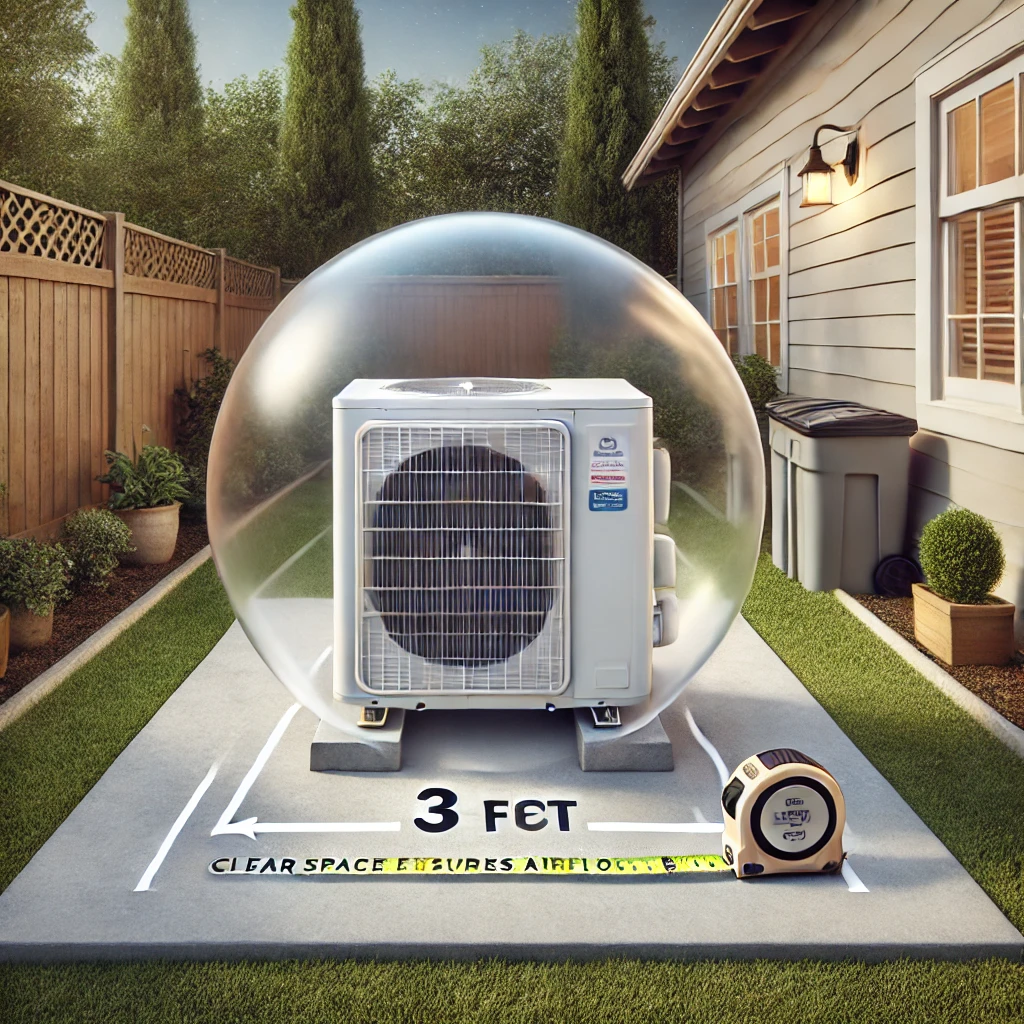
Don’t forget vertical space. A deck or balcony right above the fan traps the exhaust. If you must tuck the unit below a porch, install a grille that lets hot air shoot straight out. Keeping that bubble clear means the fan can spin more slowly, saving wear on bearings and reducing noise for the neighbors.
Shop Line Sets for Ideal Lengths, sized for innovative, efficient layouts.
Finding a Stable, Level Surface for Long‑Term Reliability
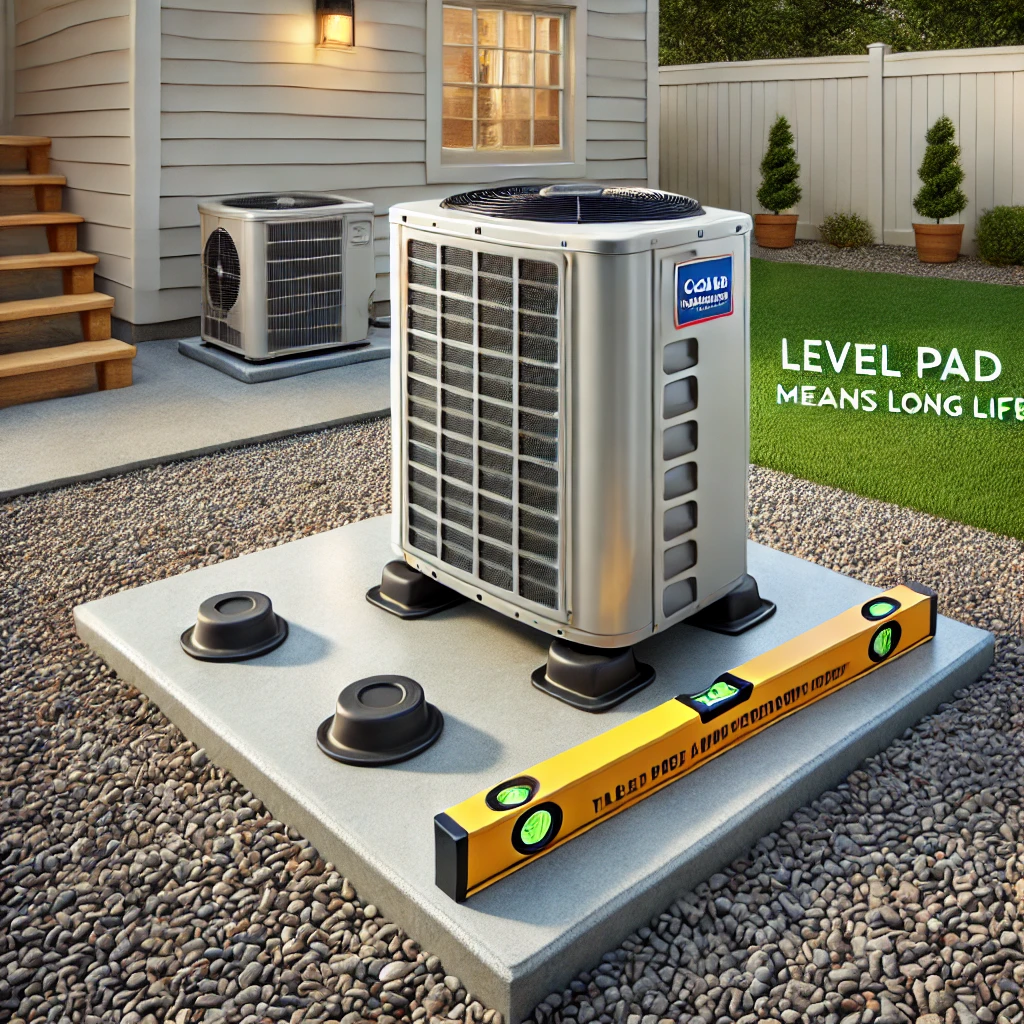
Secure the feet with vibration‑isolating rubber pads. They dampen hum and keep bolts tight through freeze‑thaw cycles. Skipping this step is one reason DIY installs rattle apart within five years, while pro installs keep humming for fifteen.
For a comprehensive, step-by-step guide on pad preparation, refer to our DIY mini-split installation guide.
Sun, Shade, and Weather: Choosing the Safest Exposure
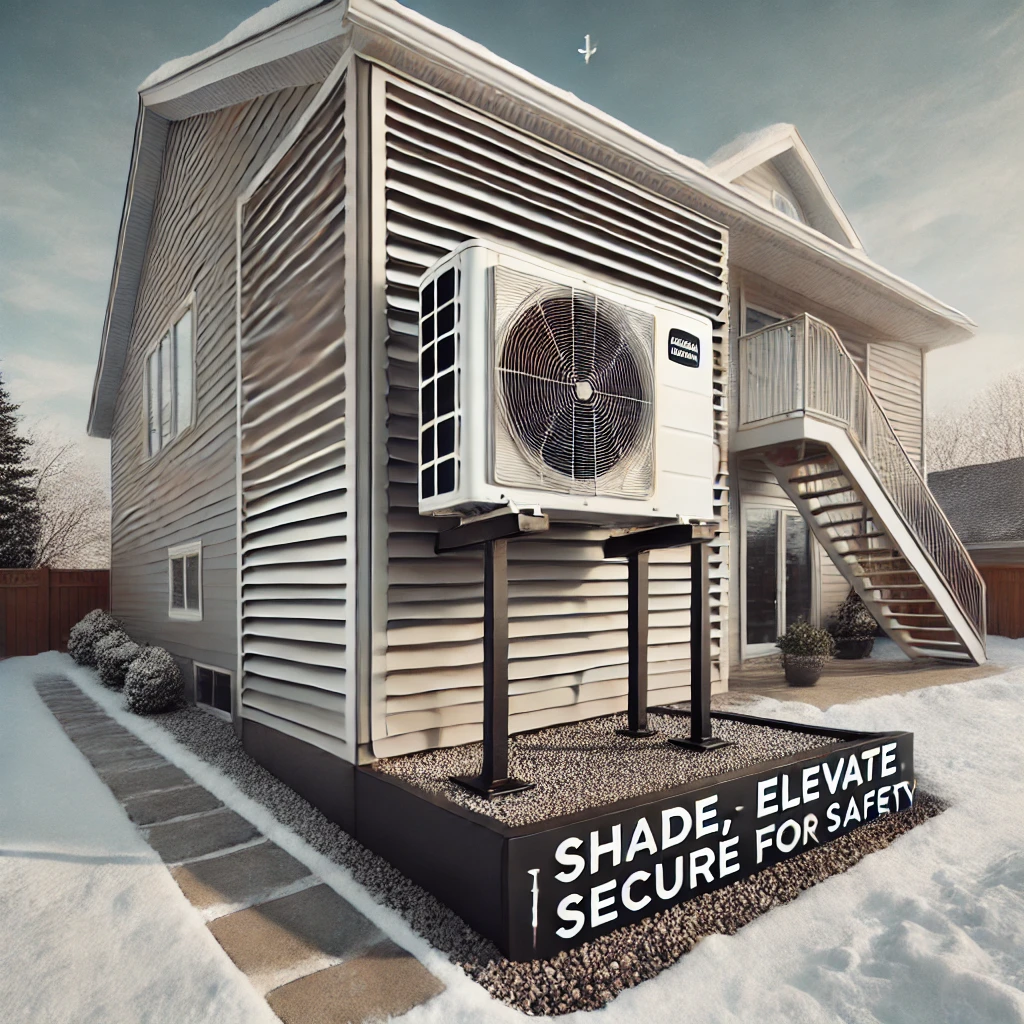
Snow belts need extra thought. Mount the unit 12 inches above the average snowline and slope the pad to ensure that meltwater drains effectively. In hurricane zones, use a raised stand anchored to code‑approved hurricane straps. A little planning beats digging out coils in February or chasing gear after a storm.
North or east walls offer natural shade. In snowy zones, elevate the unit above the snowline. In hurricane-prone areas, secure to a code-compliant stand. Browse R-32 Heat Pump Systems, durable, efficient, and built for extreme weather.
Managing Noise and Vibration for a Quieter Backyard
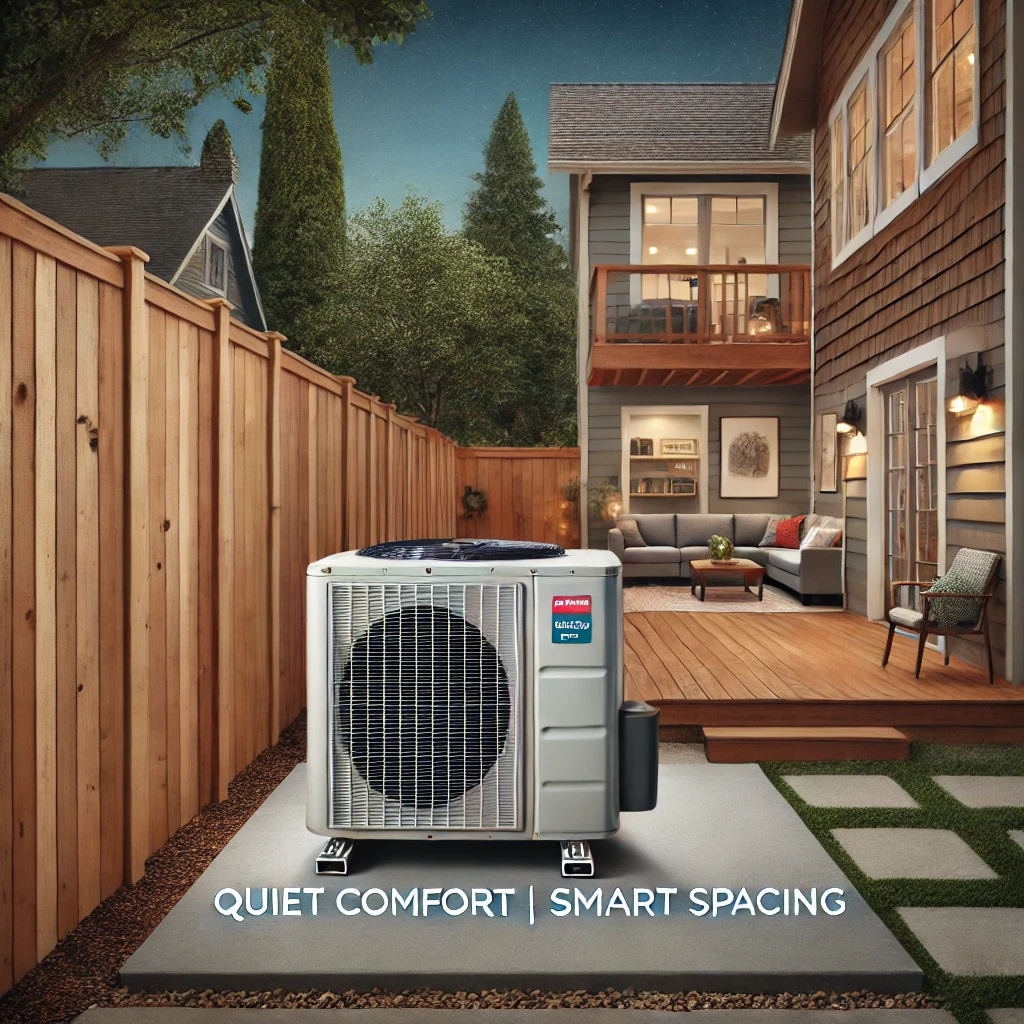
Inside the unit, rubber grommets isolate the compressor from the surrounding components. Outside, flexible whip and line-set covers prevent metal-on-metal rattling. Tightening mounting bolts each spring—an easy task if the unit is accessible—keeps vibrations from loosening electrical lugs. Keep the condenser at least 10 feet away from living spaces. Use vibration pads and flexible line set covers to reduce operational hum and rattle.
Find Vibration Isolators & Covers, Easy Upgrades for Quieter Performance.
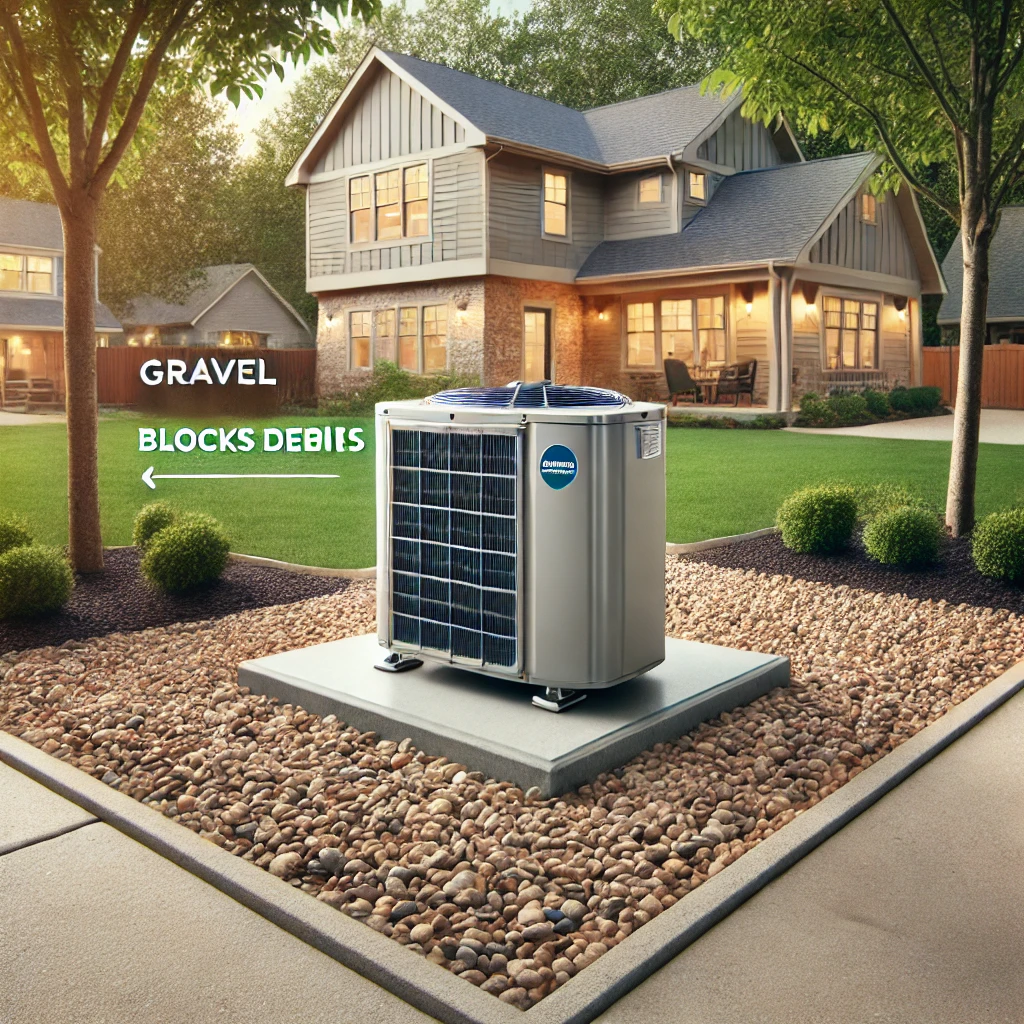
Keep It Clear: Protecting Airflow From Plants and Debris
For a comprehensive cleaning checklist, refer to our step-by-step installation process. A garden hose on fan-only mode works wonders; just turn off the power first.
Making Maintenance Easy: Plan for Future Access
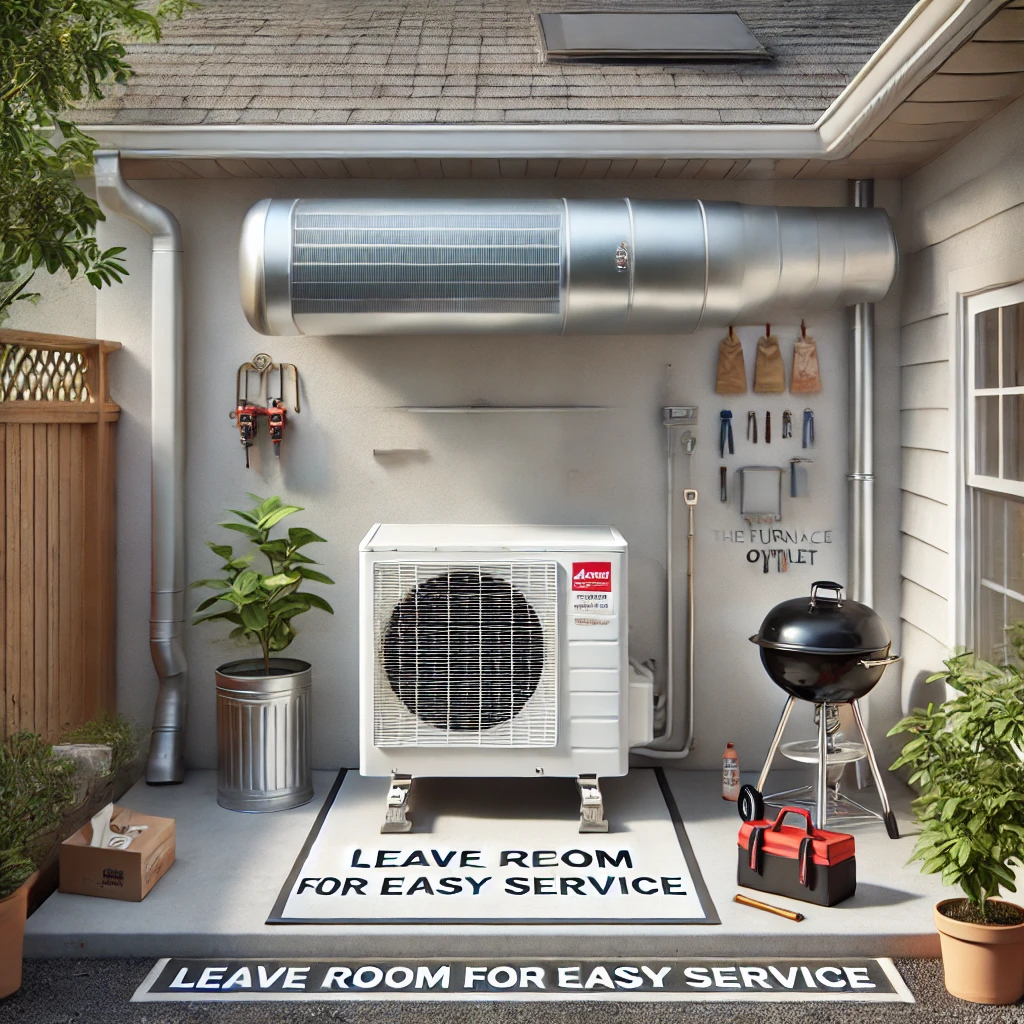
Remember clearance overhead, too: gutters drip, decks drip, and both cause rust. Extending a gutter splash guard costs less than replacing a corroded control board.
Avoid leaf-heavy spots. Use gravel or turf beneath the unit. Clean coils regularly to prevent clogs. Explore Air Handler Options easy to maintain and built for long-term use.
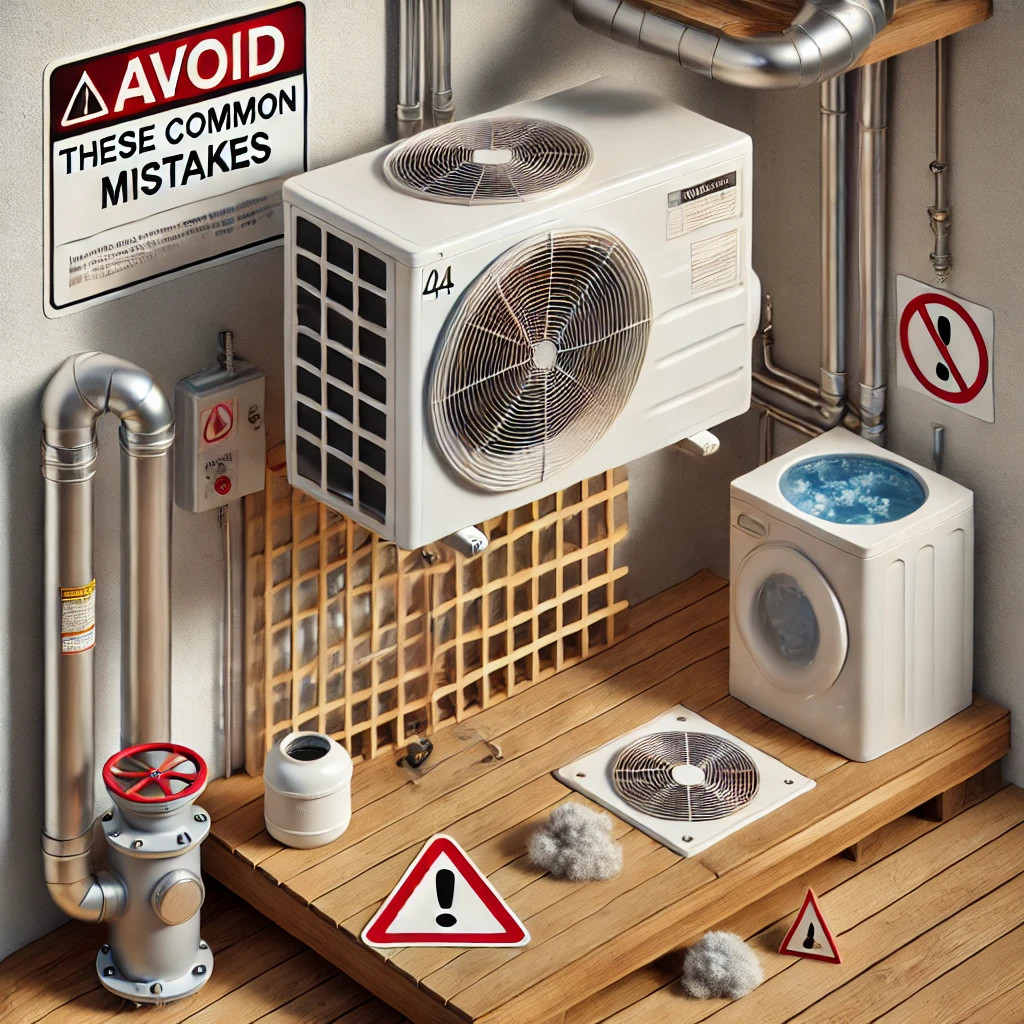
Common Placement Mistakes Homeowners Should Avoid
-
Mounting on wooden decks. Wood flexes, amplifying vibration noise inside the house.
-
Hiding the unit in a lattice box. Looks tidy, but strangles airflow.
-
Placing below a dryer vent. Lint glues to fins, cutting heat transfer.
-
Running extra‑long line‑sets to “hide” the condenser. More copper, more pressure drop, lower SEER.
-
Ignoring local codes. Many U.S. towns require a three‑foot setback from gas meters and utility disconnects.
For multi-zone layouts, our multi-zone planning tips provide guidance on line-set routing that avoids these pitfalls.
Quick Checklist for Perfect Outdoor Unit Placement
-
Tape a 3 ft bubble outline on the ground.
-
Pour a level pad or mount a wall bracket rated for the weight.
-
Face the exhaust toward open air, not a wall.
-
Verify distance from bedrooms and neighbors.
-
Shade but don’t smother the unit.
-
Elevate above snow, flood, or standing water.
-
Leave a clear path for service gauges and coil cleaning.
Pin this list near your breaker panel. When you can check every box, your mini‑split is ready to run at peak performance.
Get Placement-Ready System Kits – packaged for faster, code-conscious installs.
Frequently Asked Questions
Q1. Can I put the outdoor unit in my attic?
No. Attics trap heat and block airflow, resulting in immediate efficiency loss and potential overheating.
Q2. How high should the condenser be off the ground?
At least 12 inches above the local snow line or ground grade to keep coils clear of snow and puddles.
Q3. Can I enclose the unit in a decorative box?
Only if the box has full‑width louvers and maintains three feet of clearance on all sides.
Q4. What happens if the unit isn’t level?
Oil may not return to the compressor, leading to early bearing failure and loud knocking.
Q5. Does condenser placement affect warranty?
Yes. Many manufacturers void warranties if clearances, mounting heights, or code distances are not adhered to.


