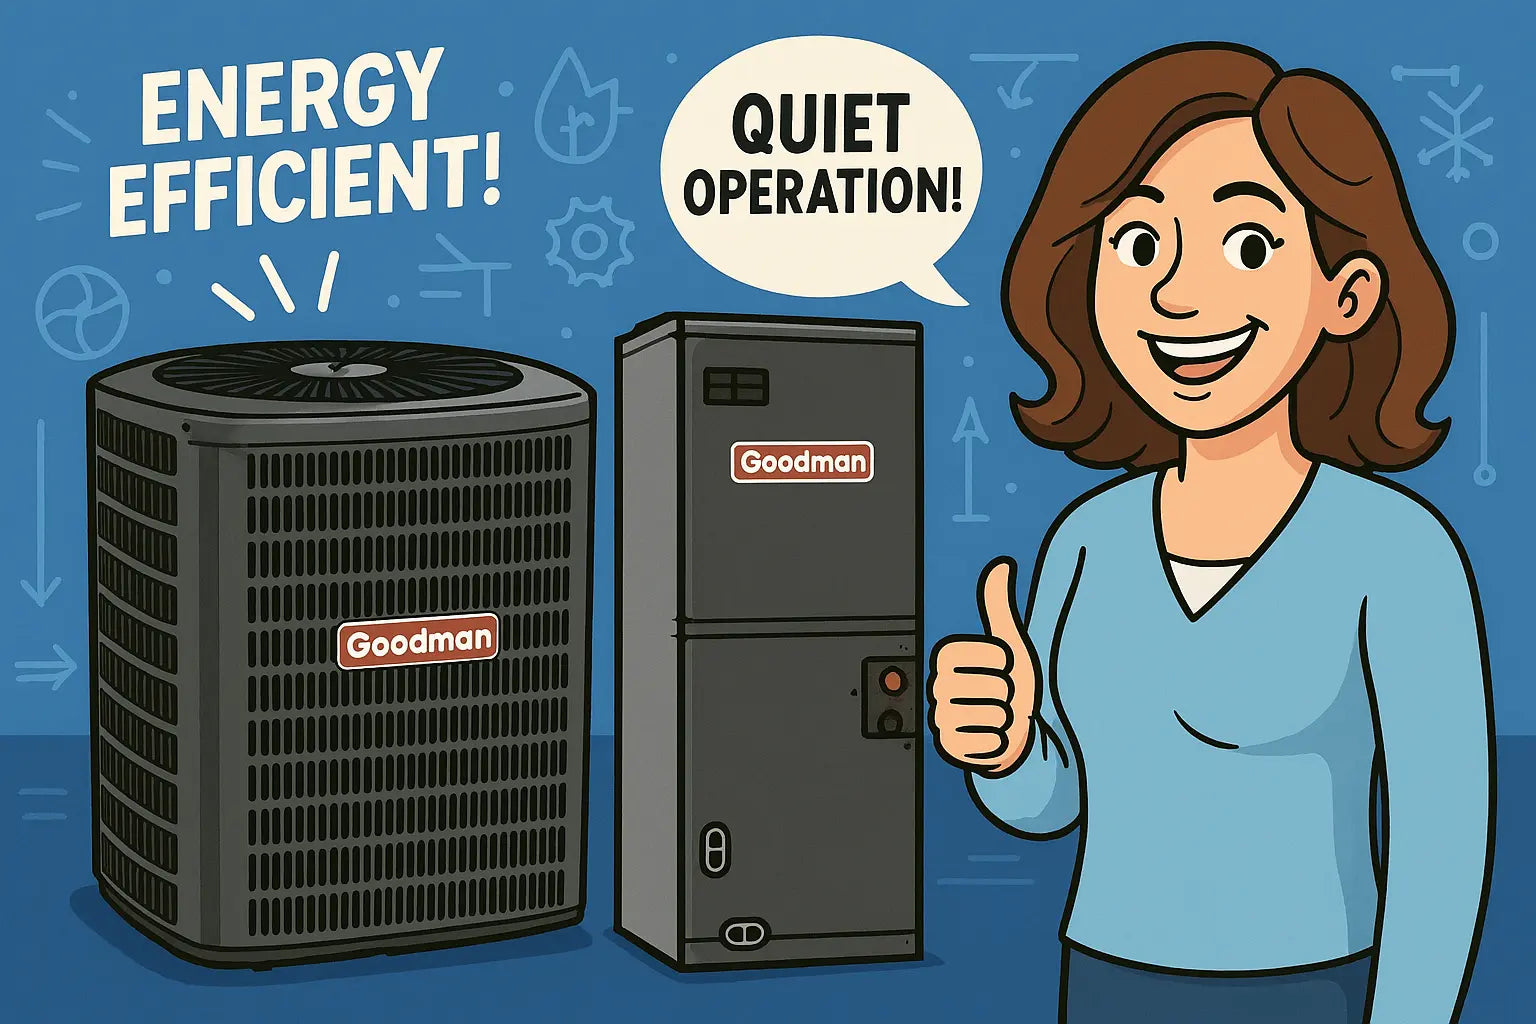
Hey there, it’s Samantha! 👋
So, you’ve already got your Goodman GLXS4BA6010 condenser set up and now it’s time to tackle the AMST60DU1300 air handler. Don’t worry—I’ll make this as painless as possible. 🌬️ Installing an air handler properly is key to getting consistent airflow, energy efficiency, and long-term reliability. Whether you’re a DIY enthusiast or just love knowing exactly what’s happening behind your walls, this guide has you covered.
🛠️ Tools and Prep You’ll Need
Before we dive in:
-
Screwdrivers and wrenches
-
Drill and level
-
Tape measure
-
Electrical tester
-
Safety gloves and goggles
-
Duct tape and sheet metal screws
For detailed diagrams, you can reference the Goodman AMST series installation guide.
Step 1: Choosing the Right Location
-
Place the air handler in a central location to minimize duct runs.
-
Ensure level installation to allow proper condensate drainage.
-
Keep clearance for service access—you’ll thank yourself later during maintenance.
Tip: Multi-position units like the AMST60DU1300 can be installed upflow, horizontal, or downflow, depending on your home’s layout. Plan carefully! Learn more about HVAC unit placement best practices for optimal efficiency.
Step 2: Positioning and Mounting
-
Carefully lift and place the air handler on the support platform.
-
Use a spirit level to confirm it’s perfectly horizontal.
-
Secure the unit with mounting screws or brackets, making sure it’s stable and won’t vibrate.
For multi-story homes or tight spaces, check out Energy Star’s air handler installation recommendations for proper clearance and airflow guidance.
Step 3: Connecting Ductwork
-
Attach supply and return ducts to the designated ports.
-
Use duct tape or sheet metal screws to ensure airtight connections.
-
Inspect for obstructions or sharp bends that could restrict airflow.
For more ductwork efficiency tips, see HVAC How-To Ductwork Guide.
Step 4: Electrical Setup
-
Turn off power at the breaker. Safety first! ⚡
-
Connect line voltage and control wires according to the manual.
-
Double-check all connections with a voltage tester before turning the unit on.
Tip: Label wires for easier troubleshooting later. For safety best practices, check Electrical Safety Foundation International.
Step 5: Connecting to the Condenser
-
Connect the refrigerant lines between the air handler and condenser.
-
Ensure all connections are tight and leak-free.
-
Charge the system according to specifications for the R-32 refrigerant used in the 5-ton system.
Learn about proper refrigerant handling and leak detection from EPA HVAC Resources.
Step 6: Startup and Testing
-
Restore power and turn the system on.
-
Verify that airflow is consistent and that the unit is cooling effectively.
-
Listen for strange noises or vibration and adjust mounting if needed.
Step 7: Maintenance Tips Post-Installation
-
Change filters every 1–3 months to maintain airflow and air quality.
-
Keep the area around the unit clear of debris and clutter.
-
Schedule annual inspections to check refrigerant levels, electrical connections, and system efficiency.
Conclusion: You Did It! 🎉
Installing your AMST60DU1300 air handler might seem complex at first, but with careful planning, proper tools, and attention to detail, your system will provide reliable cooling and comfort for years.
For full specs, installation diagrams, and to confirm compatibility with your condenser, visit the Goodman 5-Ton 14 SEER2 R-32 System product page. ❄️
Need more advanced troubleshooting tips for this combo? Visit my guide: Common HVAC Issues Homeowners Encounter with the Goodman 5-Ton System.
Remember, when in doubt about electrical connections or refrigerant handling, don’t hesitate to call a certified professional. You’ve got this! 🌬️
- Samantha, Home Comfort Advisor


