Introduction: Hey there, it’s Samantha! 👋
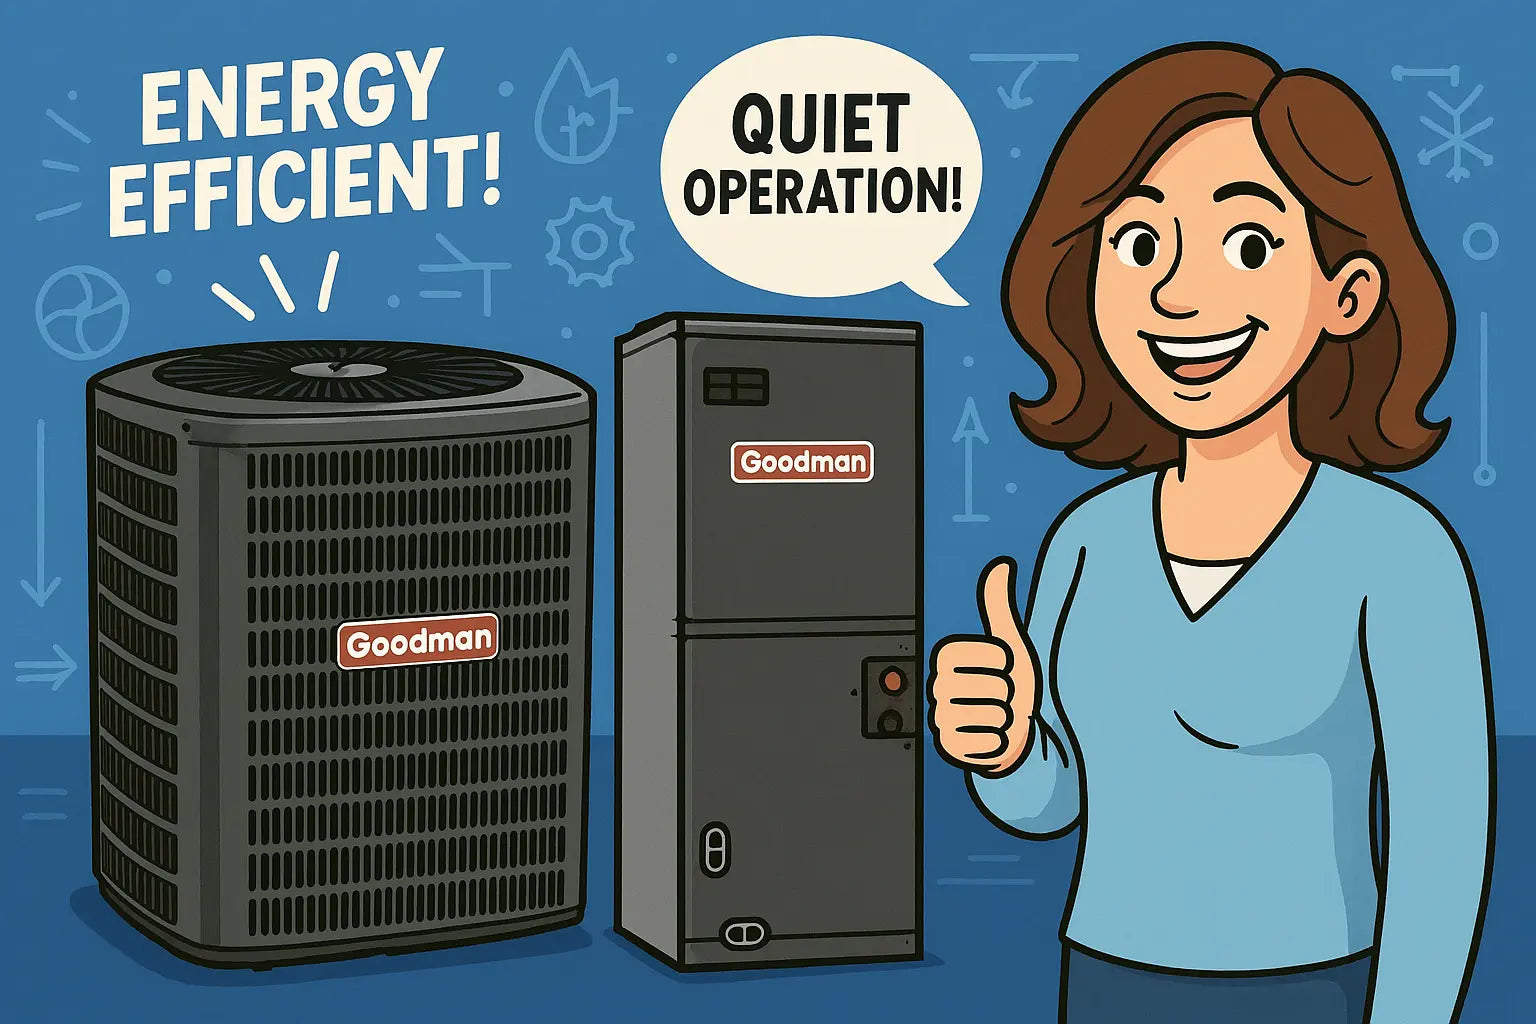
Installing a condenser can feel a little intimidating at first, but trust me—you’ve got this. 💪 Whether you’re a hands-on homeowner or just like knowing exactly what’s happening in your HVAC system, I’m here to walk you through the process for your Goodman GLXS4BA6010 5-ton 14 SEER2 R-32 condenser. By the end of this guide, you’ll know exactly how to set it up safely, efficiently, and correctly. Let’s get started! 🌬️
🛠️ What You’ll Need
Before you begin, make sure you have all your tools and supplies:
-
Wrenches and screwdrivers
-
Drill and level
-
Refrigerant gauges
-
Safety gloves and goggles
-
Electrical tester
-
Condensate pad or pad levelers (if required)
For a detailed installation manual, you can check out the Goodman GLXS4BA6010 installation guide which has step diagrams and manufacturer tips.
Step 1: Choosing the Perfect Location
Your condenser needs space to breathe:
-
Place it on a level, solid surface, like a concrete pad or paver stones.
-
Leave 2–3 feet of clearance on all sides for airflow.
-
Avoid placing it directly under roof overhangs or in shaded areas where debris can accumulate.
Tip: Keep the area free of plants and obstructions. This ensures your condenser can operate efficiently and helps prevent system strain. 🌱
Step 2: Positioning the Condenser
-
Carefully move the condenser onto the pad. It’s heavy, so you may need an extra pair of hands.
-
Level the unit using a spirit level. Uneven placement can cause premature wear on internal components.
-
Check that the condenser is firmly seated—it shouldn’t wobble or tilt.
Step 3: Connecting Refrigerant Lines
-
Connect the suction and liquid lines from your air handler.
-
Ensure all fittings are tight and leak-free. Leaks not only reduce efficiency but can damage the system.
-
It’s recommended to use a nitrogen purge when brazing copper lines to avoid oxidation inside the tubing.
Learn more about proper refrigerant handling from HVAC troubleshooting and best practices.
Step 4: Electrical Connections
-
Shut off all power at the breaker. Safety first! ⚡
-
Follow the wiring diagram in your Goodman manual to connect the condenser to your air handler.
-
Double-check connections with a voltage tester before restoring power.
Tip: Label all wires during installation. It makes future maintenance or troubleshooting a breeze.
Step 5: Testing and Startup
-
Once the unit is fully installed, restore power and turn on the system.
-
Listen for unusual noises or vibrations—these can indicate loose components or misalignment.
-
Measure airflow and temperature differential to ensure the system is cooling properly.
Step 6: Maintenance Tips After Installation
-
Regularly clear debris around the condenser. Leaves and dirt can block airflow.
-
Check refrigerant levels annually to maintain efficiency.
-
Inspect wiring and connections periodically to avoid hazards.
Tip: A little preventive care goes a long way in extending the life of your 5-ton R-32 system.
Conclusion: You Did It! 🎉
Installing your Goodman GLXS4BA6010 condenser might have seemed intimidating at first, but with the right steps, tools, and patience, you now have a top-performing 5-ton system ready to cool your home.
For more details, specs, and to double-check compatibility with your air handler, visit the full product page here: Goodman 5-Ton 14 SEER2 R-32 System. ❄️
Remember, if you ever feel unsure about refrigerant handling or electrical connections, it’s always best to call in a certified professional. You’ve got this! 🌬️
Need more advanced installation tips for this air handler? Visit: Installing the AMST60DU1300 Air Handler.
Until next time,
- Samantha, Home Comfort Advisor


