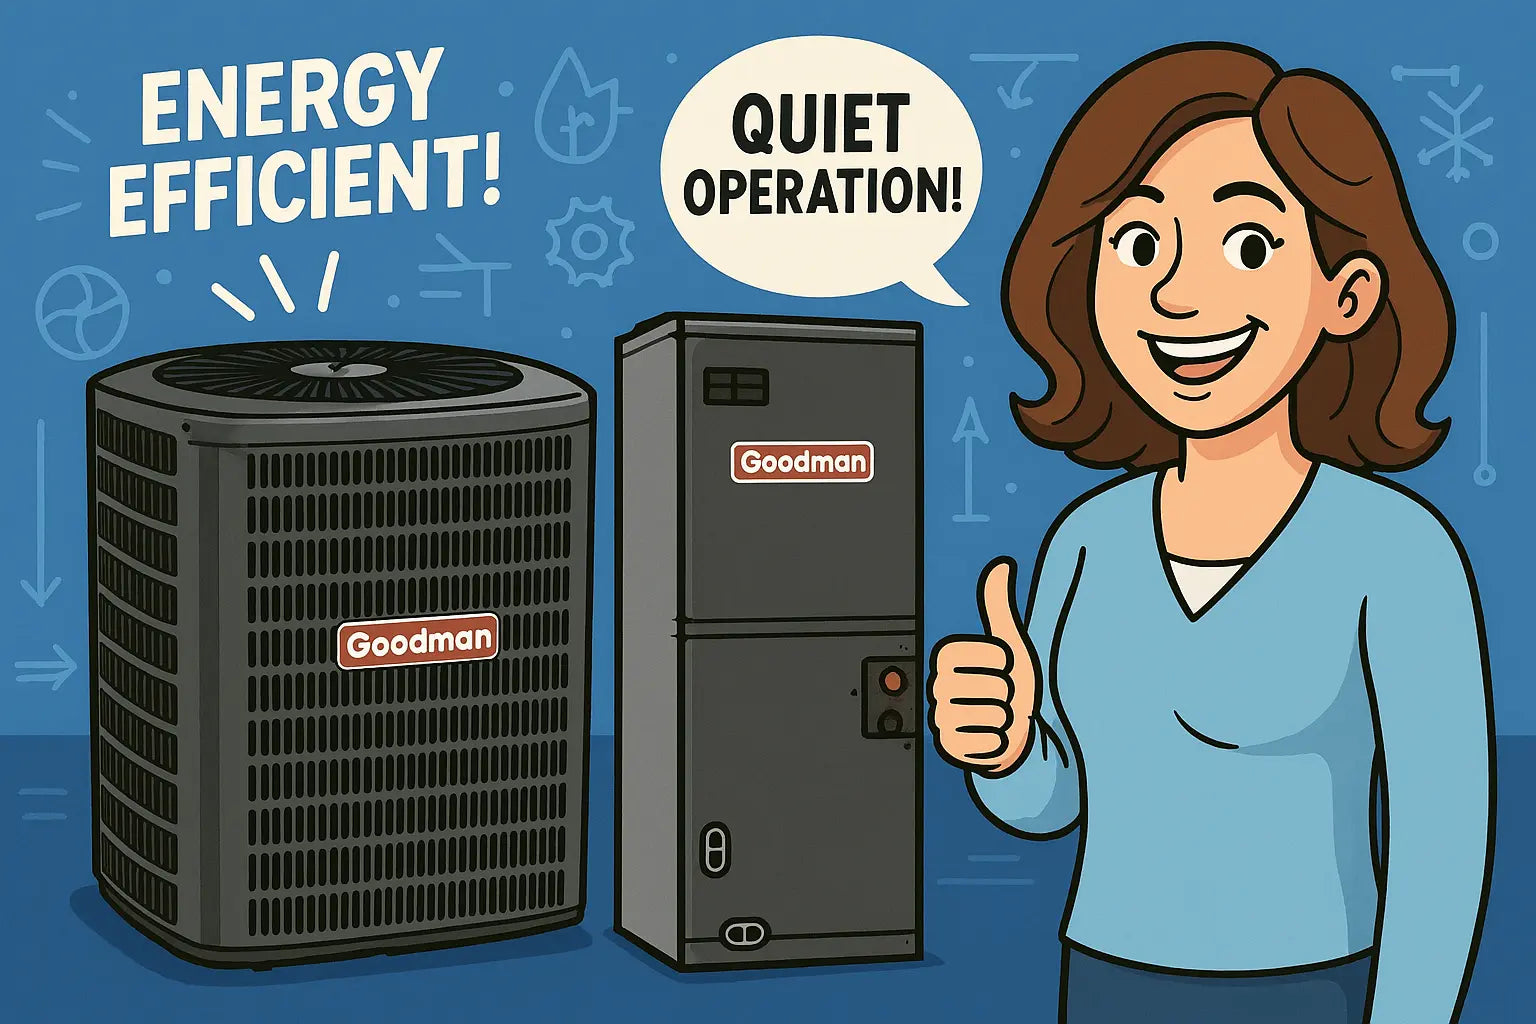
Hey friends!
Samantha here—your savvy, no-nonsense HVAC guide. If you’re ready to tackle your Goodman GLXS3BN2410 condenser, CAPTA2422B3 evaporator coil, and GR9S960803BN furnace, you’ve come to the right place. 🛠️
Whether you’re a confident DIYer or just curious about your system, I’ll walk you through installation, maintenance, and troubleshooting tips to keep your home comfortable all year. Plus, I’ve sprinkled in a few insider tips that I’ve picked up over the years from pros and resources like Energy.gov.
🧰 What’s in the Box?
Before we roll up our sleeves, let’s check your components:
-
GLXS3BN2410 Condenser – A 2-ton, 14 SEER2 R-32 air conditioner condenser, designed for efficient cooling. Learn more about specs here.
-
CAPTA2422B3 Evaporator Coil – A vertical cased coil that ensures smooth heat exchange. Installation tips can be found here.
-
GR9S960803BN Furnace – A 96% AFUE, 80,000 BTU natural gas furnace for reliable heat. Reference the manufacturer manual for details.
These pieces are designed for seamless integration, but careful preparation ensures a smooth installation.
🛠️ Step-by-Step Installation
1. Preparing the Site
Pick a level, stable surface free of debris. Ensure there’s enough space around the condenser for airflow and future maintenance. Clearance saves headaches later. For a general guide to HVAC installation and safety, check Energy.gov’s air conditioning guide.
2. Installing the Condenser
-
Place the GLXS3BN2410 on a stable, level pad.
-
Elevate it slightly to prevent water pooling and debris.
-
Keep at least 12 inches clearance on all sides.
3. Installing the Evaporator Coil
-
Mount the CAPTA2422B3 inside the air handler or furnace plenum.
-
Ensure refrigerant lines are tightly connected and well-insulated.
-
Follow proper airflow direction and secure all fasteners.
4. Connecting the Furnace
-
Position the GR9S960803BN furnace and attach the gas line carefully.
-
Install venting according to local codes.
-
Verify electrical wiring is secure and code-compliant.
5. Startup & Testing
-
Power up the system and check thermostat settings.
-
Monitor airflow, temperature, and listen for unusual sounds.
-
Confirm refrigerant charge and system pressures. For safe handling of refrigerants, see the EPA certification guide.
🛠️ Troubleshooting Tips
Even pros hit snags! Here’s how to handle common issues:
System Not Cooling Properly
-
Low refrigerant can reduce cooling efficiency.
-
Check filters and vents to ensure airflow isn’t blocked.
-
For troubleshooting guidance, check PickHVAC’s Goodman tips.
Furnace Not Heating
-
Confirm thermostat is in heat mode.
-
Ensure gas supply is on and pilot light is lit.
-
Clean the flame sensor if the furnace keeps shutting down.
Strange Noises
-
Condenser rattling? Check fan blades and panel screws.
-
Furnace squealing? It might be the blower motor. Lubricate or replace as needed.
Error Codes
-
Goodman systems have diagnostic LEDs for common issues.
-
Reference the Goodman troubleshooting page for detailed error codes.
-
Follow the manual to interpret flashing lights and reset codes.
💡 Samantha’s Pro Tips
-
Schedule annual maintenance for efficiency and longevity.
-
Keep supply and return vents clear.
-
Seal ductwork with mastic tape to avoid energy loss.
-
Consider a programmable thermostat for energy savings. For energy efficiency ideas, check The Spruce’s HVAC guides.
-
Keep a small toolkit and replacement filters handy for quick fixes.
🧼 Maintenance Tips for DIY Homeowners
-
Replace filters every 1–3 months depending on usage.
-
Clean the condenser coil periodically to maintain airflow.
-
Inspect ductwork and seal leaks to improve efficiency.
-
Lubricate motors and fans if your system allows it.
-
Test safety switches annually for peace of mind.
💬 Final Thoughts from Samantha
Well, friends, you’ve got this! By understanding your Goodman system and taking a proactive approach, you can maintain comfort, reduce energy costs, and avoid unexpected breakdowns. DIY is fun, but always know your limits—safety first! 🔧💨
Remember, your system is only as good as the installation and maintenance you provide. Whether it’s keeping your filters clean, sealing ducts, or checking refrigerant levels, small consistent efforts make a big difference in efficiency and lifespan. And if you’re ready to see this 2-ton 14 SEER2 system in action, check out the full Goodman 2 Ton 14 SEER2 Northeast System bundle here.
Need more advanced installation tips for this unit? Visit my guide: From Box to Comfort.
Always stay curious, stay safe, and enjoy the satisfaction of knowing your home’s comfort is under your control. With a little patience, the right tools, and these tips, you’ll keep your HVAC running smoothly for years. Happy DIY-ing! 💨🛠️
- Samantha, Home Comfort Advisor


