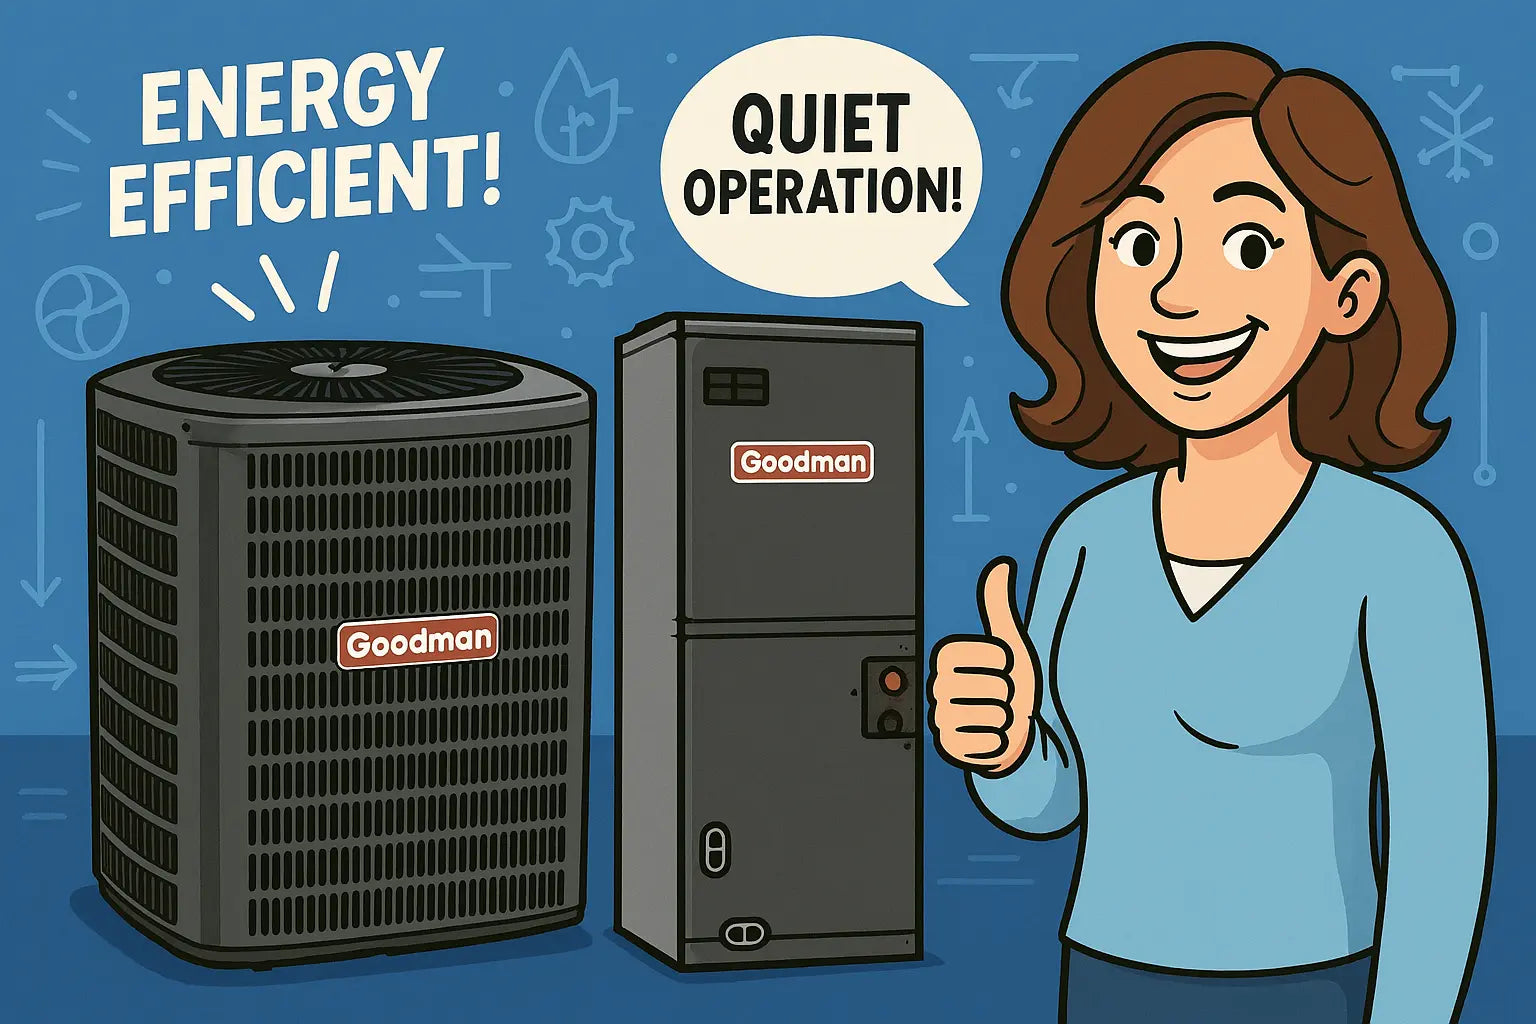
Hey friends!
Samantha here, your go-to HVAC-savvy guide for homeowners who like to take control of their comfort. Today we’re tackling a full DIY installation of the Goodman 2 Ton 14 SEER2 Northeast System: the GLXS3BN2410 condenser, CAPTA2422B3 evaporator coil, and GR9S960803BN gas furnace. 🛠️
This is a full walkthrough—from unboxing to startup—so whether you’re a weekend warrior or just a curious homeowner, I’ll make it approachable, safe, and maybe even a little fun!
🧰 What’s in the Box?
Before you start wrenching, let’s inventory your new HVAC friends:
-
GLXS3BN2410 Condenser – 2-ton, 14 SEER2 R-32 air conditioner condenser. Designed for efficient, quiet cooling. Learn specs here.
-
CAPTA2422B3 Evaporator Coil – Vertical cased coil optimized for airflow and R-32 refrigerant efficiency. More installation info here.
-
GR9S960803BN Furnace – 96% AFUE, 80,000 BTU furnace providing reliable heat. Full manual here.
Having everything organized before starting will save headaches—and maybe a few extra trips to the hardware store.
🛠️ Step 1: Prepare Your Installation Site
-
Pick a level, stable surface for the condenser. Keep it elevated slightly to avoid water pooling.
-
Ensure adequate clearance around all units for airflow and maintenance—usually at least 12 inches.
-
For safety and installation guidelines, check the Energy.gov central air guide.
Pro Tip: Mark out the exact placement with chalk or tape. It makes aligning ductwork and refrigerant lines a lot easier.
🛠️ Step 2: Installing the Condenser
-
Place the GLXS3BN2410 on a sturdy pad or platform.
-
Level it with a spirit level to prevent vibrations.
-
Connect refrigerant lines later—but don’t charge yet. Make sure the lines are insulated.
Tip: Avoid direct sunlight or spots where debris can collect—this prolongs the life of the condenser fan and coils.
🛠️ Step 3: Installing the Evaporator Coil
-
Mount the CAPTA2422B3 inside the furnace plenum or air handler.
-
Align airflow correctly; coils have an arrow for “air direction.”
-
Connect the refrigerant lines to the coil with a tight flare. Insulate lines to prevent condensation.
You can reference HomElectrical’s guide for more visuals and tips.
🛠️ Step 4: Setting Up the Furnace
-
Position the GR9S960803BN furnace where it will vent properly.
-
Connect the gas line using a pipe wrench; check for leaks with a soapy water test.
-
Install the venting according to local code.
-
Connect electrical wiring to the breaker panel and thermostat.
Safety first: If you smell gas at any point, shut off the supply immediately and call a professional.
🛠️ Step 5: Electrical & Controls
-
Connect the condenser, furnace, and coil to the thermostat.
-
Use proper gauge wire and follow local electrical codes.
-
Double-check that circuit breakers and fuses match manufacturer recommendations.
Tip: A multimeter is your best friend here. Verify power before touching terminals.
🛠️ Step 6: Refrigerant Charging & Startup
-
Connect gauges to the condenser and evaporator coil.
-
Charge the system with R-32 refrigerant as per manufacturer specs.
-
Power on the system and set the thermostat to cool mode.
For EPA-approved refrigerant handling and DIY safety, check the EPA Section 608 guide.
🛠️ Step 7: Testing & First Run
-
Monitor airflow, temperatures, and listen for unusual sounds.
-
Check pressures with the manifold gauge.
-
Look for any leaks in refrigerant lines or duct connections.
Tip: It’s normal to hear some startup noises—rattles or clicks. Persistent buzzing or squealing should be addressed immediately.
💡 Samantha’s Pro Tips
-
Schedule annual maintenance to keep everything running smoothly.
-
Seal ducts to prevent energy loss.
-
Keep supply and return vents clear.
-
Upgrade to a programmable thermostat for energy savings.
-
Always keep spare filters and basic tools nearby for quick maintenance.
💬 Final Thoughts from Samantha
Well, friends, you’ve officially gone from box to comfort! Taking control of your HVAC installation is empowering—but remember, safety always comes first. 🛠️💨
Your Goodman 2 Ton 14 SEER2 Northeast System is now set up to deliver reliable cooling and heating for years. Stay consistent with maintenance, monitor performance, and don’t hesitate to consult pros if something seems off.
And if you want to explore this system further or grab yours, check out the full Goodman 2 Ton 14 SEER2 Northeast System bundle. With a little patience, the right tools, and this guide, you’ll enjoy a comfortable, efficient home all year long. Happy DIY-ing! 💨🔧
Need more advanced troubleshooting for this bundle? Visit my guide: From Noise to No Cool.
Stay warm and stay comfortable,
- Samantha, Home Comfort Advisor


