🔧 Introduction: Mike’s Toolbox Talk
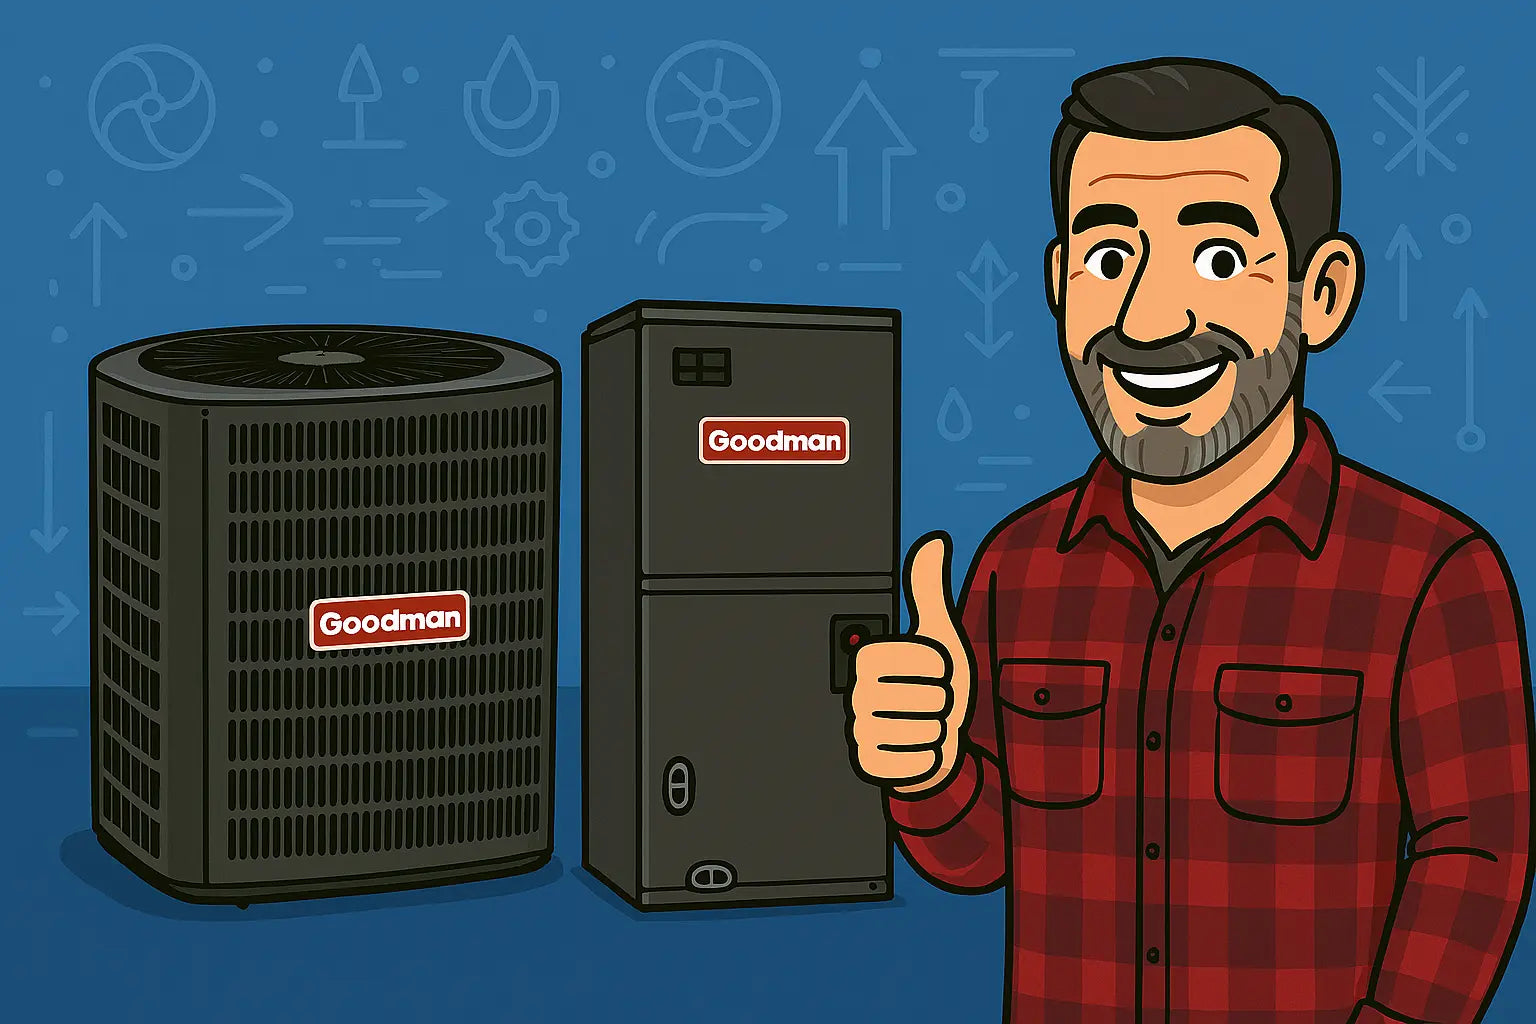
Hey there, Mike here! If you’re looking to install or troubleshoot the Goodman GLXS3BN2410 condenser, CAPTA2422B3 coil, and GR9S960803BN furnace, you’ve come to the right place. Whether you're a seasoned pro or a DIY enthusiast, this guide is packed with everything you need to know. Let's get those systems humming like a well-tuned compressor!
Before we dive in, remember: safety first. Always follow manufacturer instructions and local codes.
🛠️ Part 1: Installing the Goodman GLXS3BN2410 Condenser
Step 1: Site Selection & Preparation
Pick a level, stable surface, ideally a concrete pad. Keep the condenser clear of fences, shrubs, or other obstructions to ensure proper airflow. The EPA’s HVAC site has some great guidelines on outdoor unit placement and safety.
Step 2: Unboxing & Inspection
Remove the unit carefully from its packaging. Inspect for any visible damage. A quick visual check can save you a headache later.
Step 3: Electrical Connections
Ensure your power supply matches the unit’s requirements (208-230V, 60Hz, single-phase). Follow these electrical best practices for a safe installation.
Step 4: Refrigerant Line Connections
Connect the suction and liquid lines to the appropriate ports. Use a torque wrench to tighten flare nuts to manufacturer specs. Over-tightening can cause damage, under-tightening can lead to leaks.
Step 5: System Start-Up
Power up the unit and check for unusual noises or vibrations. Monitor performance to ensure proper operation.
🌀 Part 2: Installing the Goodman CAPTA2422B3 Evaporator Coil
Step 1: Compatibility Check
Make sure the CAPTA2422B3 coil works seamlessly with your GR9S960803BN furnace.
Step 2: Coil Installation
Position the coil in the plenum, making sure it’s seated properly, and secure it according to the manufacturer’s instructions.
Step 3: Drainage Setup
Connect the condensate drain line. Energy Star recommends checking drains regularly to prevent water damage and improve efficiency.
Step 4: Electrical Connections
Hook up the coil’s electrical components to the furnace. Double-check all wiring.
Step 5: System Testing
Test airflow and cooling performance. Check for leaks or unusual noises.
🔥 Part 3: Installing the Goodman GR9S960803BN Furnace
Step 1: Location & Positioning
Install the furnace in its designated spot. Ensure clearance for airflow and maintenance access.
Step 2: Gas Line Connection
Connect the gas line securely. Use a gas leak detector to verify no leaks exist. This guide on natural gas furnace safety has excellent tips.
Step 3: Venting System
Install venting according to local codes. Proper venting is crucial for safe operation.
Step 4: Electrical Connections
Connect the furnace to the power supply, making sure all wiring is tight and up to code.
Step 5: System Start-Up
Power the furnace on and check for proper ignition, airflow, and heating performance.
🛠️ Troubleshooting Tips from Mike
Even the best systems can hit bumps. Here are common problems and fixes:
Issue 1: System Not Cooling Properly
-
Causes: Low refrigerant, dirty condenser coils, or faulty thermostat.
-
Solutions: Check refrigerant levels, clean coils, and replace the thermostat if needed. Goodman troubleshooting tips can help identify specific issues.
Issue 2: Furnace Not Heating
-
Causes: Dirty filters, faulty ignitor, or gas supply interruptions.
-
Solutions: Replace filters, inspect the ignitor, and verify gas flow.
Issue 3: Unusual Noises
-
Causes: Loose components, debris, or motor issues.
-
Solutions: Tighten parts, remove debris, and inspect motors.
🧰 Mike’s Pro Tips
-
Regular Maintenance: Schedule annual inspections to keep your system efficient.
-
Use Quality Parts: Stick to OEM parts for replacements to ensure compatibility.
-
Stay Informed: Keep up with the latest HVAC trends and technologies.
🏁 Conclusion: Mike’s Final Word
Alright, friends, Mike here again. Installing and troubleshooting HVAC systems can feel like a juggling act, but with the right tools and know-how, you’ve got this. Safety always comes first—follow manufacturer instructions and local codes, and don’t take shortcuts.
When done right, your Goodman 2-Ton 14 SEER2 condenser, CAPTA2422B3 coil, and GR9S960803BN furnace will deliver reliable comfort for years to come. If you’re ready to check out the exact system we’ve been walking through, you can see all the specs and details right here: Goodman 2-Ton 14 SEER2 Northeast System.
Need condenser and coil setup tips for this bundle? Visit my guide: Goodman 2-Ton Installation Simplified.
Remember, HVAC isn’t just about cooling or heating—it’s about keeping your home safe, efficient, and comfortable. Keep your system maintained, stay curious, and never be afraid to call in a pro when you hit a tricky problem. Here’s to smooth operation and stress-free comfort! 🔧🔥
- Mike, your cool HVAC neighbor


