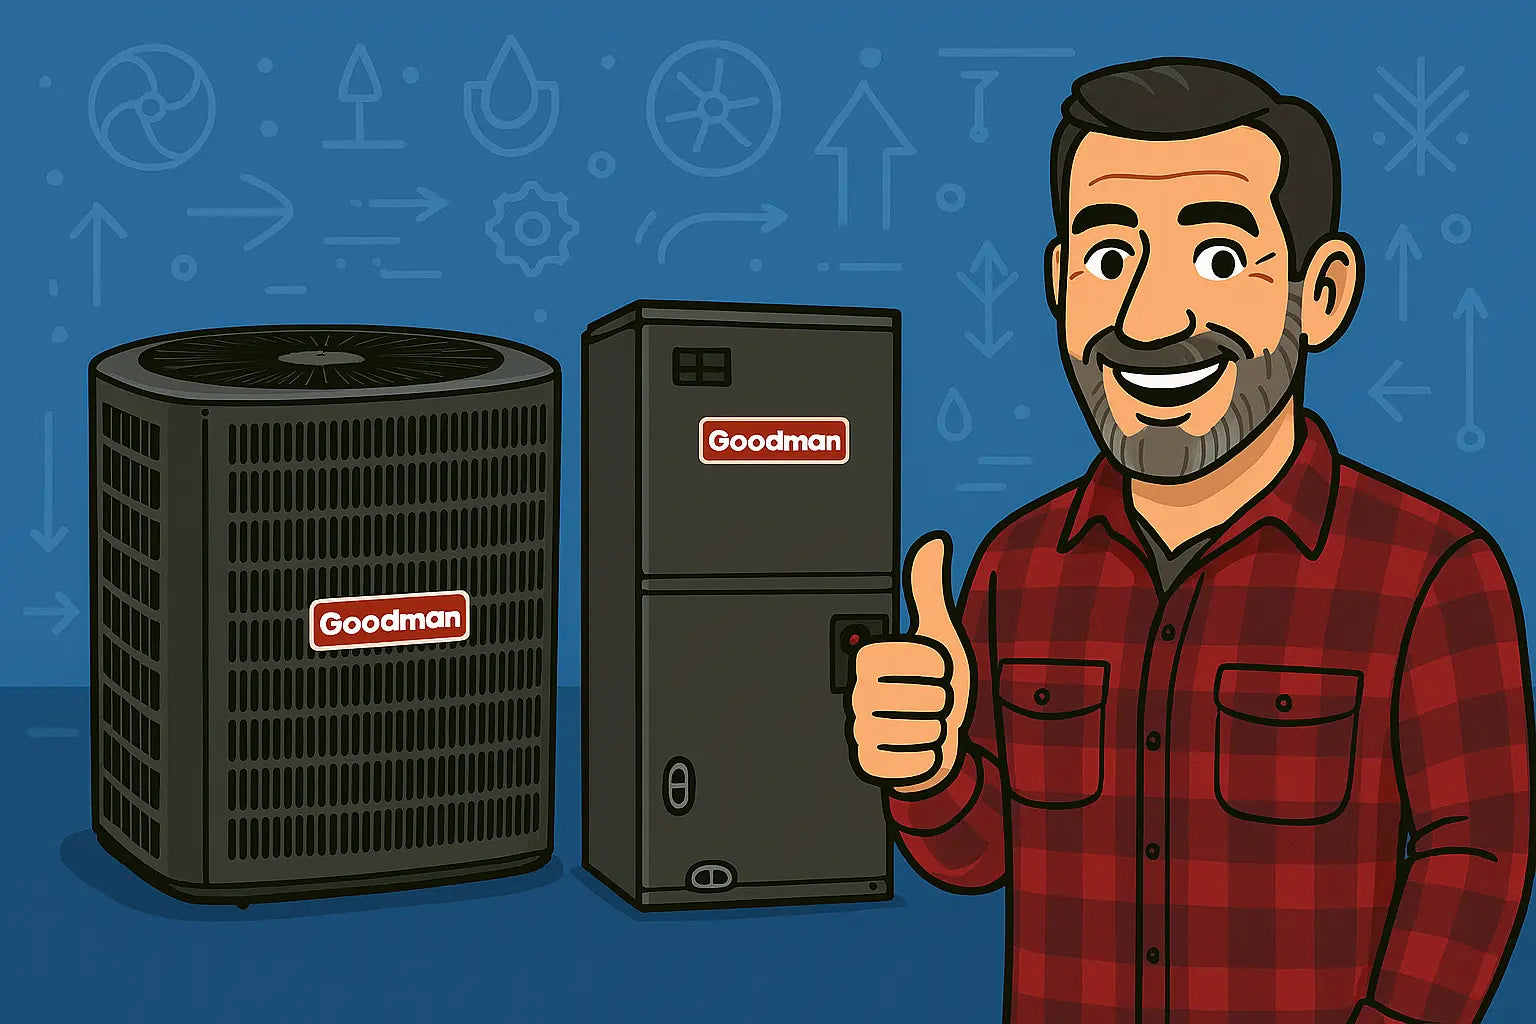
🔧 Introduction: Mike’s Toolbox Talk
Hey everyone, Mike here! Installing a Goodman 2-Ton 14 SEER2 condenser and coil might sound intimidating, but I promise it’s not rocket science. With the right prep, tools, and a bit of patience, you can have your system humming in no time. In this guide, I’ll walk you through every step, share pro tips, and even sprinkle in some troubleshooting insights.
Let’s dive in! 🛠️
🏗️ Part 1: Preparing for Installation
Step 1: Choose the Right Location
Placement is everything. Your condenser (GLXS3BN2410) needs a level, stable pad—preferably concrete—and good airflow. Avoid fences, shrubs, or anything that could restrict airflow. Check out EPA’s HVAC placement guidelines for safety and efficiency tips.
Step 2: Inspect Your Equipment
Open the boxes carefully and inspect both the condenser and coil for damage. Even small dents can affect efficiency or cause leaks down the line.
Step 3: Gather Tools & Safety Gear
You’ll need:
-
Torque wrench
-
Refrigerant line wrenches
-
Level
-
Drill & screws
-
Safety goggles and gloves
Always wear protective gear and follow electrical safety practices when handling wiring.
🛠️ Part 2: Installing the Goodman 2-Ton Condenser
Step 1: Level the Pad
Ensure your pad is level in all directions. An unlevel pad can cause stress on the compressor and shorten its lifespan.
Step 2: Position the Condenser
Place the GLXS3BN2410 on the pad, ensuring clearances per the manufacturer’s specs. Maintain at least 24 inches around the unit for airflow.
Step 3: Connect the Electrical Supply
Make sure the unit is powered off. The condenser operates on 208-230V, single-phase, 60Hz. Connect according to the local code and verify connections with a multimeter before energizing.
Step 4: Attach Refrigerant Lines
Connect the suction and liquid lines to the unit. Tighten flare nuts to manufacturer specs—don’t overdo it! You can learn more about proper refrigerant handling from Goodman’s literature library.
Step 5: Evacuate Air & Moisture
Use a vacuum pump to evacuate air and moisture from the lines. This is crucial to prevent corrosion and ensure system efficiency.
Step 6: System Startup
Once connected, power the system and check for proper operation. Listen for unusual noises and watch for correct pressures.
🌀 Part 3: Installing the CAPTA2422B3 Evaporator Coil
Step 1: Verify Compatibility
Make sure the CAPTA2422B3 coil is compatible with your furnace. It’s designed for use with the GR9S960803BN, ensuring proper airflow and cooling.
Step 2: Install the Coil
Place the coil in the plenum and secure it per manufacturer instructions. Ensure the airflow direction matches the unit’s design.
Step 3: Connect the Condensate Drain
Proper drainage is key. Connect the condensate line and ensure it flows freely. Check out Energy Star’s furnace maintenance tips for guidance on keeping drains clear.
Step 4: Connect Electrical Components
Wire the coil connections to the furnace. Double-check polarity and secure all terminals.
Step 5: Test Airflow & Performance
Power the system and check that airflow is unobstructed. Look for leaks and verify cooling performance.
🔍 Part 4: Troubleshooting Common Installation Issues
Even the best installation can hit snags. Here’s what to watch for:
-
Insufficient Cooling: Check refrigerant levels, coil cleanliness, and thermostat calibration.
-
No Airflow: Inspect blower connections and filter placement.
-
Vibrations or Noise: Ensure condenser is level and mounting screws are tight.
🧰 Mike’s Pro Installation Tips
-
Always double-check clearances around the condenser.
-
Use OEM parts for replacements to avoid compatibility issues.
-
Label wires during installation to make future troubleshooting easier.
-
For advanced efficiency tips, check out Energy.gov HVAC efficiency standards.
🏁 Conclusion: Mike’s Final Word
Installing your Goodman 2-Ton 14 SEER2 condenser and CAPTA2422B3 coil doesn’t have to be overwhelming. With careful prep, attention to detail, and proper safety practices, you’ll have a system that delivers reliable comfort for years.
If you’re ready to explore this exact system, check it out here: Goodman 2-Ton 14 SEER2 Northeast System.
Need more advanced installation tips for the furnace in this bundle? Visit my guide: How to Safely Install and Start Up Your Goodman 96% AFUE Gas Furnace (GR9S960803BN).
Remember—take your time, follow instructions, and call in a pro if anything feels off. Your home will stay comfy, your system will run efficiently, and you’ll have the satisfaction of a job well done. 🔧💨
- Mike, your cool HVAC guide!


