Samantha's Intro
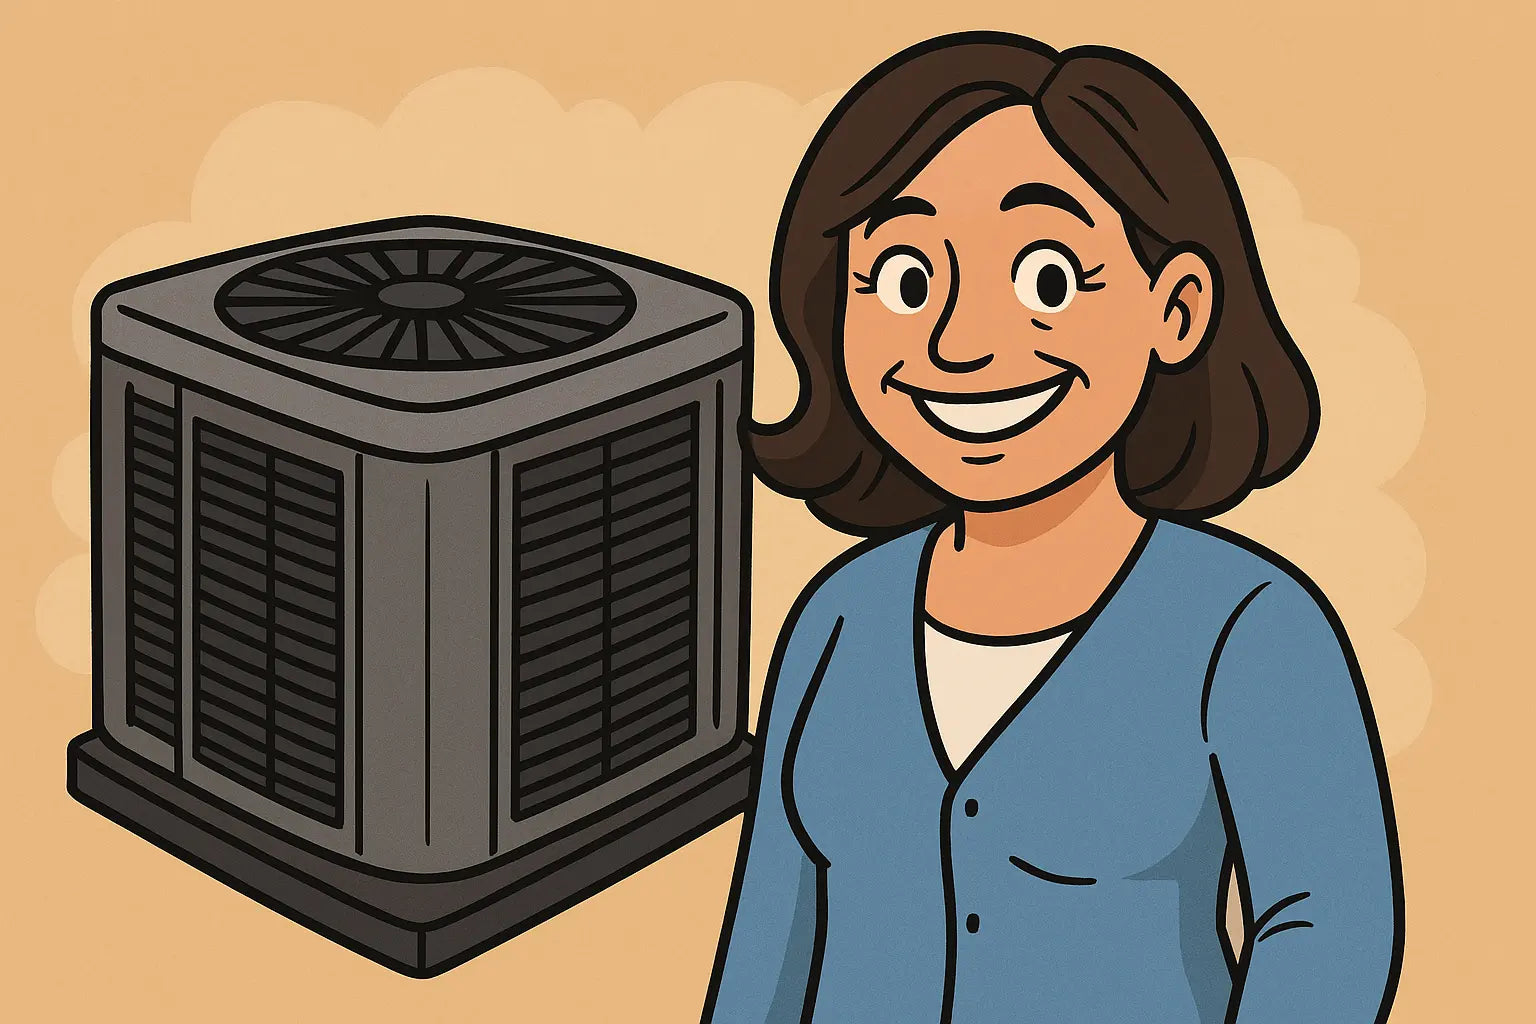
Hey friend! Samantha here, your smart-home bestie who figured out HVAC the hard way (hint: it involved a meltdown in July 🔥). Today, I’m unpacking one of the most powerful cooling combos around—the Goodman GLXS4BA3610 condenser, CAPTA3626C3 coil, and the GR9T961005CN furnace—and showing you how to install and troubleshoot it like a tech who’s seen some things 👩🔧.
So, roll up those sleeves and get ready to learn about airflow, refrigerants, safety, and solving annoying startup issues—without losing your cool 😎.
1. Getting to Know the System
This 3‑Ton system is no lightweight. It runs on R‑32 refrigerant, has a 15.2 SEER2 efficiency rating, and pairs with a vertical evaporator coil and high-efficiency 96% AFUE furnace. That means energy savings for you and a lighter footprint on the planet 🌍.
When registered properly, Goodman systems include a solid 10‑year parts warranty. So if you're a homeowner investing in this setup, don’t skip the registration. The serial and model numbers will be your best friends here.
Curious how R‑32 compares to other refrigerants like R‑410A? Here's a great breakdown from the folks at ECI Comfort that explains the shift toward next-gen refrigerants and why this change matters.
2. Site Prep and Safety (Don’t Skip This!)
Before you even crack open the box, make sure you’ve got:
-
A level concrete or plastic pad
-
Clearance: 12" on the coil sides, 24" above
-
Local permits and code compliance (ask your municipality)
-
R‑32 handling tools: digital scale, A2L-approved leak detector, and a good vacuum pump
Because R‑32 is mildly flammable, safety matters more than ever. Leak detection and evacuation should follow UL 60335-2-40 guidelines.
Need a refresher? This
EPA guide to R-32 and A2L refrigerants
is super helpful for both techs and homeowners.
3. Installation: Connecting the Dots
Here’s the order I recommend:
-
Mount the outdoor unit on a level pad with vibration isolators
-
Run and secure the line set, properly sized and insulated
-
Connect TXV-equipped coil, ensuring the bulb is mounted at 3 or 9 o'clock on the suction line
-
Pull a triple vacuum down to 500 microns
-
Weigh in the refrigerant using a digital scale, adjusting based on line set length
-
Hook up thermostat wiring: Rc, Y, G, O/B, and W for dual-fuel or heating integration
-
Set blower speed to match the coil’s tonnage: ~400 CFM per ton
-
Fire it up and monitor superheat/subcooling
Need visual reinforcement? I love this
HVAC School article on proper TXV and airflow calibration
—it’s super nerdy in the best way 💡.
4. Airflow and Blower Setup
If you get airflow wrong, nothing else will work right. (Trust me—I learned this the sweaty way.)
Start with these checks:
-
Static pressure below 0.5" w.c.
-
Blower tap set correctly (refer to furnace board chart)
-
Coil is clean and TXV bulb is secure
-
Ducts sealed at all joints (use mastic, not tape)
-
Supply grills fully open
Need some airflow balancing basics?
Energy Vanguard’s airflow balancing article
is a gold mine for pros and homeowners alike.
5. Troubleshooting the GLXS4BA3610 System
Even with perfect setup, things happen. Here’s a fast guide to common issues I’ve run into:
Unit won’t start
-
Check float switch (drain issue?)
-
Confirm 24V signal from thermostat
-
Look for blown fuse or tripped breaker
Compressor cycles too fast
-
Improper refrigerant charge
-
Dirty outdoor coil
-
Oversized unit (if home is under 1200 sq ft)
Ice buildup
-
Airflow too low
-
Dirty filter or coil
-
TXV sensing bulb knocked loose
Weak airflow indoors
-
Blower not set to correct speed
-
Ductwork leak
-
Coil partially blocked
Sometimes, you’ll get a specific fault code from the furnace board or capacitor failure. That’s when I turn to
HVAC.com’s Goodman troubleshooting guide
—it’s a clean, simple reference when you’re in a hurry.
Samantha’s Sign‑Off 💬
Whew! Told ya it was a lot—but don’t worry, you’ve got this. Whether you’re coordinating an install or figuring out why your system’s not cooling quite right, the GLXS4BA3610 is a solid choice when installed correctly. Just remember: refrigerants are serious, airflow is everything, and the right resources make you unstoppable 💪.
And hey, if you’re shopping for this system, it’s already bundled perfectly with the coil and furnace
right here at The Furnace Outlet.
Save yourself the parts-run headache and grab the full kit.
Curious about the placement of this system? Visit: Installing the Goodman GLXS4BA3610 & CAPTA3626C3 in Tight or Low‑Access Spaces.
Now go forth and cool something down! 🌀💁
- Samantha, Home Comfort Advisor


