Hey hey, Mavi here! 🛠️✨
Let’s be real. You probably don’t think about your evaporator coil until your AC stops working... and then it’s all you think about. Been there, felt that (sweat included). Whether you’re diving into a DIY install or trying to decode why your system isn’t cooling right, I’ve got your back. Grab your favorite wrench—or at least a cup of coffee—and let’s unravel the frosty mysteries of the evaporator coil, one step at a time.
What’s an Evaporator Coil Anyway?
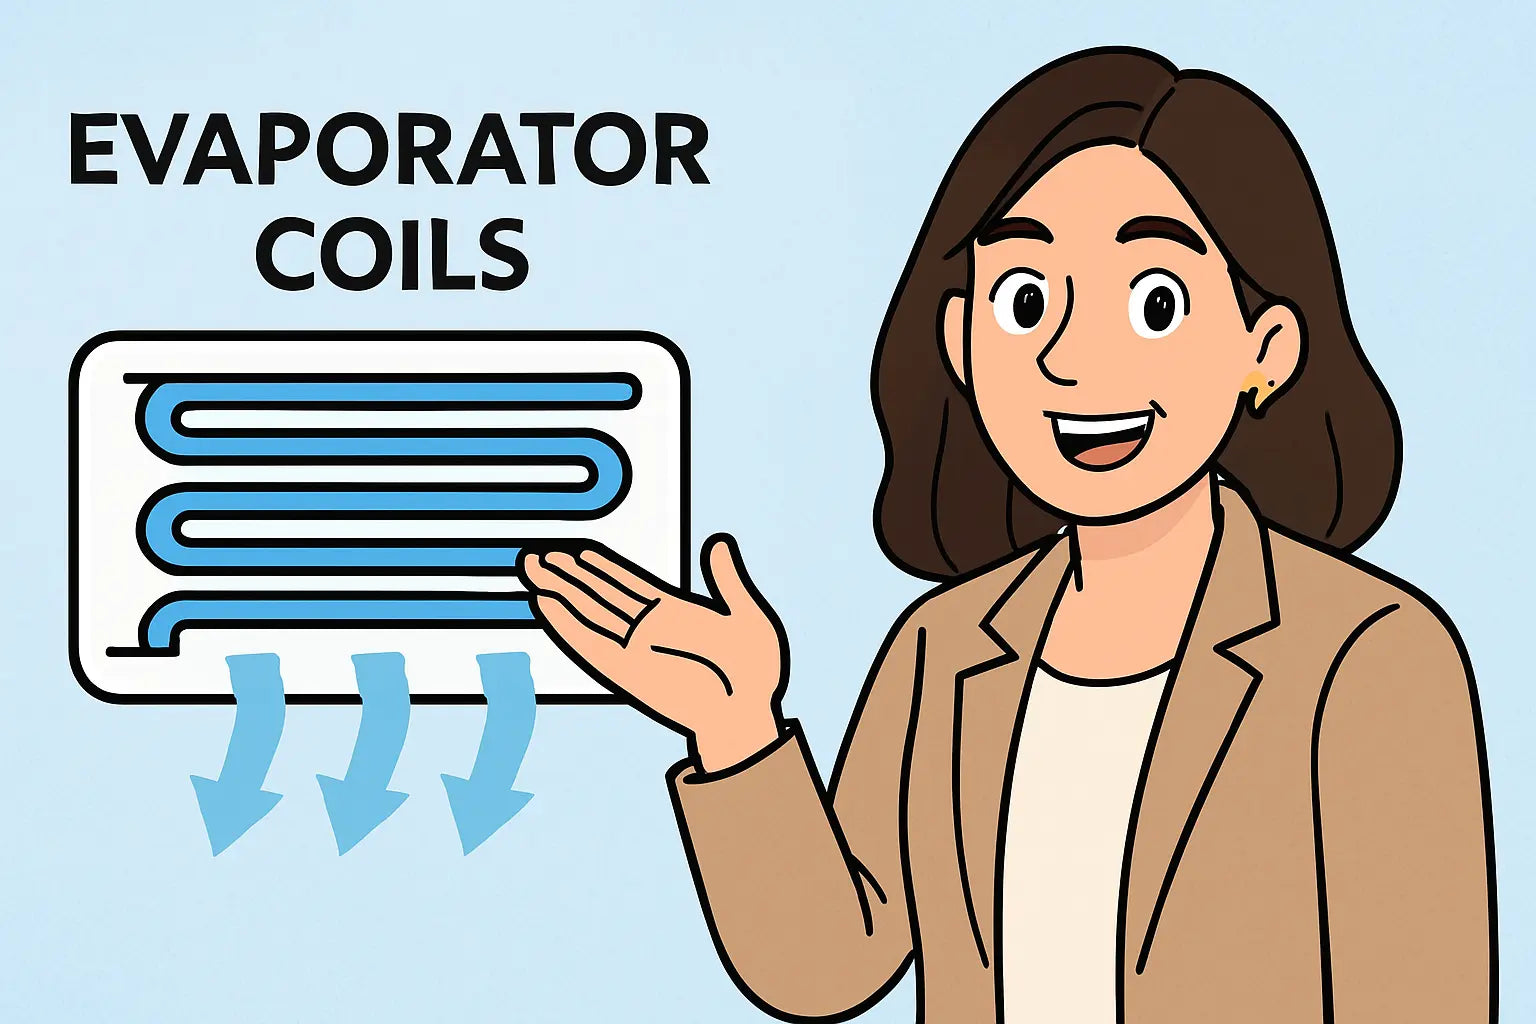
Okay, quick refresher! Your evaporator coil is part of the indoor unit of your HVAC system. It works alongside the refrigerant to absorb heat from inside your home, which your condenser then dumps outside. That’s how your house stays cooler than your neighbor’s 😎.
These coils come in different shapes: A-coils, N-coils, and slab coils. They’re usually tucked above your furnace or inside your air handler. Goodman, for example, makes some reliable models like the CAPTA and CHPTA series—you’ll find several right here at The Furnace Outlet.
Signs Your Evaporator Coil Is in Trouble 🚨
Before we get our hands dirty, here are some common signs that your coil might be the problem:
-
Weak airflow
-
Warm air blowing from vents
-
Frozen coil or ice buildup
-
Strange hissing or bubbling sounds
-
High energy bills
According to the folks at Energy.gov, a dirty or malfunctioning coil can dramatically reduce your system’s efficiency—up to 30% in some cases.
Installing an Evaporator Coil: Step-by-Step 🧑🔧
Disclaimer: If you’re not 100% comfy working with refrigerants or sealed systems, call a pro. Safety first, always.
-
Choose the Right Coil for Your System
Match BTUs and refrigerant type (like R-32 or R-410A). Make sure your coil’s size and configuration (horizontal vs. vertical) fit your setup. -
Disconnect Power and Refrigerant Lines
Shut off the power at the breaker. Recover refrigerant properly (this is where licensed techs shine). -
Remove the Old Coil
Detach the coil from the plenum or air handler. Watch out for rust or corrosion—this could signal other issues. -
Install the New Coil
Position it snugly, reconnect the refrigerant lines, and make sure the drain pan is properly aligned. -
Evacuate Air, Recharge, and Pressure Test
Use a vacuum pump to remove air and moisture, then recharge with the correct refrigerant. This step is critical—don’t skip it! -
Test and Seal Everything
Check for leaks using a nitrogen pressure test and seal any air leaks in the plenum. Then fire up the system and bask in the coolness 🧊.
Need visual backup? I love this YouTube install guide from HVAC School: Watch here 📺.
Tools and Supplies You’ll Want
Here’s my go-to install stash:
-
Refrigerant gauge set
-
Vacuum pump
-
Nitrogen regulator
-
Brazing torch
-
Fin comb
-
Multimeter
-
Mastic sealant and foil tape
HVAC Know It All has a handy list of pro tools you might wanna check out if you’re leveling up your game.
Common Evaporator Coil Troubleshooting Fixes 🔍
Whether you’re facing a small leak or a coil that’s iced over like a Yeti’s lunchbox, here’s how to diagnose and fix it:
1. Iced Coils
-
Cause: Restricted airflow or low refrigerant
-
Fix: Replace filters, open vents, check for refrigerant leak
2. Water Around the Furnace
-
Cause: Clogged drain pan or line
-
Fix: Use a wet vac or clear the line with vinegar or compressed air
3. Leaking Coil
-
Cause: Corrosion or formicary acids
-
Fix: Replace coil (repairs usually aren’t worth it)
When to Repair vs. Replace 🤔💸
Let’s break it down:
| Condition | Repair? | Replace? |
|---|---|---|
| Minor drain clog | ✅ | ❌ |
| Refrigerant leak | 🚫 (usually) | ✅ |
| Corroded fins | ❌ | ✅ |
| Under warranty | ✅ | Maybe |
| Outdated coil (R-22 or incompatible size) | ❌ | ✅ |
Tip: If your coil is more than 10 years old or uses outdated refrigerant, it’s probably time to upgrade. You’ll save energy and headaches in the long run.
Maintenance Tips to Keep Your Coil Chillin’ ❄️
-
Change filters monthly
-
Inspect coils twice a year
-
Clean with a non-acidic coil cleaner
-
Check the drainage regularly
-
Seal ductwork leaks (leaky ducts = hot mess)
I love Trane’s DIY coil cleaning tutorial for when you wanna roll up those sleeves and get scrubbin’.
Final Thought from Yours Truly, Mavi 💁
Your evaporator coil might not be glamorous, but it’s the unsung MVP of your home’s cooling system. Install it right, maintain it well, and troubleshoot with confidence—and your whole system will run like a dream.
If you need a new coil (or just wanna peek at what’s out there), check out The Furnace Outlet’s evaporator coil collection. They’ve got solid options and great support.
Need a guide to cleaning your coils? Visit: Coil Me Crazy.
Until next time, stay cool, stay curious, and keep your coils clean! 🧊💪
– Mavi out.


