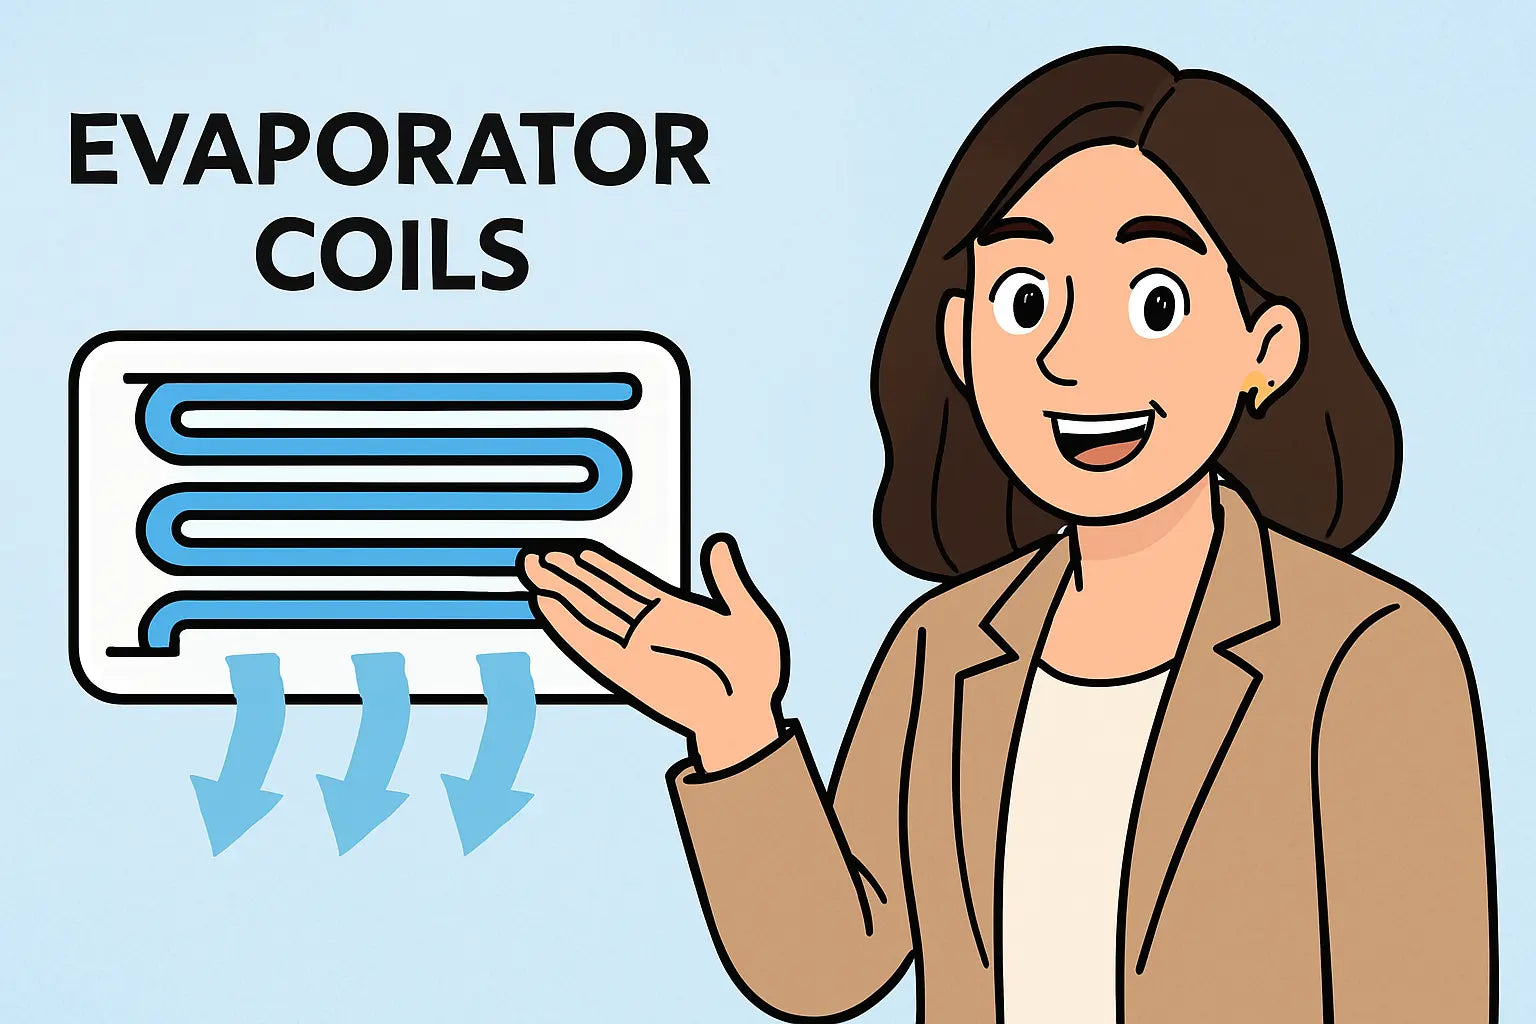
Mavi Here! Ready to Clean Some Coils? 🧽💁
Hey, superstar! Ever feel like your AC’s working too hard—and still not keeping up? Might be time to show some TLC to your evaporator coil. It’s literally pulling heat out of your air and tossing it outside, but when it’s covered in dirt and debris, it can’t work its magic.
Cleaning your coil is easier than you think (no, seriously!), and I’m gonna walk you through it. So tie your hair back, grab your cleaning gloves, and let’s make that coil sparkle. ✨
Why Should You Clean Your Evaporator Coil Anyway?
Let’s talk real talk. A dirty evaporator coil can cause:
-
Reduced cooling efficiency
-
Longer run times
-
Higher energy bills
-
Frozen coils (cue dramatic ice storm music)
-
System breakdowns
According to the Department of Energy, clean coils can improve energy efficiency by up to 30%. That’s 💰 back in your pocket and a cooler house all summer long.
Tools and Supplies: What You’ll Need 🧰
Before you dive in, gather these goodies:
-
Soft bristle brush or fin brush
-
Evaporator coil cleaner (no-rinse foam preferred)
-
Spray bottle with water (or mild detergent)
-
Flashlight
-
Gloves and protective eyewear
-
Wet/dry vac or shop vac (optional but handy)
-
Screwdriver (for access panels)
Bonus points if you’ve got a fin comb to straighten bent coil fins. You can find one in most HVAC tool kits or on Amazon.
Need help picking the right coil cleaner? Check out this coil cleaner comparison by HVAC School that breaks down foaming vs. non-foaming options.
Where Is the Evaporator Coil Located? 🔍
Typically, your evaporator coil is hiding:
-
Above your furnace in vertical systems
-
Inside the air handler in horizontal or attic installs
-
Behind access panels (look for screws or clips)
If you’re unsure, this CRC Industries walk-through has great visual cues for finding it.
Step-by-Step: Let’s Clean This Thing! 🧽🧊
1. Turn Off the Power
Safety first, always. Shut off your system at the thermostat and flip the breaker for good measure.
2. Access the Coil
Remove the access panel to expose the coil. Use your flashlight to inspect how gunky things are. Don't be scared—it’s seen worse, I promise.
3. Dry Brushing
Gently use a soft brush to remove loose dust and debris. Always brush in the direction of the fins to avoid damage.
4. Spray the Coil Cleaner
Apply a no-rinse evaporator coil cleaner evenly. Let the foam expand and do its thing—it'll drip off into the drain pan. Most cleaners recommend 5–10 minutes of dwell time.
Not sure which cleaner to grab? Nu-Calgon’s Evap Foam No Rinse is a fan favorite among techs.
5. Rinse if Needed
If you used a rinse-required cleaner or see gunk leftover, gently spray with water from a spray bottle. Avoid soaking the electronics!
6. Check the Drain Pan and Line
Pour a bit of vinegar down the line to clear clogs. If it backs up or smells funky, hit it with a wet vac to clear the blockage.
7. Reassemble and Power Up
Once everything’s dry, put your access panel back and restore power. Your system should breathe easier now—and so should you.
Bonus Tips for Pro-Level Coil Care 🧼✨
-
Change your air filters monthly. Seriously. Dirty filters = dirty coils.
-
Inspect your coils every spring and fall. Add it to your seasonal checklist.
-
Seal air leaks in your ducts. Dust loves to sneak in through unsealed gaps.
-
Use a programmable thermostat to keep humidity levels in check.
Looking for a smarter filter setup? This Energy Star HVAC maintenance checklist is gold for proactive homeowners.
When It’s Time to Call in a Pro ☎️
DIY is awesome, but not every situation can be handled with elbow grease. Call an HVAC pro if:
-
Your coil is frozen solid
-
You notice refrigerant leaks
-
There’s visible corrosion or heavy mold
-
You hear strange noises or see sparks 😳
A certified technician can also pressure test the system, check for proper refrigerant charge, and inspect airflow across the coil—things the average Joe (or Mavi) can’t do with basic tools.
Keeping Things Fresh All Year Long 🌬️
Let’s wrap this up with a few home-hero reminders:
-
Clean your evaporator coil at least once a year
-
Always turn off the power before touching any HVAC component
-
Use non-acidic coil cleaners and avoid DIY vinegar + baking soda bombs
-
Stay cool, stay consistent, and stay savvy
Regular coil maintenance isn’t just about saving money—it’s about extending the life of your system and staying cool without cranking the thermostat to the Arctic.
Mavi’s Final Word 💁💬
There you have it—your easy, breezy, lemon-squeezy guide to cleaning your evaporator coil like a DIY champ. Trust me, your AC is giving you a virtual high five right now.
If your coil is beyond saving or it’s just time for an upgrade, don’t stress. The Furnace Outlet has a fresh lineup of top-quality evaporator coils ready to ship to your door.
You got this! And if you ever feel stuck, just come find me—I’ll be that voice in your head whispering “you can totally do this.”
Want to know the signs it's time to replace your AC's coils? Visit: Cool’s Gone Cold.
Now go clean that coil and conquer your comfort zone.
- Mavi out! 🧼🌬️


