Jake's Intro:
Alright folks, Jake here 👋. You ever get that feeling your AC’s acting up and you’ve got no clue why? Maybe it’s blowing warm air, maybe it’s freezing over like it belongs in the Arctic, or maybe it’s just plain useless. Nine times outta ten, that problem's name? Evaporator coil.
I’m not here to sell you fluff. I’m here to break it down, tell you how these coils work, how to install ‘em without losing your sanity, and how to fix ‘em when they start giving you attitude. So grab your coffee—or maybe a cold beer—and let’s roll.
What the Heck Is an Evaporator Coil Anyway?
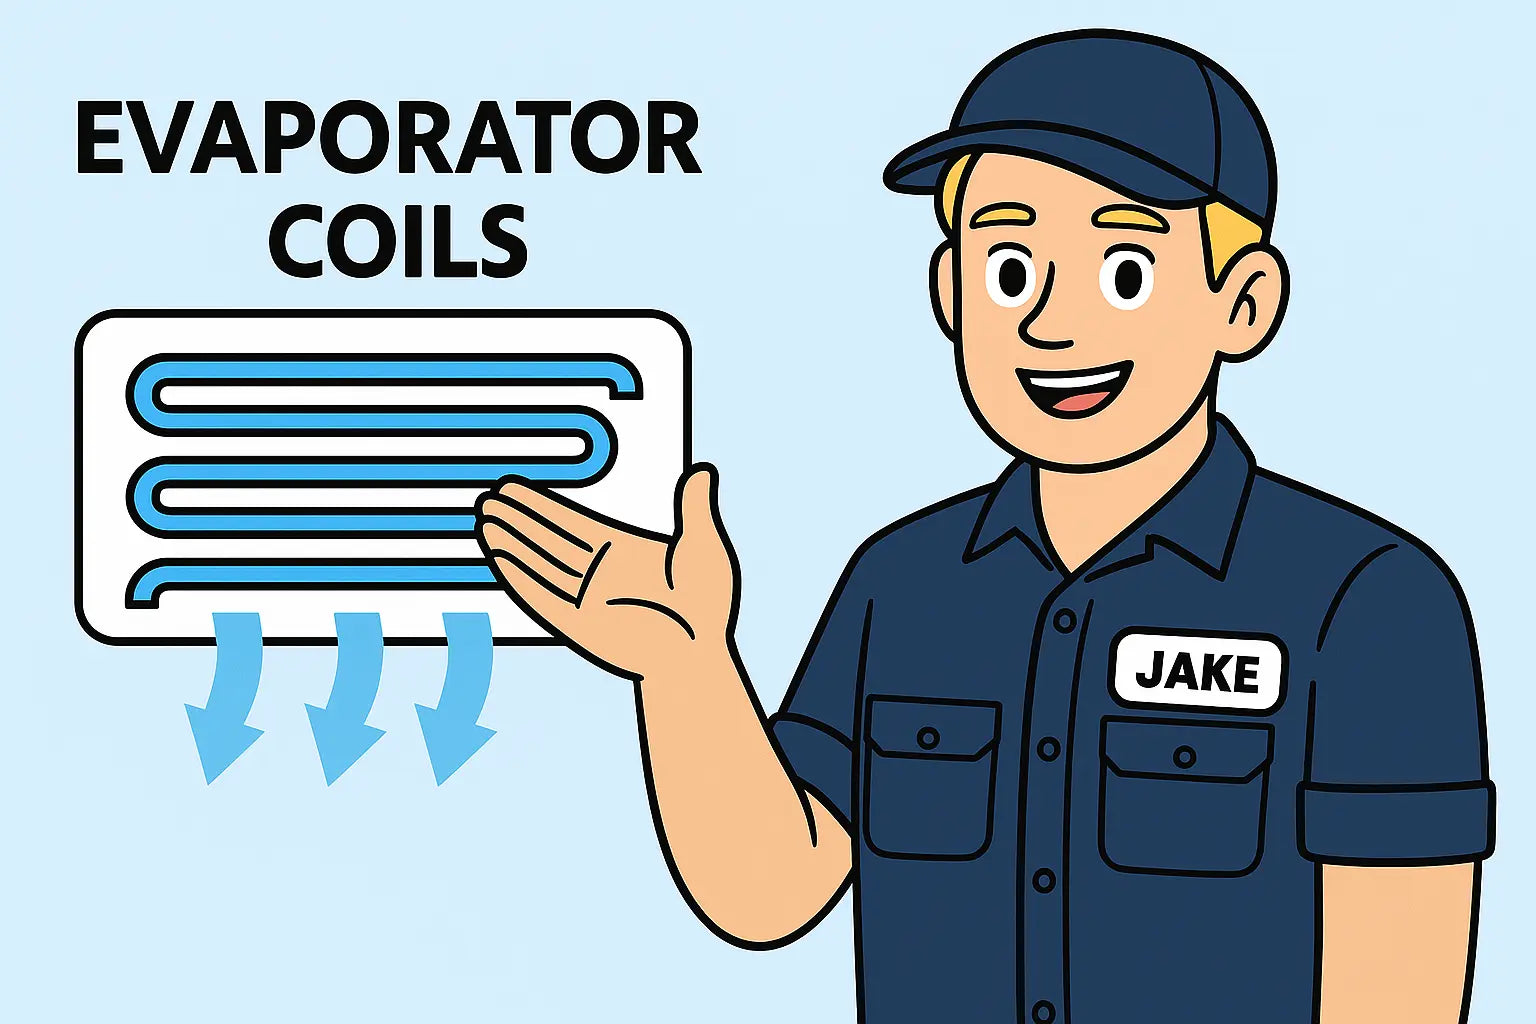
Your evaporator coil’s the unsung hero of your HVAC system. It's the part that actually cools the air. Located inside the air handler or furnace, it uses refrigerant (hopefully R-32 these days 🔧) to absorb heat from the air inside your home.
Think of it like your system’s cold sponge—sucking out heat and humidity so you’re not sweating buckets indoors. If you're curious about the tech side of how it works, this explainer from HVAC.com is a solid read.
Getting Set for Install: What You Gotta Know Before You Start
Let’s say you’ve bought a brand new coil from The Furnace Outlet’s evaporator coil collection. Before you dive in like a weekend warrior, check off these steps:
-
Match BTUs to your AC or heat pump unit
-
Know your coil orientation (horizontal, vertical, or A-coil)
-
Make sure it's R-32 compatible if you're running newer refrigerant lines
-
Double-check SEER rating compatibility (especially with higher efficiency units)
Oh, and don’t forget: touching refrigerant lines without a certification is a no-no. I’m not saying don’t DIY—but do it smart. HVAC School has a great breakdown of common install pitfalls you’ll wanna avoid.
Step-by-Step: Installing Your Evaporator Coil Like a Pro (Even If You’re Not)
Here’s the rundown in Jake terms. Tools in hand, patience loaded:
-
Power Down the Unit
Safety first. Flip that breaker. -
Access the Old Coil
Remove the front panel of your air handler or furnace. Be gentle—you don’t want to bend metal or dislodge wires. -
Disconnect the Refrigerant Lines
You’ll need a licensed tech for this. EPA says you can't vent refrigerant into the air—and trust me, you don’t want to. -
Remove the Old Coil
Watch for condensation and trapped gunk. Gloves up! -
Install the New Coil
Set it into place, making sure it lines up with airflow direction. If you’re unsure, check the user manual or watch a YouTube walkthrough like this one from the HVAC Hacker. -
Reconnect the Lines & Seal the Ducts
Time to sweat some copper! If that sounds terrifying, get a pro to handle the brazing. -
Vacuum & Recharge the System
Hook up the gauges, pull a vacuum, and refill with the right refrigerant charge. If you skip this or mess it up, kiss your warranty goodbye. -
Test the System
Fire it up and check for leaks, airflow, and proper cooling.
Trouble in Coil Town: What Can Go Wrong and How to Fix It
Let’s talk about when coils misbehave. Whether it's a new install or a 10-year-old setup, these are the problems I see most often in the field.
1. Frozen Coil
If you open your air handler and find Elsa’s castle in there 🧊, you’ve got a frozen coil. Low refrigerant, restricted airflow, or a busted blower motor could be to blame.
Tip: First thing to check? Your air filter. Clogged filters suffocate your coil.
2. Leaking Coil
Coil leaks = refrigerant loss = zero cooling. This one’s a beast. You can test for leaks with a UV dye kit or electronic sniffer (yeah, that’s a real thing). If it's leaking, it's usually game over. Replace it.
Check out this guide on refrigerant leak detection from HVACR.
3. Corrosion or Mold
If your coil’s looking green, dusty, or swampy, you’ve got build-up. This affects both performance and indoor air quality. A good coil cleaner and some elbow grease go a long way.
Also, install a UV light or keep that condensate drain clean. This CDC mold prevention guide isn’t HVAC-specific, but it’ll help you avoid musty indoor air.
Maintenance Tips So You Don't Have to Do This Again Anytime Soon
Here’s how you baby that coil so it lasts longer than your last smartphone:
-
Change your filters every 1–2 months
-
Clean the coil with a non-acidic foam cleaner once a year
-
Use a programmable thermostat to reduce runtime
-
Keep the drain pan and line clear
-
Have a tech check refrigerant levels each season
I swear by Carrier’s maintenance checklist, even if you don’t own a Carrier system. It’s a goldmine of reminders.
When to Call a Pro (AKA Don’t Be a Hero)
If you’re:
-
Dealing with refrigerant
-
Not sure where the leak’s coming from
-
Hearing loud hissing or bubbling
-
Getting inconsistent cooling after install
…it’s time to tag in the experts. A good HVAC tech is worth every penny when you're out of your depth.
Jake’s Final Word 👨🔧
There you go—evaporator coils demystified. Whether you're replacing an old unit, upgrading to something R-32 ready, or just tired of guessing why your AC isn’t cold, you’ve got the knowledge now.
And hey, if you’re shopping for a new coil, start with The Furnace Outlet’s evaporator coil collection. They’ve got the good stuff—matched, efficient, and priced right.
Curious about what evaporator coil is right for your system? Visit: Sizing It Right.
Stay cool, stay handy, and never forget: if your AC’s not blowing cold, it’s probably the coil.
Catch you next time. 🍻
- Jake, your comfort loving tech


