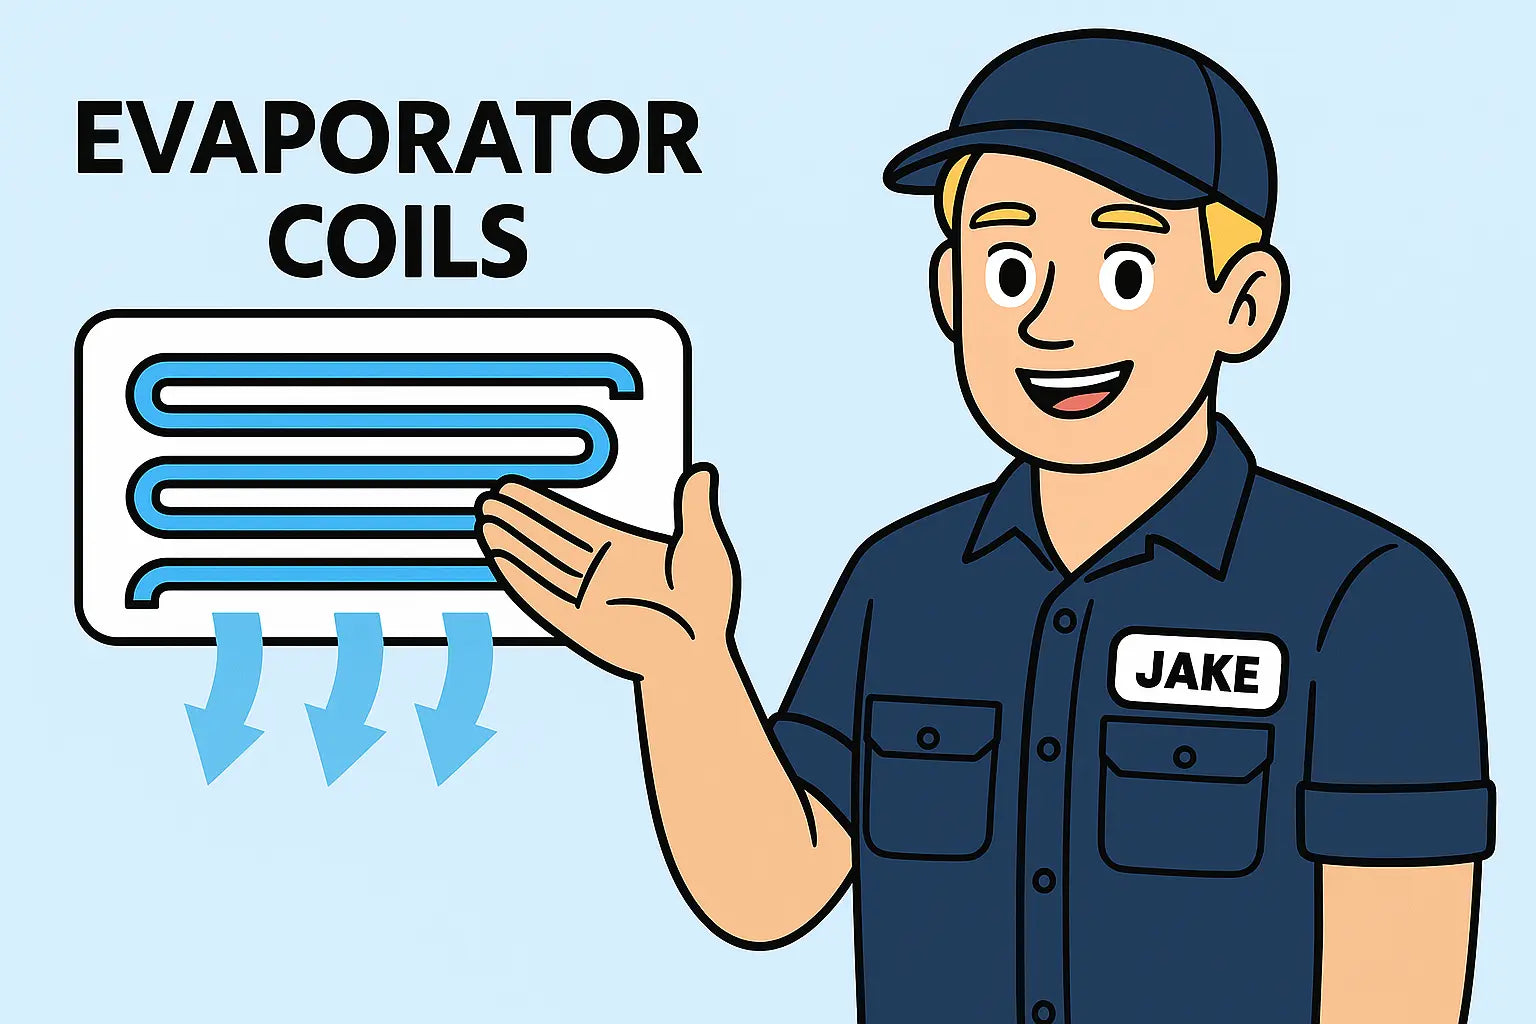
Jake’s Intro:
Hey there, it’s Jake again 👋. So, you’re staring at your HVAC setup wondering, “Which coil do I even need?” Maybe you're upgrading, maybe you’re fixing what some fly-by-night tech installed wrong (don't even get me started), or maybe you’re doing it yourself. Either way—respect. 💪
But here’s the kicker: coil sizing ain't optional. Mess it up, and you’re asking for weak airflow, higher bills, and premature system death. I’ve seen it too many times. So today, I’m laying it out for you—plain and simple. No math degree needed. Just common sense, a few numbers, and some solid advice.
Let’s get into it. You’ll thank me later when your system runs like a dream and your power bill doesn’t make you cry.
Why Coil Sizing Even Matters (Seriously, Don’t Skip This)
Evaporator coils and your outdoor condenser unit have to be a match made in HVAC heaven. If the coil is too small, it’ll get overwhelmed. Too big? You’ll short cycle and lose efficiency—or worse, cause system damage. It’s like slapping a car engine into a tricycle—just doesn’t work.
The right coil helps with:
-
Proper heat exchange
-
Humidity control
-
Refrigerant balance
-
Efficient airflow
And yeah, it saves your compressor from early retirement.
Still not convinced? Read this great explainer on coil matching from HVAC School—they break it down beautifully for both techs and curious homeowners.
Step 1: Know Your System's Tonnage
Most residential AC systems are sized in tons—short for tonnage of cooling capacity. One ton = 12,000 BTUs of cooling per hour. So a 3-ton system cools about 36,000 BTUs/hour.
Look on your outdoor unit’s data plate. You’ll usually see a number like “36” in the model (e.g., GLXS4BA3610) which tells you it’s 36,000 BTUs—or 3 tons.
Not sure? Here's a handy BTU to ton calculator from Energy Vanguard.
Step 2: Understand Coil Size Compatibility
Evaporator coils should match or slightly exceed your system’s tonnage—never under. This is especially true with modern SEER2-rated units that rely on longer runtime and higher airflow to hit efficiency numbers.
Here’s a quick cheat sheet:
| System Size (Tons) | Coil Size (Tons) |
|---|---|
| 1.5 | 1.5 or 2 |
| 2 | 2 or 2.5 |
| 2.5 | 2.5 or 3 |
| 3 | 3 or 3.5 |
| 3.5 | 3.5 or 4 |
| 4 | 4 or 5 |
| 5 | 5 |
Oversizing slightly helps with airflow and humidity in most climates—but too much oversize = short cycling. Trane explains short cycling well here.
Step 3: Consider Your Furnace or Air Handler Setup
Your coil orientation matters:
-
Upflow/Vertical: Used with upright furnaces
-
Downflow: Air flows from top to bottom
-
Horizontal: Used in attics, crawlspaces, or tight spaces
Get this wrong and you're forcing air in the wrong direction. Check your current system or use this Carrier coil orientation guide for visuals.
And make sure the coil physically fits in your air handler or plenum. Measure twice. Buy once.
Step 4: Match for Refrigerant and SEER Rating
R-32 is the new kid on the block, and it’s way more efficient than the old R-410A systems. But not all coils are compatible.
When shopping:
-
Check the refrigerant type (R-32 vs R-410A)
-
Look for SEER2 rating compatibility
-
Avoid mix-matching coils from random brands unless they’re AHRI-certified as compatible
The AHRI Directory is your best friend for cross-checking model matches.
Common Mistakes Jake’s Seen (And Fixed)
1. Buying a coil based on price—not size.
Cheap doesn’t mean right. An undersized coil can wreck a new system.
2. Replacing just the coil but not checking SEER match.
You can’t put a 14 SEER coil on a 16 SEER system and expect magic.
3. Ignoring orientation or drain pan type.
Your crawlspace setup needs a horizontal coil. Period.
4. No refrigerant compatibility check.
Trying to run R-32 in a 410A coil is like running diesel in a gasoline engine. Nope.
Where to Buy the Right Coil (Hint: I’ve Got a Favorite)
Look, you could waste hours on generic home improvement sites trying to decipher coil specs. Or, you could just hit The Furnace Outlet’s evaporator coil collection. They’ve done the hard part—labeling by tonnage, SEER, and refrigerant.
You’ll find:
-
Goodman-certified coils
-
R-32 ready options
-
Horizontal, vertical, and downflow setups
-
Detailed model specs (finally 🙌)
Bonus Tool: Quick BTU/Ton Sizing by Square Footage
Yeah, I know—this isn’t perfect. But it’ll get you in the ballpark.
| Home Size (sq. ft) | Approx. AC Size (Tons) |
|---|---|
| 600–1,000 | 1.5 |
| 1,000–1,200 | 2 |
| 1,200–1,500 | 2.5 |
| 1,500–1,800 | 3 |
| 1,800–2,100 | 3.5 |
| 2,100–2,400 | 4 |
| 2,400–2,700 | 5 |
Use this as a rough guide only. For exact load calculations, a Manual J calculation is king. You can get it done online by pros or read how it works in this Manual J explainer from Energy Vanguard.
Jake’s Final Take 🔧
Sizing an evaporator coil isn’t rocket science—but it’s not something you wing either. Nail the tonnage, orientation, refrigerant match, and SEER2 rating, and you’re golden. Miss one, and your system’s running like a beat-up lawnmower in July.
Don’t let bad sizing ruin a good system. Take your time, double-check the matchups, and when in doubt—ask before you buy. Heck, shoot a message to the folks at The Furnace Outlet. They’ll steer you right.
Worried that your evaporator coils are leaking? Visit: Leaky Coils, Lukewarm Air.
Catch you next time. And remember—bigger ain’t always better. It’s all about the match. 🧊💪
Until next time,
- Jake, your comfort loving tech


