Key Takeaways
-
Sizing: Use Manual J not square feet to prevent uneven temps.
-
Efficiency: Choose higher SEER/SEER2 & EER; check rebates & financing.
-
Brands: Local service & parts access matter more than the logo.
-
Install: Poor install = noise, low airflow, failures. Verify airflow, ducts, charge.
-
Ducts & Filters: Seal ducts, size returns right, change filters on time.
-
Timing & Cost: Off-season + incentives = 20–30% savings.
Central Air Top Brands What to Avoid (Buyer’s Guide 2025)

Many buyers search “/central-air/top-brands/what-to-avoid” because big purchases feel risky. The truth: most regrets come from process mistakes, not the logo on the box. This guide shows you the traps that raise energy bills, cause hot rooms, and shorten equipment life—and how to dodge them like a pro. You’ll learn why sizing by square feet fails, how SEER2/EER numbers affect real bills, and why a great installer can make a mid-tier brand outperform a premium name. We’ll also cover ductwork basics, filter choices, total ownership cost, and smart timing. Throughout, you’ll find helpful resources from The Furnace Outlet, including a plain-English Sizing Guide,and curated systems like efficient R32 condensers. By the end, you’ll know what to ask, what to check, and what to ignore so your home stays cool, quiet, and affordable for years.
Problem Statement: Why These Errors Matter

Central AC runs for thousands of hours over 15–20 years. Small mistakes at purchase or install compound into big costs: higher electric bills, humidity problems, noisy ducts, and early breakdowns. Oversized units short-cycle (rapid on/off), never pulling enough moisture from the air. Undersized units grind for long periods, raising bills and wear. Ignoring efficiency ratings means paying more every month. Skipping duct fixes wastes up to a third of your cooled air into attics or crawlspaces. Choosing only by brand name can trap you with slow parts or scarce service. Here’s the simple path: 1) Size it right with Manual J. 2) Pick efficiency that fits your climate and budget. 3) Vet installers and the local service network. 4) Fix airflow (ducts, returns, filters). 5) Plan total cost (purchase, energy, maintenance, warranty). Do those five, and “what to avoid” turns into “what to expect.”
Pitfall #1: Improper Sizing (Short Cycling and Hot Spots)

Sizing by “tons per square foot” sounds easy but misses key variables: ceiling height, insulation, windows, sun exposure, occupancy, and climate. An oversized system cools air too fast, then shuts off before drying the air. Result: clammy rooms, mildew risk, and uneven temperatures. You’ll also hear more starts and stops, which stresses the compressor. An undersized system runs and runs, chasing the setpoint, using more energy while still feeling warm in peak heat. Watch for clues: rooms that cool fast but feel sticky, temperature swings between floors, and short run times (<10 minutes) in hot weather.
Avoid the trap by insisting on a Manual J load calculation (software-based). Pair that with correct airflow (CFM per ton) and proper return air sizing. If you’re replacing equipment, don’t assume the old tonnage was right. Start fresh with data. Use our Sizing Guide to prep good inputs.
Fix #1: Manual J and Professional Load Calculations

Manual J is the industry method for calculating the exact cooling load of your home. A good contractor measures (or verifies) insulation levels, window size and type, orientation, shading, infiltration (air leaks), and floor area—then inputs local weather data. Ask for a printed load report showing sensible vs latent loads (temperature vs moisture). Why it matters: capacity must match both heat removal and moisture control. Next, ensure Manual S (equipment selection) picks a unit whose performance map matches your load at design conditions, and
Manual D confirms duct sizing. Pro move: request target total external static pressure and the planned CFM per ton (typically ~350–450 CFM/ton depending on dehumidification goals). Finally, verify the plan for line sets and coils to match refrigerant and capacity; browse compatible line sets and air handlers. Proper math up front prevents years of chasing comfort.
Pitfall #2: Ignoring Efficiency (SEER2, EER, and Real Bills)

Efficiency ratings aren’t just labels—they’re your monthly bill. SEER2 (seasonal) estimates average efficiency across the cooling season, while EER reflects peak performance on the hottest days. Many older systems operate around legacy SEER 13; modern options commonly reach SEER2 equivalents that cut energy use dramatically. Over 15–20 years, the difference adds up to thousands of dollars.
Here’s how to pick: 1) Check your summer kWh rate and cooling hours; higher numbers favor higher efficiency. 2) Compare EER if you live where peak afternoons are brutal. 3) Look for two-stage or variable-speed compressors and blowers for steadier temps and better humidity control. 4) Stack utility rebates, federal incentives, and manufacturer promos; see HVAC financing.
Pitfall #3: Chasing Brand Prestige Over Local Support

Top brands offer excellent equipment, but support after install drives long-term satisfaction. A “premium” badge won’t help if parts are hard to source or local techs aren’t trained on that lineup. Before picking a name, check: 1) Dealer density in your area. 2) Parts availability and typical lead times. 3) Warranty terms—is labor covered or just parts? 4) Installer certifications and reviews. A skilled contractor installing a solid mid-tier system often beats a rushed install of a premium unit. Practical tip: ask how the team will verify charge (by subcooling/superheat, not just “looks good”) and airflow (measured static pressure, not guesswork).
Also ask who handles warranty claims and how fast they get parts. If you need a flexible path for bonus rooms or garages, consider hybrid setups with DIY mini-splits alongside your central system.
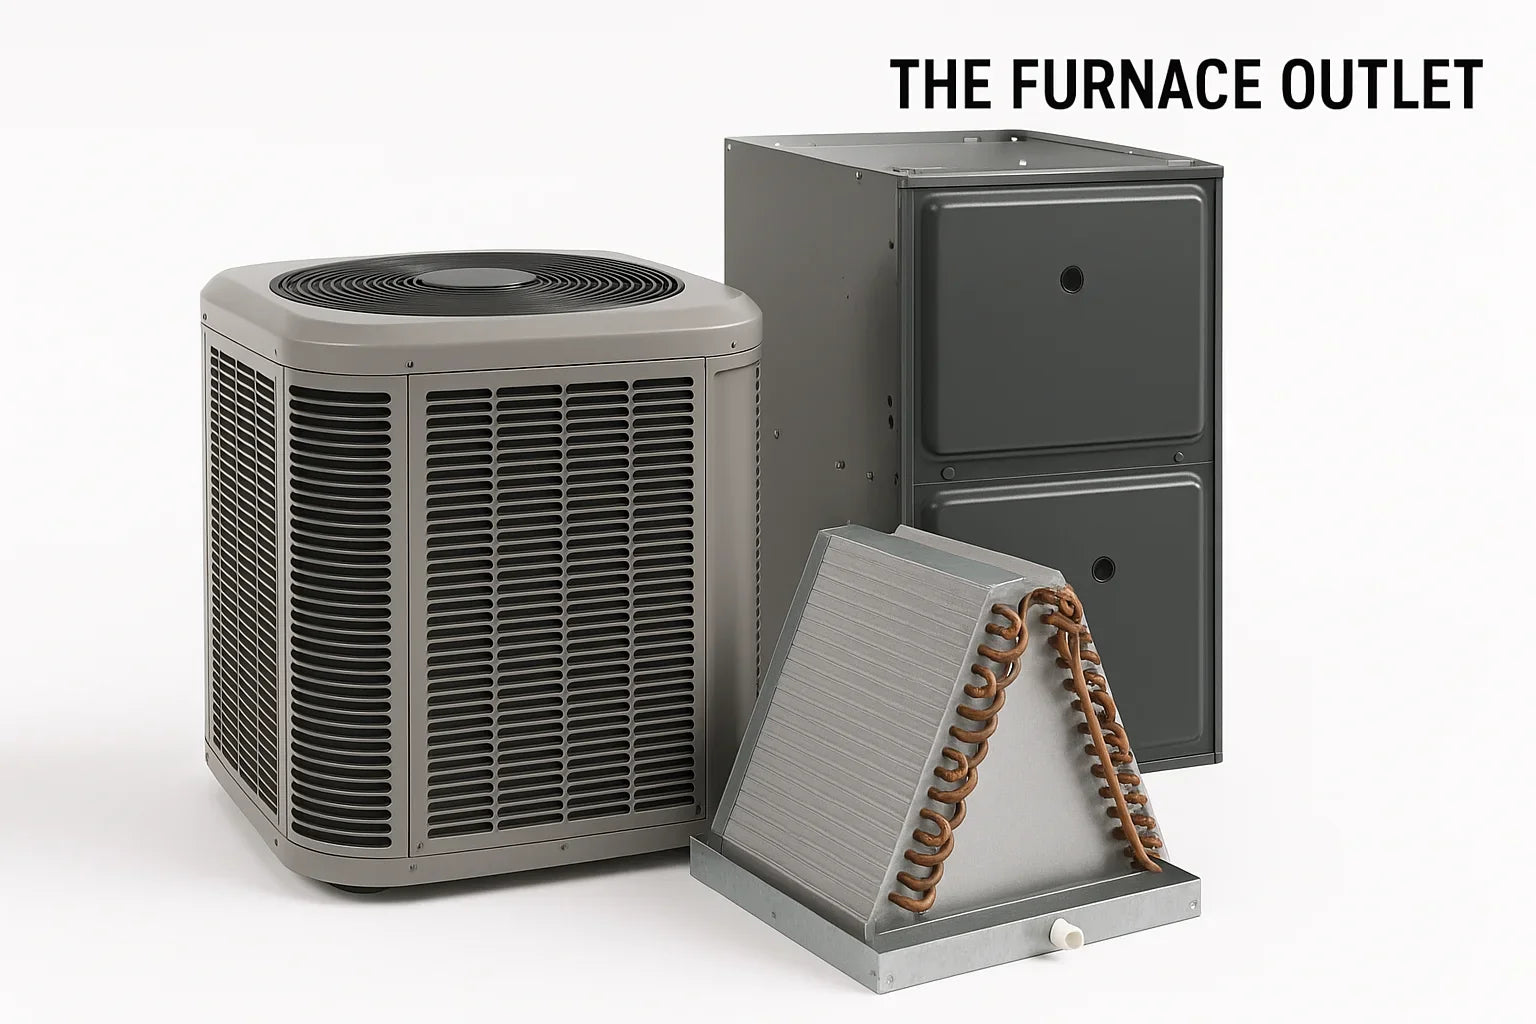
Pitfall #4: Skipping Installation and Ductwork Quality

Even great equipment underperforms if air can’t move or refrigerant charge is off. Common misses: undersized returns, leaky supply trunks, kinked line sets, and sloppy brazing or evacuation. A quality install should include: duct inspection and sealing with mastic, return sizing checks, evacuation to 500 microns with a decay test, and charge set using manufacturer tables and measured superheat/subcooling. Ask for a static pressure report and final CFM readings. If ducts run through attics or crawlspaces, ensure insulation and sealing—lost air equals lost money. Consider upgrading older systems with efficient R32 condensers
Ducts and Filters: Airflow First, Headaches Last

Leaky ducts can waste up to 30% of cooled air. Seal joints with mastic (not cloth tape) and insulate ducts in hot attics. Ensure balanced returns—every major room needs a path back to the air handler. If doors shut and rooms get stuffy, you likely need jumper ducts or undercut doors. Filters matter too: clogged filters choke airflow, raising energy use 5–15% and stressing the blower.
Simple plan: 1) Check monthly, replace every 1–3 months depending on pets and dust. 2) Choose a MERV rating your system can handle; too high can reduce airflow. 3) Keep a spare pack on hand so changes actually happen. For guidance, browse our HVAC Tips and stock up on accessories.
Smart Buying Plan: Ownership Costs, Timing, and Financing

Think total cost of ownership: purchase, install, energy for 15–20 years, maintenance, and repairs. Some brands use proprietary parts that cost more or take longer to arrive. Weigh warranty strength (parts vs labor). Consider extended labor coverage if service rates are high in your area. Timing matters: off-season installs (spring/fall) often mean better availability and promotional pricing versus emergency summer change-outs.
Build a simple plan:
1) Get 3 written quotes with load calcs, model numbers, and install checklists.
2) Compare SEER2/EER, warranty, and maintenance plans.
3) Add expected kWh savings to your payback math.
4) Use HVAC financing and check local incentives.
Want a quick second opinion? Share photos for a remote review via Quote by Photo,
FAQs
How do I know if a contractor actually did Manual J?
Ask for the printed report with your home’s inputs (window types, insulation, orientation) and the final sensible/latent loads. No report usually means no calc.
What SEER2 is “good enough”?
In mild climates, mid-efficiency can make sense. In hot, long summers, higher SEER2 and solid EER often pay back faster. Compare using your kWh rate.
Do I need new ducts for a new system?
Not always, but you need them tested and sealed. If static pressure is high or returns are undersized, performance will suffer even with new equipment.
Are variable-speed systems worth it?
Often yes. They run longer at low speed, improving humidity control, comfort, and noise—especially in humid climates or multi-story homes.
How often should I change filters?
Check monthly; replace every 1–3 months. Homes with pets or dust may need monthly changes. Keep spares so you don’t skip it.
When is a ductless mini-split a better choice?
For additions, bonus rooms, and problem zones, ductless units offer target comfort without expanding ductwork. See our ductless mini-splits.
What if my old system “worked fine”—can I match the same tonnage?
Maybe, but homes change (windows, insulation, air-sealing). Start with new load calculations rather than copying old size to avoid hidden issues.


