Key takeaways:
-
Common Issues: Wrong size, bad ducts, poor setup = comfort & bill problems.
-
Sizing & Ducts: Do Manual J; match ducts to airflow.
-
Efficiency: Higher SEER2 cuts bills, earns rebates.
-
System Setup: Insulate suction line, charge by superheat/subcooling, test.
-
Placement: Outdoor unit needs space/shade; keep thermostat from heat/sun.
-
Electrical & Commissioning: Plan power supply, test before handoff.
Central Air Top Brands Common Mistakes (and How Pros Avoid Them)

Buying a new central AC is a big spend, and small mistakes can cost you comfort and money for years. The most common issues show up as rooms that never feel right, high power bills, or systems that break early. The good news: most of these problems are preventable with careful planning, correct sizing, and quality installation. In this guide, I’ll explain the mistakes I see most often in U.S. homes, why they matter, and the fixes I use in the field. I’ll keep the language simple but include pro tips you won’t get from a quick ad. If you want a deeper dive later, the HVAC Tips has helpful how-tos. Let’s make sure your central air runs smoothly, lasts long, and keeps every room comfortable.
The Big Problem: “It Runs, But My House Still Feels Wrong”

The most common complaint I hear is, “The AC turns on, but some rooms are hot, the air feels sticky, and my bill is high.” This happens when the system is the wrong size, the ducts are mismatched, or the install skipped key steps. Oversized units cool fast but shut off before pulling out humidity (called short cycling). Undersized units run nonstop and still don’t catch up on the hottest days. Add leaky or undersized ductwork, and airflow cannot reach each room as designed. Finally, if the outdoor unit bakes in the sun or the thermostat sits in a hot spot, controls get confused. These are not “brand” issues; even top brands fail with poor design. The fix is a full plan: load calculation, duct design, careful placement, and a proper commissioning checklist.
Right-Size the System (Manual J Beats Rules of Thumb)

Sizing by “tons per square foot” is a shortcut that causes trouble. Real sizing uses Manual J to calculate heat gain based on your insulation, windows, shading, ceiling height, people, and climate. Oversizing leads to short cycling and poor humidity control; undersizing leads to long runtimes and wear. A good check: modern, tight homes often need far less tonnage than old rules suggest (the old “500–600 sq ft per ton” is frequently wrong).
Start here: AC sizing guide. If you want design help, the Design Center can point you to the right equipment matchups. Pro tip: after install, confirm airflow near 350–450 CFM per ton at the air handler; this range keeps coils happy and humidity in check.
Ductwork: Size, Seal, and Insulate (or Lose 20%+ Efficiency)

Ducts are the “roads” your cold air travels. If they’re too small, airflow bottlenecks; too large, pressure drops and rooms starve. Use a Manual D approach to match ducts to the blower and coil. Seal every joint with UL-181 mastic or tape; leaks can waste a chunk of your cooling. In attics or other unconditioned areas, insulate ducts to R-8 (attics/exterior) and R-6 elsewhere to cut heat gain. I often find a few bad connections near the air handler causing comfort issues upstairs. Fixing those leaks and balancing dampers usually solves “one room is always hot.”
Need materials? See Accessories & sealants and the Help Center for how-to basics. Pro tip: measure total external static pressure; if it’s high, your ducts are choking the system.
Efficiency Matters: SEER2, Bills, and Payback You’ll Feel

SEER2 is today’s test method that better reflects real-world performance. A higher number means less electricity for the same cooling. As a simple guide, moving from a baseline system to 16 SEER(2) can pay back in 4–6 years in many U.S. climates, especially with strong summer loads. Also check for rebates or tax credits in your area. Matching high-efficiency outdoor units with proper indoor coils and controls is key; don’t mix and match randomly. Explore efficient options like R32 air conditioner + air handler systemsFor background reading and seasonal tips, browse the HVAC Tips Pro tip: efficiency magic disappears if airflow, charge, or ducts are wrong—tune the basics first.
Refrigerant Lines and Charging: Small Details, Big Results

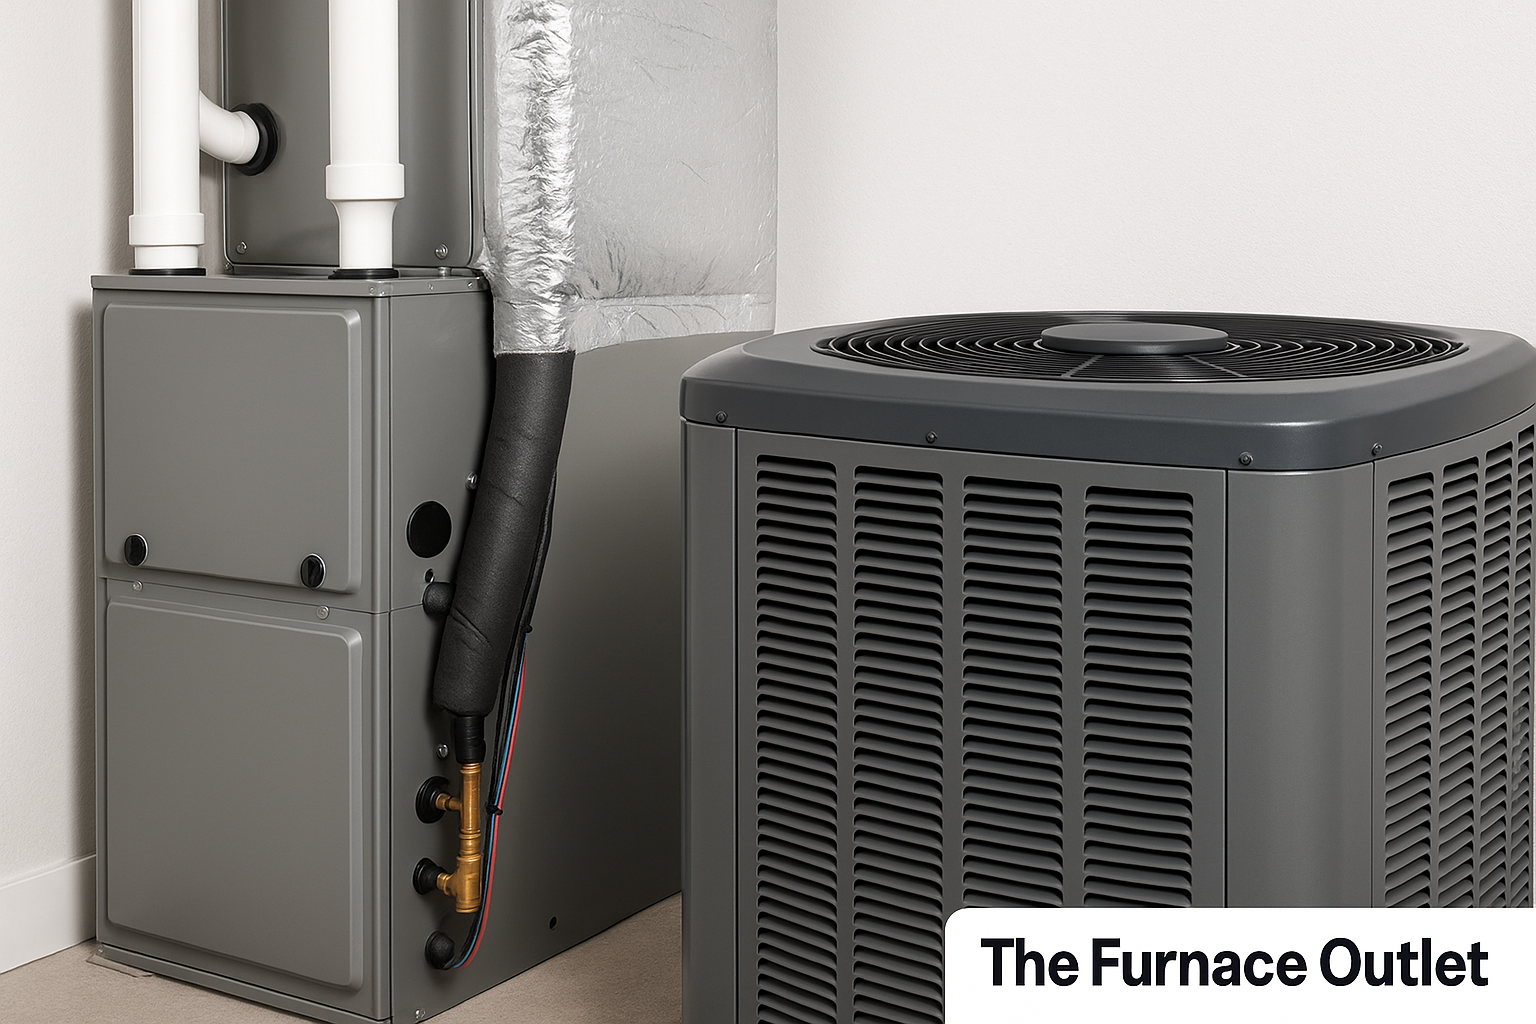
The suction line (the bigger copper tube) must be wrapped with vapor-proof foam insulation end-to-end to stop sweating and energy loss. The liquid line usually stays uninsulated unless it runs through very hot spaces (like an attic). Line length and rise must match the manufacturer limits; if you exceed them, add accessories (like traps or larger line) per the book. Charging is not guesswork: techs should set charge using superheat/subcooling and confirm target pressures and line temps.
Undershooting or overshooting charge can wreck efficiency and shorten compressor life. If you’re replacing lines, choose quality line sets sized to the model you buy. Pro tip: weigh in the charge, then fine-tune by method—don’t rely on “it feels cold.”
Placement and Thermostat: Where You Put Things Matters

Outdoor units need space and shade. Give at least 5 feet of open clearance on all sides (and above) so the condenser can breathe. Keep it off mulch, dryer vents, or cooking exhaust. A simple fence panel or shrub for shade helps, but leave air paths clear. Indoors, mount the thermostat on an interior wall around 5 feet high, away from sunlight, lamps, TVs, or supply registers that blow directly on it. Bad placement makes the system cycle at the wrong times or overcool nearby rooms. If you’re upgrading controls, consider a thermostat with dehumidification logic; this lets the system run longer at low speed to pull moisture out, especially helpful in sticky climates.
Need help choosing? The Help Center has plain-language guidance.
Power, Wiring, and Commissioning: Don’t Skip the “Boring” Stuff

Central ACs draw serious current. Before install, verify panel capacity, breaker size, wire gauge, and disconnects to match the nameplate. Loose lugs, weak capacitors, or mis-wired low-voltage can cause nuisance trips and early failures. After startup, run a full commissioning checklist:
-
Measure airflow (target 350–450 CFM/ton).
-
Check static pressure vs. blower chart.
-
Set refrigerant charge by method (superheat/subcooling).
-
Verify supply/return temps and room balance.
-
Confirm condensate drain slope and trap.
-
Log voltage/amps and thermostat settings.
Pro Install vs. DIY: What’s Smart to Do Yourself

DIY can handle filters, simple thermostats, or cleaning outdoor coils. But refrigerant handling, electrical work, duct design, and startup belong to licensed pros. Incorrect work can void warranties and create safety risks. If you’re comparing quotes, ask contractors to include Manual J/D reports, equipment matchups, and a commissioning list in writing.
You can share photos and get guidance with Quote by Photo For a sense of how sizing logic applies across products, even this PTAC sizing chart shows why numbers matter. Pro tip: cheapest install often costs more later in energy and repairs.
Frequently Asked Questions
How do I know if my AC is oversized? Short, loud cycles, cold rooms but sticky air, and big temperature swings are common signs.
What is Manual J? It’s a math method that calculates the exact cooling your home needs based on its design and climate.
What SEER2 should I choose? Pick the highest you can afford after fixing ducts and airflow. A solid target is 16 SEER(2) for many homes.
How much space around the outdoor unit? Aim for 5 feet clear on all sides with open airflow and some shade.
Do I insulate the liquid line? Usually no, unless it runs through very hot areas. Always insulate the suction line.
How often should I service the system? Twice a year: spring cooling check and fall heating check, plus regular filter changes.


