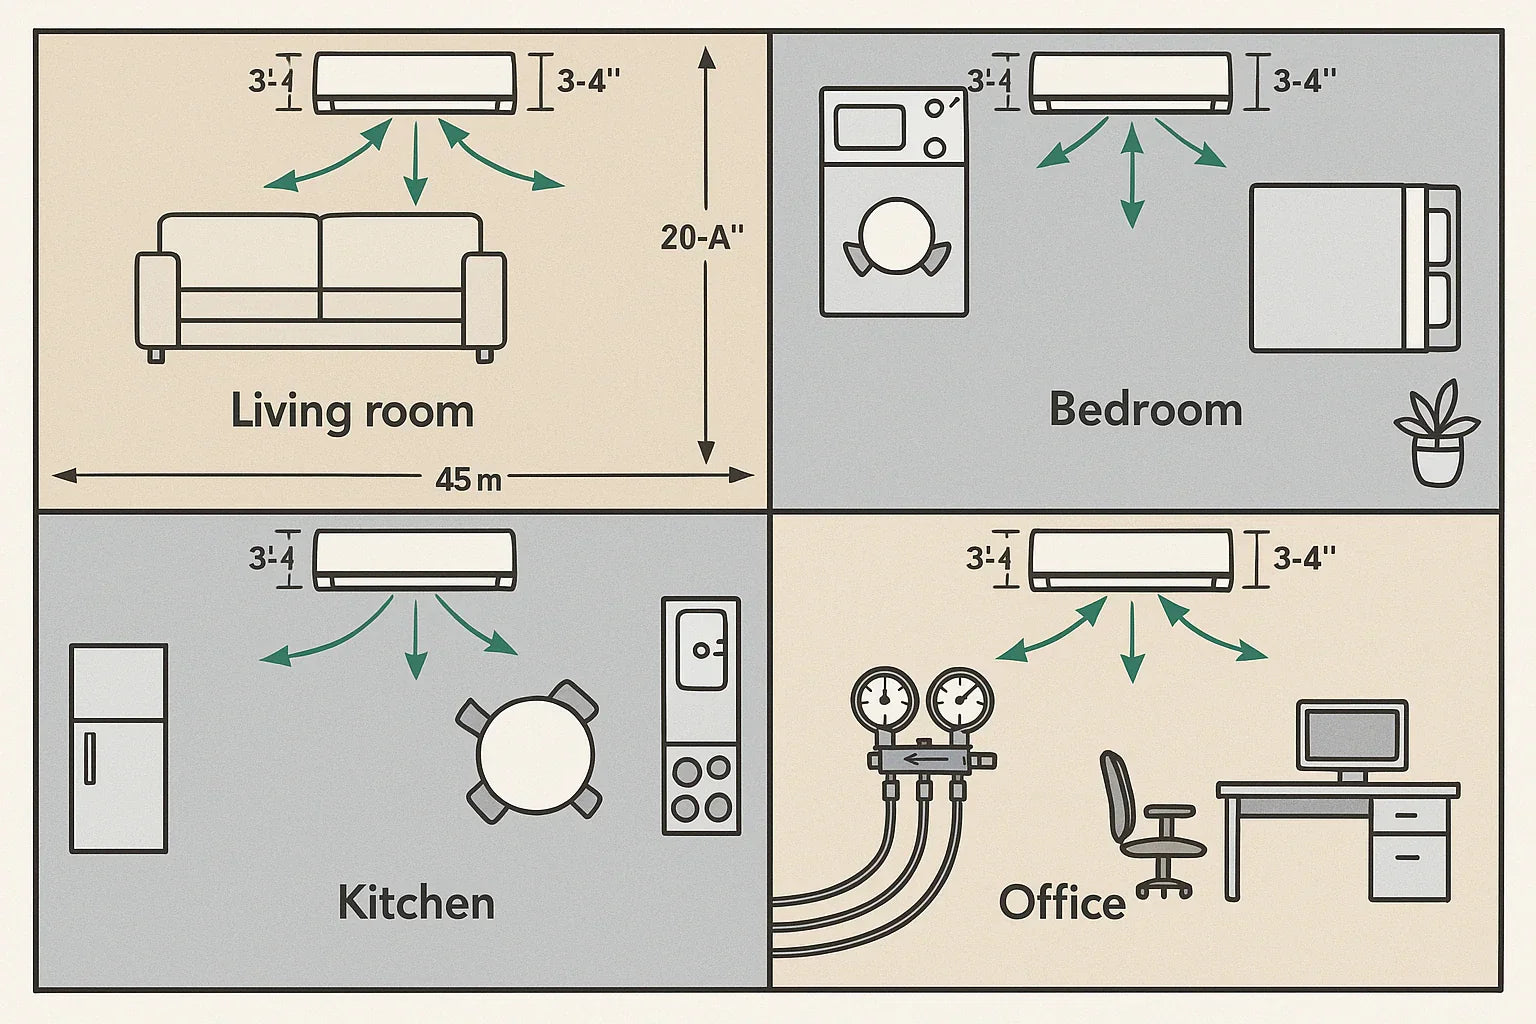
When you install a ductless mini-split heat pump, the indoor unit’s wall placement is just as important as the equipment itself. A poor location can cause uneven heating or cooling, drive up your energy bills, and even shorten the life of your system.
In this guide, we’ll break down the best wall placement practices, the mistakes to avoid, and why proper positioning can make all the difference for comfort and efficiency.
For the full installation process from start to finish, check out the Complete Guide to DIY Heat Pump Installation.
Why Indoor Unit Placement Matters
Your mini-split works by circulating conditioned air evenly through the room. If it’s blocked, placed too high, or positioned where it can’t sense the actual room temperature, performance suffers.
The U.S. Department of Energy explains that ductless systems are designed for targeted comfort — but only if they have a clear path for airflow and a good vantage point for sensing room temperature changes.
Correct placement ensures:
-
Even air distribution for consistent comfort
-
Accurate thermostat readings for proper cycling
-
Reduced wear and tear on components
-
Better humidity control in both heating and cooling modes
Ideal Wall Locations for Indoor Mini-Split Units
While each room layout is different, these general guidelines will give you the best results:
-
Central location on an interior wall for even airflow
-
7–8 feet above the floor with at least 6 inches clearance from the ceiling
-
Clear of obstructions like shelves, tall furniture, or curtains
-
Away from direct heat sources (stoves, ovens, radiators)
-
Facing the primary occupied area of the room
📘 Energy Star recommends following manufacturer guidelines for clearance, airflow direction, and proximity to occupants to maximize system efficiency.
Common Wall Placement Mistakes to Avoid
📘 Hitachi Air Conditioning explains that the wrong mini-split placement can lead to uneven comfort, higher energy costs, and premature wear on your system. The good news? Most of these issues are easy to avoid if you know what to look for.
Here are the most common placement mistakes — and how to sidestep them for a smoother, more efficient installation:
Mistake #1 – Too Close to Obstacles
Placing the unit behind a beam, above tall furniture, or too close to curtains will block airflow. This can cause temperature imbalances and force the unit to work harder.
Solution: Maintain at least 3 feet of clearance in front of the unit and 4–6 inches above and to the sides, as advised by the U.S. Department of Energy.
Mistake #2 – Above Heat Sources or Electronics
Mounting your unit above a TV, oven, or radiator can skew the thermostat sensor readings, causing the system to short cycle or overwork.
Solution: Keep the unit at least 3–5 feet away from major heat-producing appliances and electronics.
Mistake #3 – Too High or Too Low
Mounting too close to the ceiling or too low to the floor disrupts airflow and reduces efficiency. Ideally, the unit should be 7–8 feet above the floor with at least 6 inches from the ceiling.
Solution: Follow manufacturer height guidelines and remember that warm air rises while cool air falls — positioning should account for natural airflow patterns.
Mistake #4 – Facing Direct Sunlight
Placing the unit opposite a large, sunlit window can make it work overtime to counteract heat gain.
Solution: Position the unit where it won’t receive prolonged direct sunlight, or add shades/curtains to reduce solar load.
Mistake #5 – Poor Access for Maintenance
If your unit is squeezed into a tight corner, it’s harder to clean filters, adjust louvers, or troubleshoot issues.
Solution: Leave enough space for you (or a tech) to remove the front panel and access service points.
Advanced Placement Tips for Open Floor Plans
In open-concept spaces, airflow can be tricky. You’ll want to think about how air will move between rooms and how obstacles like half-walls or tall shelving may affect comfort.
📘 HVAC School suggests mapping airflow paths before drilling. In some cases, installing more than one indoor head in strategic spots can be more effective than a single oversized unit.
For aesthetic integration, Houzz offers design ideas on blending mini-split units into open-plan layouts while keeping airflow unobstructed.
Planning Ahead for Multiple Zones
If you’re installing multiple indoor units, you’ll want to plan so they don’t “fight” each other by blowing air into the same space or interfering with each other’s thermostat readings.
📘 Energy Star notes that each indoor head should have a dedicated zone and be positioned to control that space without overlap.
Final Thoughts from Alex
Indoor mini-split placement isn’t just about what looks convenient — it’s about setting your system up for maximum comfort and efficiency from day one. Avoiding these common mistakes will save you headaches, lower your bills, and extend your unit’s life.
Next, learn how to properly insulate and protect your system’s lines in How to Insulate and Protect Mini-Split Line Sets Outdoors.
Alex Lane
Your Home Comfort Advocate


