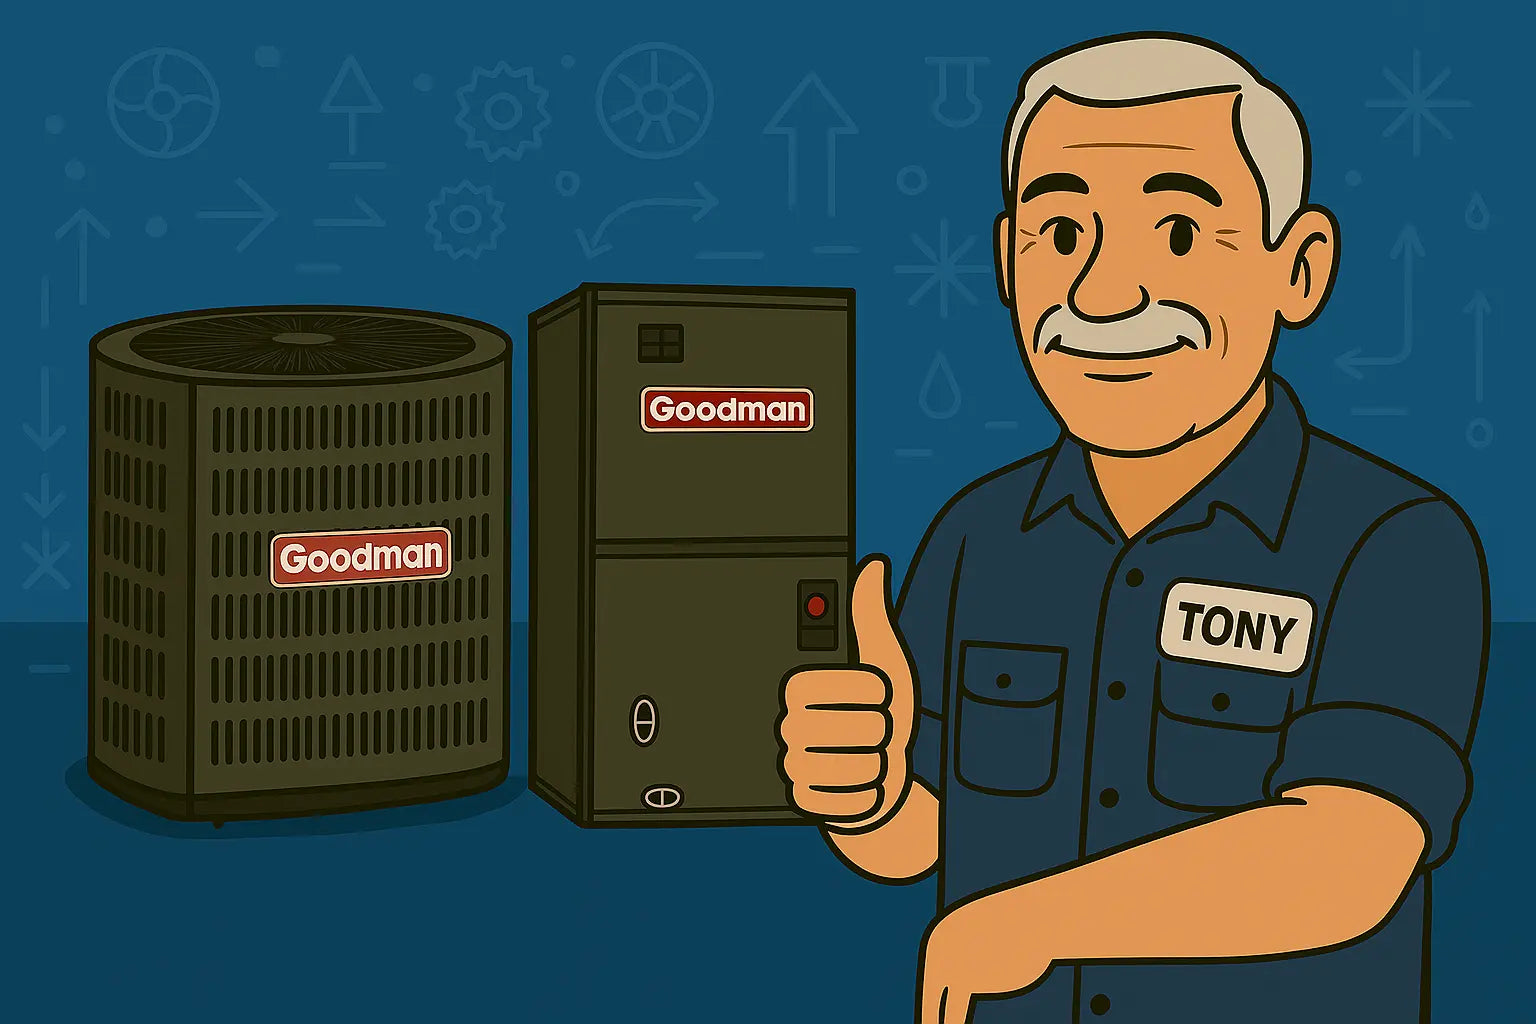
🛠️ Introduction: Tony’s Toolbox Talk
Hey there, Tony Marino here—your trusted HVAC guy with years of hands-on experience. If you’re planning to install or troubleshoot the Goodman GLXS3BN2410 condenser, CAPTA2422B3 evaporator coil, and GR9S960803BN furnace, you’re in the right place. We’ll cover the full process, from setup to troubleshooting, in plain language, no fluff—just straight-up guidance with a touch of humor. 💨🛠️
🔧 Part 1: Installing the Goodman GLXS3BN2410 Condenser
1.1 Unboxing and Preparation
Before you lift that heavy condenser, make sure you have all the tools and safety gear: adjustable wrench, level, refrigerant gauges, gloves, and goggles. You’ll also want to review the manufacturer’s installation guide to double-check parts and connections.
The GLXS3BN2410 is a 2-ton, 14 SEER2 condenser designed for the Northeast climate, with durable steel construction and an all-aluminum coil for efficiency and longevity.
1.2 Placement and Mounting
Pick a location with proper airflow and a flat surface. A level foundation prevents vibration and operational issues. Secure the condenser with brackets or a pad designed for outdoor units. Adequate clearance from walls or plants is crucial for optimal airflow and efficiency.
1.3 Electrical and Refrigerant Connections
Follow the wiring diagram provided by the manufacturer. Connect the refrigerant lines carefully to avoid leaks, then check pressure using standard gauges. For detailed troubleshooting of condenser setups, the HVAC Alliance Expert site is a great reference.
❄️ Part 2: Installing the CAPTA2422B3 Evaporator Coil
2.1 Preparing the Furnace
Power off the furnace and disconnect electrical connections. Remove any panels that block access to the coil slot. Make sure your work area is clean and free of debris that could obstruct airflow.
2.2 Coil Installation
Slide the CAPTA2422B3 coil into position on top of the furnace. Ensure a snug fit and seal gaps with appropriate HVAC tape to prevent air leaks. Connect the refrigerant lines and condensate drain according to the manufacturer’s instructions.
🔥 Part 3: Installing the GR9S960803BN Furnace
3.1 Furnace Placement
Set the furnace on a level surface with sufficient clearance around it for airflow and maintenance. The GR9S960803BN is a high-efficiency 96% AFUE, 80,000 BTU furnace, built to handle cold climates efficiently.
3.2 Gas and Electrical Connections
Connect the gas line and test with a soapy water solution to check for leaks. Wire the furnace according to the schematic, making sure all connections are tight. If you’re unsure about gas connections, HVAC.com offers guidance on safety best practices.
🛠️ Part 4: Troubleshooting Common Issues
4.1 No Cool Air
Common causes include a tripped breaker, thermostat issues, or refrigerant leaks. First, check the breaker, test the thermostat, and inspect refrigerant lines for visible signs of leakage.
4.2 Furnace Not Heating
Dirty filters, a faulty ignitor, or disrupted gas supply can cause a furnace not to heat. Replacing filters, inspecting the ignitor, and ensuring gas flow usually solve the problem.
4.3 Strange Noises
Unusual sounds often come from loose components, debris, or worn motors. Tighten loose parts, clean the system, and replace or service the blower motor as needed.
🧰 Part 5: Maintenance Tips
-
Replace filters every 1–3 months to maintain airflow and efficiency.
-
Schedule annual inspections with a licensed HVAC technician.
-
Keep supply and return vents clear of obstructions to ensure proper circulation.
-
Learn more about maintenance and energy-saving tips on this HVAC maintenance article.
🏁 Conclusion: Tony’s Final Thoughts
Alright folks, we’ve covered a lot—installation, wiring, refrigerant connections, and common troubleshooting tips. HVAC systems aren’t rocket science, but they do need attention to run efficiently and keep your home comfortable. Remember, a little preventative maintenance goes a long way.
If you’re ready to get your hands on a system that’s built for reliability and efficiency, check out the Goodman 2-Ton 14 SEER2 Northeast System right here. Installing it correctly and staying on top of maintenance will save you headaches down the road.
So, roll up your sleeves, follow the steps, and treat your HVAC system with the care it deserves. You’ll stay cool in summer, warm in winter, and maybe even impress the neighbors with your HVAC know-how 😎🔥.
Need more advanced installation tips for this bundle? Visit my guide: Set It Up Right.
Until next time,
- Tony the Trusted Tech


