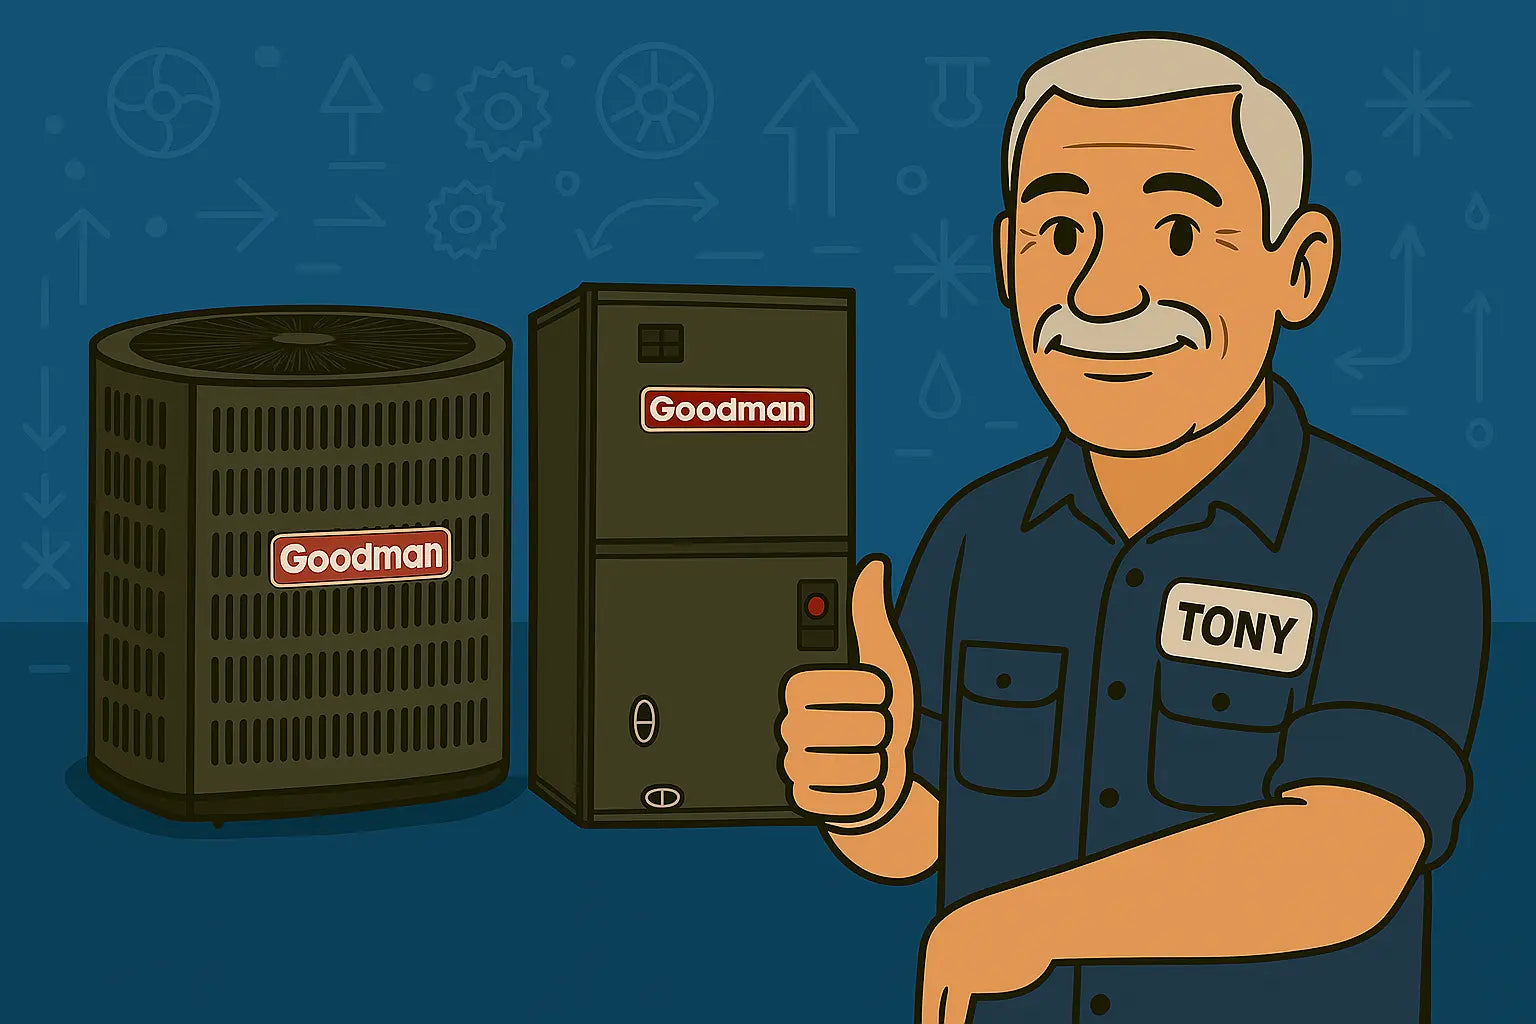
🛠️ Introduction: Tony’s Toolbox Talk
Hey folks, Tony Marino here! If you’re thinking about installing the Goodman 2-Ton 14 SEER2 Northeast System—that’s the GLXS3BN2410 condenser, CAPTA2422B3 coil, and GR9S960803BN furnace—you’ve come to the right place. I’ll walk you through the process from unboxing to final checks, so you can avoid headaches and make sure your system runs efficiently from day one. 💨🛠️
Grab your toolbox, and let’s get started!
🔧 Step 1: Unboxing and Preparing Your Goodman 2-Ton System
Before you lift a finger, make sure you have all your tools and safety gear ready:
-
Adjustable wrench
-
Level
-
Refrigerant gauges
-
Screwdrivers
-
Safety gloves and goggles
Next, confirm that all components are included. The Goodman 2-Ton bundle includes:
-
GLXS3BN2410 Condenser
-
CAPTA2422B3 Evaporator Coil
-
GR9S960803BN Furnace
If anything is missing, contact the supplier before proceeding. You can check out the full product details here.
It’s also a good idea to read the Goodman Condensing Unit Installation Guide before you start—it’ll save you time and headaches later.
❄️ Step 2: Placing and Installing the Condenser (GLXS3BN2410)
2.1 Choosing the Right Spot
Placement is critical. Pick a level, well-ventilated spot outside your home, with at least 12–24 inches of clearance on all sides. Avoid areas near shrubs or debris that could block airflow.
2.2 Mounting the Condenser
Place the condenser on a concrete or composite pad to minimize vibration. Use a level to make sure it sits perfectly flat. Secure it with appropriate brackets if required.
2.3 Electrical and Refrigerant Connections
-
Connect the electrical wiring following the manufacturer’s schematic.
-
Attach the refrigerant lines carefully to avoid leaks.
-
Use gauges to check refrigerant pressure.
For troubleshooting condenser setups, check the HVAC Alliance Expert guide.
🧊 Step 3: Installing the Evaporator Coil (CAPTA2422B3)
3.1 Preparing the Furnace
Turn off all power to the furnace. Remove any panels blocking access to the coil slot. Make sure the work area is clean.
3.2 Installing the Coil
-
Slide the CAPTA2422B3 coil into the furnace slot.
-
Ensure a snug fit and seal any gaps with HVAC tape to prevent air leaks.
-
Connect the refrigerant lines and condensate drain as per instructions.
🔥 Step 4: Installing the Furnace (GR9S960803BN)
4.1 Furnace Placement
Position the furnace on a level surface with clearance for airflow and maintenance. This 96% AFUE, 80,000 BTU furnace is built to handle cold Northeast winters.
4.2 Gas and Electrical Connections
-
Connect the gas line and check for leaks with soapy water.
-
Wire the furnace according to the schematic.
If you need guidance on safe connections, check HVAC.com’s Goodman AC Troubleshooting.
🛠️ Step 5: Testing and Initial Run
-
Power up the system and check that the condenser, coil, and furnace all activate.
-
Set the thermostat to your desired temperature and monitor performance.
-
Check airflow from vents and listen for unusual noises.
🧰 Step 6: Maintenance Tips
-
Replace filters every 1–3 months.
-
Schedule annual inspections with a licensed technician.
-
Keep supply and return vents unobstructed.
Learn more about ongoing maintenance in this AC maintenance guide.
🏁 Conclusion: Tony’s Final Thoughts
Well, folks, that’s the full walkthrough for installing your Goodman 2-Ton 14 SEER2 Northeast System. Follow these steps, double-check your connections, and you’ll enjoy a system that keeps your home comfortable year-round.
Ready to grab yours? Check out the full bundle here.
With the right setup and a bit of TLC, your Goodman system will keep you cool in summer and warm in winter without headaches. Stay sharp, stay safe, and keep your HVAC running like a champ 😎🔥.
Need more advanced troubleshooting tips for this bundle? Visit my guide: A Tech's Troubleshooting Guide.
Until next time,
- Tony the Trusted Tech


