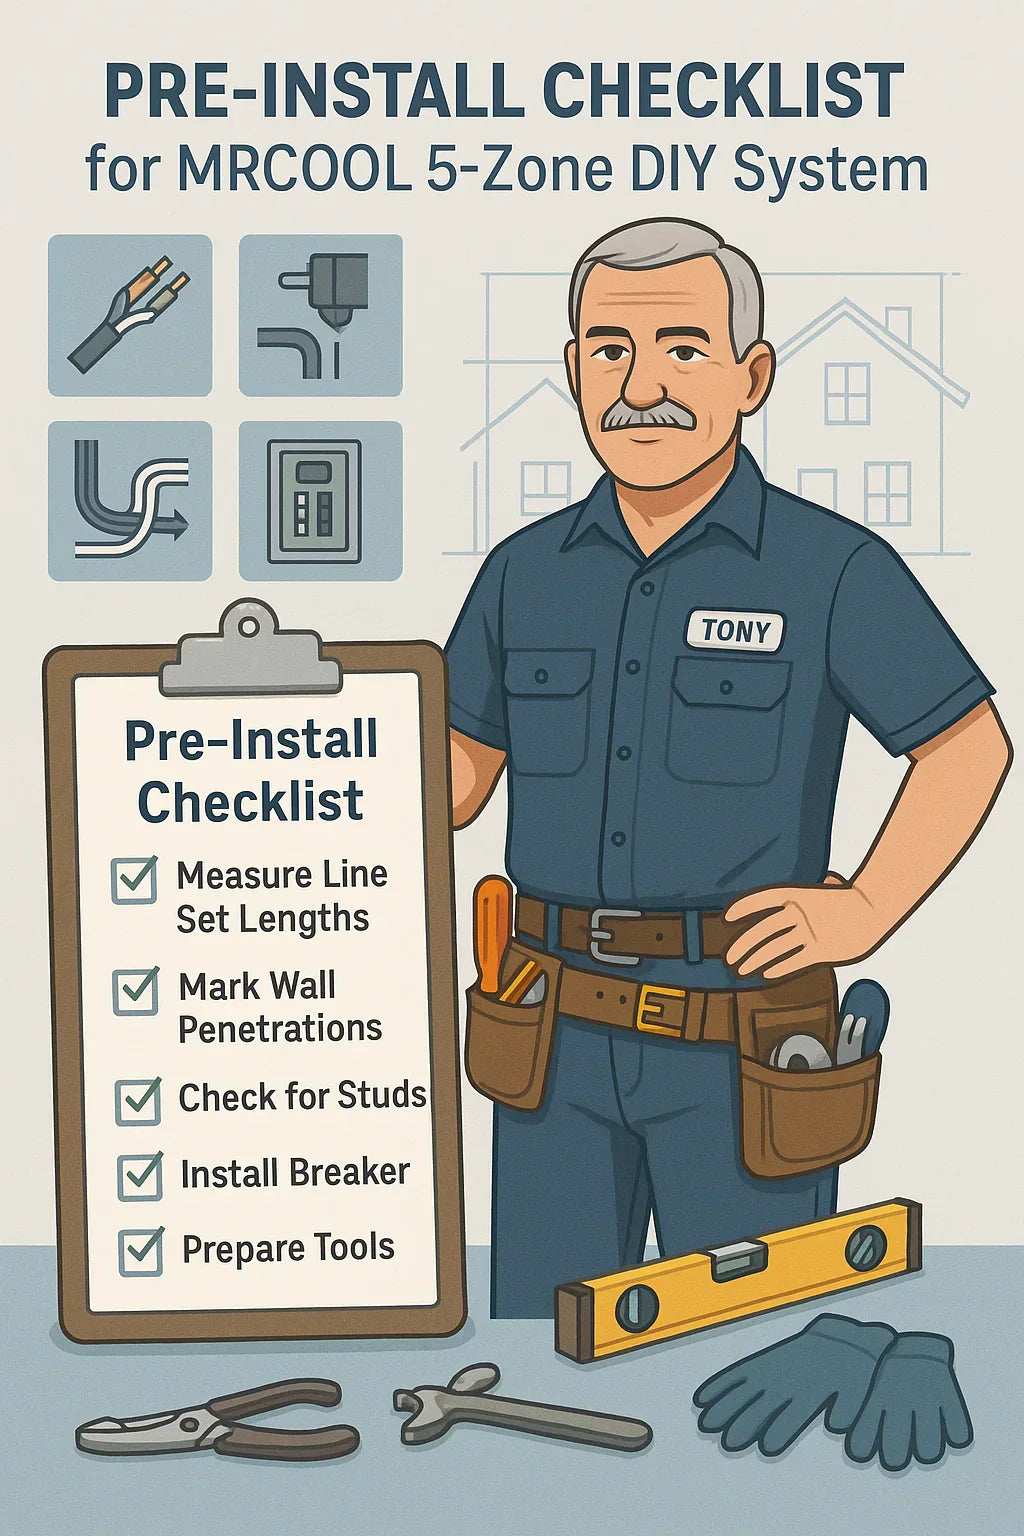
⚠️ 1. Why a Pre-Install Checklist Matters
Proper planning makes a MRCOOL DIY install:
-
Safer
-
Cleaner
-
Faster
-
More energy efficient
Quick Connect lines remove the need for refrigerant charging, but you still need to think ahead about wall routing, breaker loads, and line set layout.
🏠 2. Planning the Installation Layout
Before opening the box:
-
Identify the exact location for all five indoor units
-
Sketch the path from each air handler to the outdoor condenser
-
Choose which side of each indoor unit the line set will exit (left/right)
-
Ensure gravity-assisted drain on all lines
-
Avoid routing through studs, joists, or electrical bundles
Tip: Use painter's tape and a laser level to mock out each line run.
Resource: MRCOOL DIY Installation Manual
🛋️ 3. Choosing Line Set Lengths
MRCOOL’s pre-charged line sets come in:
-
16 ft
-
25 ft
-
35 ft
You can also use line set coupler kits to combine segments.
Tips for Line Set Sizing:
-
Keep total length under 75 ft per zone
-
Avoid excessive slack or tight loops
-
Match actual distance + 3–5 ft buffer
-
Plan to slope lines slightly downward for condensate drainage
Tool: MRCOOL Line Set Sizing Guide
🛏️ 4. Wall Penetration Guidelines
Each indoor unit needs one 3.5" to 4" hole through the wall.
Do:
-
Use a hole saw with dust shroud
-
Drill slightly downward from inside out (for drainage)
-
Drill near a stud (but not through one)
-
Seal gaps with foam or caulk to prevent drafts or pests
Don’t:
-
Drill directly above electrical outlets
-
Punch through brick without a masonry bit
-
Leave line sets exposed to weather
Tip: Install a plastic wall sleeve before feeding through the bundle.
Resource: Senville DIY Mini Split Wall Prep Guide
🔌 5. Wiring and Electrical Checklist
Required Electrical Specs:
-
Outdoor unit: 208/230V, typically 30–40A double-pole breaker
-
Indoor units: Powered via control cable from condenser
-
Disconnect box: Must be installed near outdoor unit
Materials:
-
UF-rated electrical cable
-
Waterproof conduit (liquid-tight or PVC)
-
Line voltage surge protector (recommended)
-
Grounding rod (if not already grounded)
Tool: Premium Home Source Install Guide
⚡ 6. Safety Gear and Required Tools
Tools:
-
Drill with hole saw (3.5" or 4")
-
Level
-
Stud finder
-
Utility knife
-
Wire stripper & crimper
-
Caulk gun
-
Ladder (for indoor/outdoor work)
Safety Gear:
-
N95 mask for drywall dust
-
Safety glasses
-
Electrical tester
-
Gloves (for sharp metal edges)
🔢 7. What to Double-Check Before Drilling
Tony should verify:
-
Stud placement and wall integrity
-
No hidden electrical or plumbing lines (use a multi-scanner)
-
Indoor unit has proper spacing (above windows, shelves, etc.)
-
Exterior wall is not obstructed (decking, fencing, gas meter)
-
Line sets reach condenser location without sharp bends
Better to measure twice than patch drywall.
🌄 8. Conclusion
Installing a MRCOOL 5-Zone system is completely doable for Tony — but planning and prep are everything.
With the right:
-
Measurements
-
Line set lengths
-
Wall access strategy
-
Electrical safety approach
...Tony will save thousands and get professional-grade results.
Use this checklist as your command center before cutting, drilling, or mounting anything.
In the next topic we will read about: How Much Can You Really Save with a DIY MRCOOL 5-Zone Setup?


