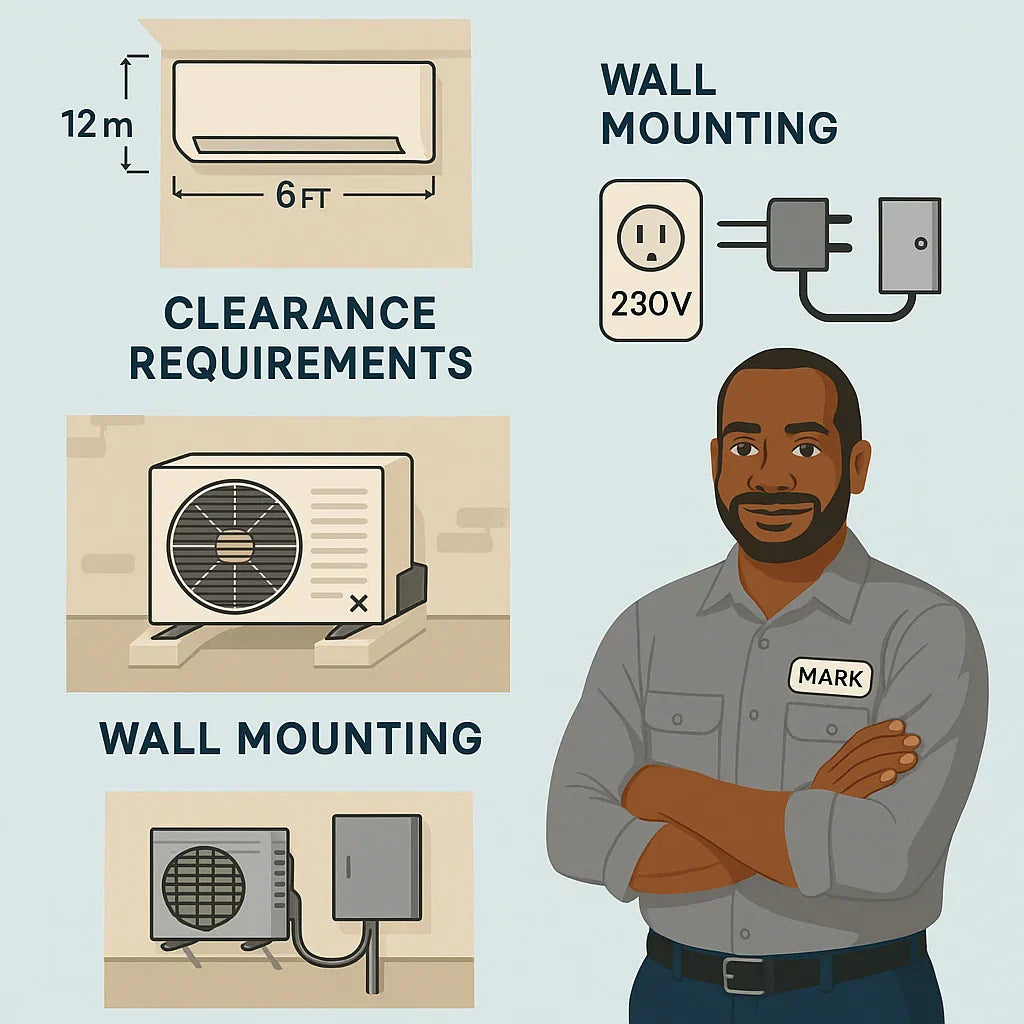
When I bought my MRCOOL Advantage 12,000 BTU mini split, I thought the hardest part would be wiring it or running the refrigerant lines. Turns out, the first big challenge was simpler: does this thing actually fit in my space?
Mini splits aren’t huge, but they do require very specific clearances, wall mounting, and electrical setups. If you skip planning, you risk poor airflow, noisy operation, or worse—an installation that fails inspection.
In this guide, I’ll walk you through everything I learned about making sure the Advantage fits properly—from the indoor unit clearance to the outdoor condenser placement to the electrical needs you can’t ignore.
📐 Indoor Unit Clearance Requirements
The indoor air handler is the part you see on your wall. It needs breathing room to circulate air properly.
MRCOOL’s recommended clearances:
-
12 inches above the unit
-
6 inches on each side
-
At least 7 feet from the floor
These clearances ensure:
-
Unrestricted airflow
-
Even room temperature
-
Easy access for filter cleaning
👉 Mark’s Story: “I almost mounted mine above a bookcase, but I realized the airflow would have been blocked. Instead, I shifted it over to a bare wall, and the difference was huge.”
Don’t:
-
Mount behind curtains.
-
Cram it between cabinets.
-
Place directly above electronics (condensate drips can be messy).
Energy.gov – Mini Split Indoor Placement Tips
🛠️ Wall Mounting Considerations
The indoor unit attaches to a mounting plate that must be screwed securely into studs or reinforced drywall anchors.
What to check before mounting:
-
Stud location: Use a stud finder to anchor the plate.
-
Level surface: A tilted mount can cause water leaks.
-
Access to line set hole: Ensure the 3.5-inch wall penetration can go straight through.
For the outdoor condenser, you have two main choices:
1. Ground Pad
-
Precast concrete or composite plastic pad.
-
Level, stable, prevents vibration.
-
Best for backyards or open spaces.
2. Wall Bracket
-
Raises unit off the ground (great for snow-prone areas).
-
Keeps unit away from weeds, flooding, and debris.
-
Must be bolted securely into masonry or wall studs.
👉 Mark’s Tip: “I used a wall bracket because snow piles up in my yard. At 18 inches off the ground, my condenser has never been buried.”
🌬️ Outdoor Unit Clearance
The outdoor condenser also needs space to breathe. Without proper airflow, performance drops and energy use spikes.
MRCOOL’s recommended clearances:
-
12–24 inches around sides
-
5 feet clearance above
-
At least 24 inches in front of fan outlet
Why it matters:
-
Prevents overheating in summer.
-
Ensures defrost cycles work in winter.
-
Reduces noise reverberation.
Bad placement examples:
-
Too close to fences (air bounces back).
-
Hidden behind bushes (debris clogs fins).
-
Under decks with low clearance (restricts vertical airflow).
Energy Star – Outdoor AC Clearance Guidelines
⚡ Electrical Requirements
This is the part many homeowners underestimate. The MRCOOL Advantage 12k requires a dedicated 230V circuit.
What you’ll need:
-
Breaker size: 15–20 amps (check your model’s manual).
-
Wire gauge: Typically 12/2 (for 20 amps) or 14/2 (for 15 amps).
-
Outdoor disconnect box: Required by code for safety shut-off.
-
Electrical whip: Flexible conduit from disconnect to condenser.
Options:
-
Hire a pro: $300–$600 for breaker, wiring, and disconnect.
-
DIY (if experienced): Only attempt if you’re confident with electrical codes and safety.
👉 Mark’s Reality: “I’m handy, but I don’t gamble with high-voltage. I wired the indoor/outdoor communication cable myself, but I hired an electrician to run the breaker. Best $400 I spent for peace of mind.”
🧰 Drainage & Line Set Routing
Your mini split won’t run without proper drainage and line routing.
Drain line
-
Needs a ¼ inch per foot downward slope.
-
Should exit to a safe outdoor area (not over walkways).
-
If gravity flow isn’t possible, use a condensate pump ($100–$300).
Line set
-
Requires a 3.5-inch wall hole for refrigerant lines, drain, and wiring.
-
Protect with a wall sleeve ($20–$50).
-
Keep bends gentle—tight kinks reduce performance.
👉 Mark’s Tip: “I bundled my drain line at the bottom of the set and taped it. Gravity is your friend—never run the drain uphill.”
📊 Space Planning Checklist
Here’s the quick checklist I used before starting:
Indoor Unit
✔️ 12 inches above clearance
✔️ 6 inches on sides
✔️ Mounted at least 7 feet from floor
✔️ Studs for mounting plate
Outdoor Unit
✔️ 12–24 inches clearance on sides
✔️ 5 feet above
✔️ Clear drainage slope
✔️ Not under deck or in snow zone
Electrical
✔️ Dedicated 230V breaker
✔️ Disconnect box installed
✔️ Proper wire gauge
✔️ Communication cable routed cleanly
Drain & Line Sets
✔️ 3.5-inch hole drilled with slight slope
✔️ Wall sleeve installed
✔️ Drain line gravity-fed or pumped
✔️ No sharp kinks in refrigerant lines
❌ Common Mistakes Homeowners Make
-
Mounting indoor unit too close to ceiling → poor airflow, hot/cold spots.
-
Placing condenser against a fence → overheats quickly.
-
Skipping breaker requirements → trips or unsafe wiring.
-
Running drain line uphill → leads to leaks inside.
-
Forgetting to seal wall penetration → bugs, moisture, and drafts enter.
✅ Mark’s Final Verdict
So, will the MRCOOL Advantage 12k fit in your space?
Yes—if you plan carefully.
The unit itself is compact, but the clearances, mounting, and electrical requirements mean you can’t just slap it on the wall anywhere.
👉 My advice:
-
Measure twice, mount once. Double-check clearances before drilling.
-
Don’t skimp on electrical. Call a pro if needed.
-
Think long-term. Drainage, airflow, and placement all affect comfort and lifespan.
My Advantage has been running smoothly since I installed it, and the comfort upgrade was worth every bit of planning. With the right prep, yours will too.
In the next topic we will know more about: Do MRCOOL Advantage Units Qualify for Rebates or Tax Credits in 2025?


