Installing a through-the-wall AC like the Amana PBH073J35AA can transform a hot, stuffy room into a year-round comfort zone, but proper planning is essential. Mike Sanders walks you through everything you need to know to confidently prepare for a clean, safe, and efficient installation.
🧱 What Is a Through-the-Wall AC Installation?
Unlike a window AC, a through-the-wall unit is permanently installed into an exterior wall using a sleeve, creating a sealed, energy-efficient fit that does not block your windows.
Key benefits:
✅ Permanent and secure
✅ Retains window light and function
✅ Better insulation and energy efficiency
✅ Quieter indoor operation
✅ Ideal for sunrooms, offices, bedrooms
📏 Measuring Your Space
Before cutting any holes, measure:
-
Wall thickness: Most sleeves fit 4" - 10" thick walls.
-
Unit dimensions: The Amana PBH073J35AA requires a compatible sleeve size for proper fit.
-
Room size: Ensure your unit’s BTUs (7,400 BTU) match your 250-350 sq ft space.
Use a stud finder to confirm stud locations to avoid cutting into structural supports.
Further reading:
🛠️ Sleeve Requirements
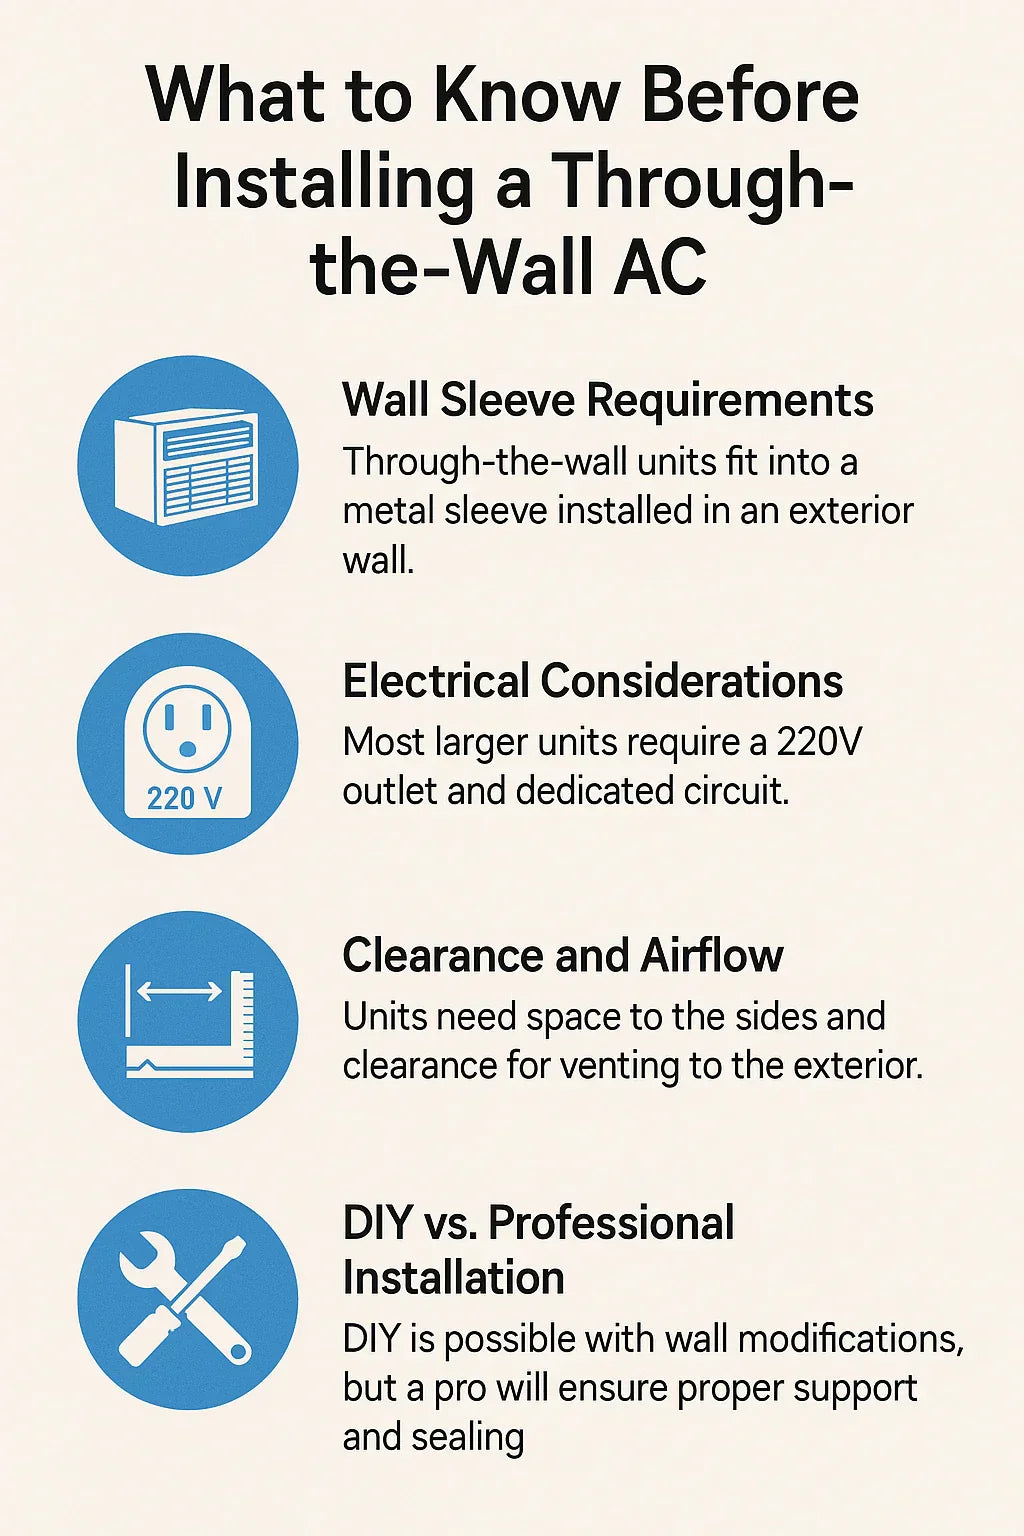
A wall sleeve supports the weight of the AC and seals the unit from air leaks and water penetration.
-
Use a sleeve designed for your unit’s size.
-
Ensure the sleeve has a slight outward tilt for drainage.
-
Seal around the sleeve with weatherproof caulk.
Amana recommends using a compatible sleeve for the PBH073J35AA to ensure warranty and performance integrity.
Further reading:
⚡ Electrical Requirements
The Amana PBH073J35AA operates on 230/208V, requiring: ✅ A dedicated electrical circuit ✅ A compatible outlet installed by a licensed electrician if not already present
Do not attempt to use a 115V standard outlet, as it will not power the unit safely.
Further reading:
🌧️ Weather and Drainage Considerations
-
Install with a slight outward tilt to allow condensation to drain outside.
-
Ensure exterior caulking around the sleeve to prevent leaks.
-
Use weatherproof insulation foam if needed to seal gaps.
-
Do not block the unit’s vents or drain holes.
🔇 Noise Control Tips
Through-the-wall ACs are typically quieter than window ACs, but to reduce noise:
✅ Ensure the sleeve and unit are level and secure.
✅ Avoid installation in direct contact with bed headboards.
✅ Use vibration-dampening pads if needed.
🔧 DIY vs. Professional Installation
DIY Installation:
✅ Cost-effective for skilled homeowners
✅ Requires careful measurement and wall cutting
✅ Must manage electrical connections
✅ Can be completed in a day with proper planning
Professional Installation:
✅ Recommended for most homeowners
✅ Ensures warranty compliance and safety
✅ Electrical and sealing handled professionally
✅ Adds resale value with a clean, professional finish
🗓️ Best Time of Year to Install
✅ Spring and early summer allow installation before peak cooling needs.
✅ Avoid installation during heavy rain or winter conditions to prevent moisture issues.
📋 Installation Checklist
✅ Measure wall thickness and confirm stud locations.
✅ Purchase the correct sleeve.
✅ Plan for a dedicated 230/208V circuit.
✅ Check room size compatibility with BTU output.
✅ Schedule professional help if needed.
✅ Seal sleeve and exterior edges against weather.
✅ Allow slight outward tilt for drainage.
✅ Test unit before peak cooling season.
🪟 Alternative: Sleeve Replacement for Existing Units
If replacing an older unit:
-
Measure the existing sleeve.
-
Ensure the Amana PBH073J35AA fits or replace the sleeve.
-
Check electrical compatibility.
-
Remove the old unit carefully and clean the sleeve.
-
Inspect and reseal the sleeve before installing the new unit.
🛠️ Conclusion: A Smart Comfort Upgrade
Installing a through-the-wall AC like the Amana PBH073J35AA provides a permanent, energy-efficient solution for year-round comfort in bedrooms, sunrooms, or offices without blocking your window or adding noise.
Proper planning ensures a smooth installation and extends the life and performance of your AC while maintaining your home’s aesthetic and comfort.
In the next topic we will know more about: Wall Sleeve 101: The Need for One and How to Select the Correct Fit


