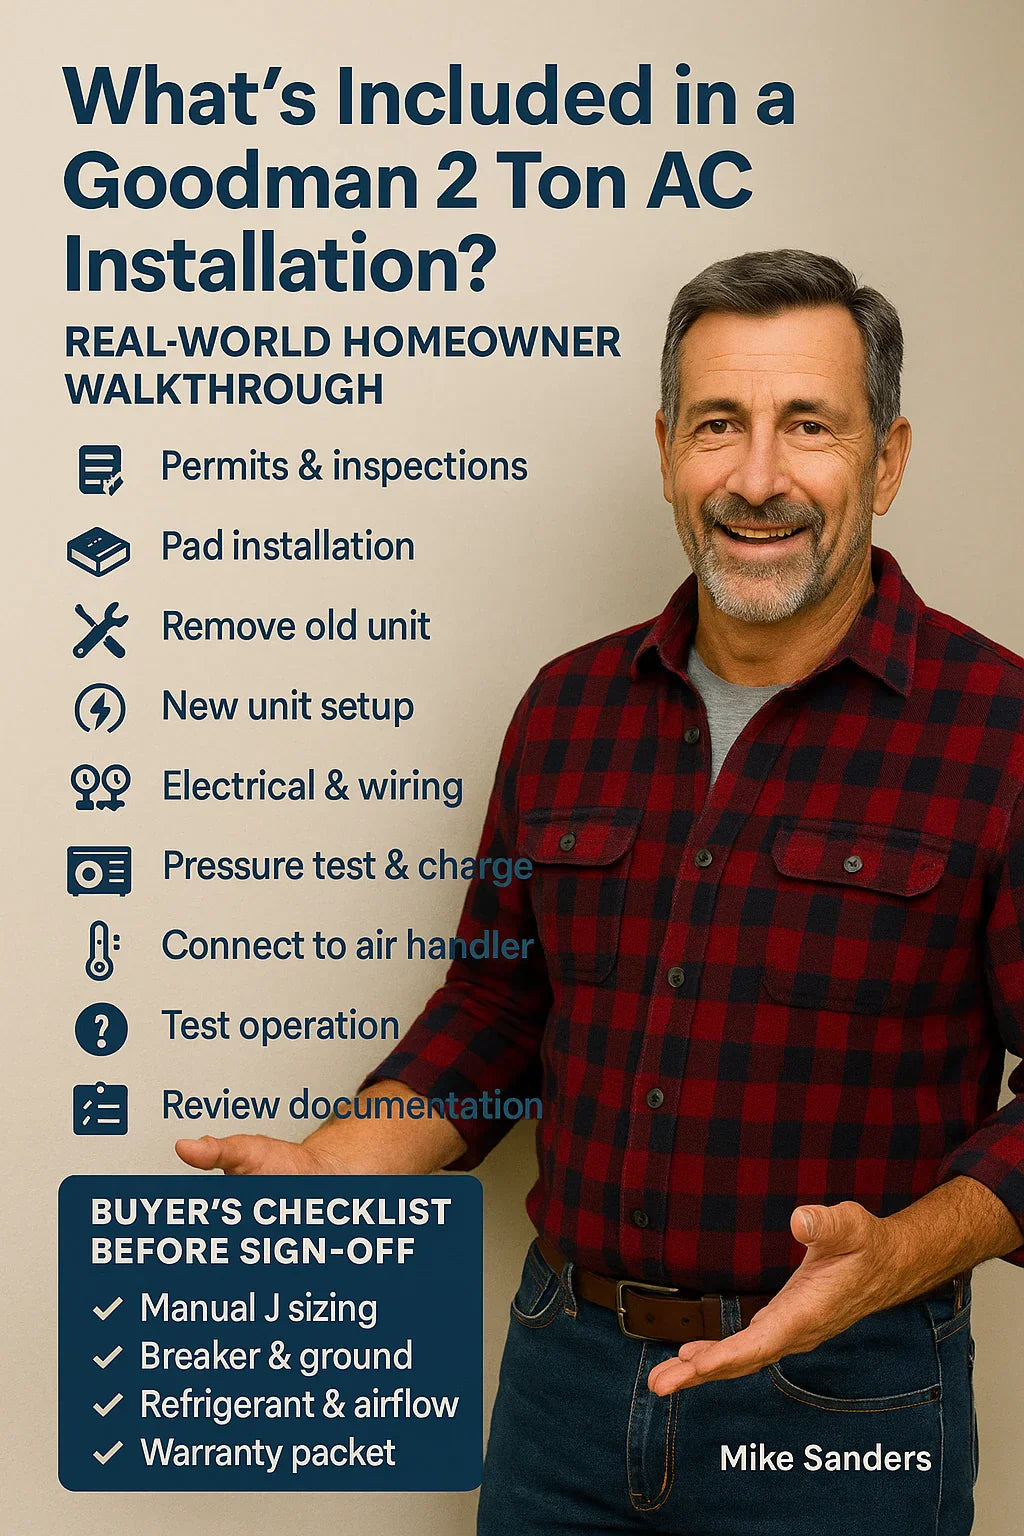
1. 🔧 Introduction: Planning Your Installation
Upgrading to a new Goodman 2‑ton AC is more than picking a unit—it’s a whole-home to-do project. Let’s break down the steps, costs, and decisions you’ll face—from permits to pad prep to disconnect wiring.
2. 📋 Step 1: Pre‑Installation Planning & Permits
-
Manual J & System Selection: Confirm 2‑ton sizing via Manual J (see Topic 3) and select the GLXS3B2410 condenser if it matches .
-
Permits & Inspections: Most states/cities require HVAC permits (~$150–$500) .
-
Utility Notification: If your project qualifies for rebates or is EV-linked, ensure your installer checks with the utility.
3. 🧱 Step 2: Site Preparation & Pad Installation
-
Location Selection: Unit must sit on a level, vibration‑isolating pad, minimum 12–18ʺ above soil.
-
Concrete or Composite Pad: Pads cost $50–$250 depending on size/material .
-
Clearance: Keep 24ʺ on sides, 60ʺ in front — ensures airflow & service access.
4. 🔌 Step 3: Removing the Old System
-
Disconnect Power: The electrician or HVAC tech will kill power at the breaker and use a disconnect switch.
-
Recover Refrigerant: Mandatory R‑410A (or R‑32) recovery — technician recovers to EPA compliance .
-
Dismantle Outdoor Unit & Lines: Technicians then remove linesets and cut electrical as needed.
5. 🚚 Step 4: New Unit Arrival & Setup
-
Uncrating & Leveling: Units arrive boxed; techs remove crate, level pad, add shims.
-
Install Lineset & Disconnect Box: Lines get vacuumed, nitrogen‑charged pre-install; disconnect with fuse access is installed .
6. ⚡ Step 5: Electrical & Wiring
-
Circuit Upgrade if Needed: A 2‑ton requires a dedicated 20–30 A breaker and 10–8 AWG wire.
-
Grounding & Bonding: NEC requires grounding back to main service panel.
-
Safety Disconnect Switch: Installed within 5 ft of condenser.
7. 🌀 Step 6: Pressure/Vacuum & Refrigerant Charging
-
Evacuate Lineset: Vacuum to 500 microns to remove moisture/air
-
Pressurize with Nitrogen: Checks for leaks before refrigerant is added.
-
Add Refrigerant: Goodman R‑32 charge is roughly X lbs; tech ensures proper superheat/subcooling.
8. 🌡️ Step 7: Air Handler, Coil & Thermostat Integration
-
Matching Coil: Thermal expansion valve or TXV matching ensures Goodman system efficiency.
-
Air Handler Compatibility: Single‑stage vs. multi‑stage—supports zoned systems.
-
Thermostat Wiring: New stat is calibrated; Wi‑Fi smart stats optional.
9. 🧪 Step 8: Testing & Start‑up
-
Measure Pressures/Temps: Verify suction and head pressures.
-
Airflow Check: At least 350–450 CFM per ton.
-
Temperature Split: A steady 18–22 °F delta across coil = good install .
-
Electrical Load Check: Check amperage is within specs and insulation resistance is good.
10. 📑 Step 9: Final Inspection & Documentation
-
Building Inspection: City inspector reviews, tags unit, and clears permit.
-
UPS Documentation: Tech leaves install invoice, warranty, manuals, and ACHR placement card.
-
Homeowner Huddle: Mike guides you on worrying signs, maintenance tasks, and first filter change.
11. 💵 Step 10: Cost Breakdown – Real Numbers
Here’s what an installed Goodman GLXS3B2410 2‑ton system typically runs:
| Item | Low End | High End |
|---|---|---|
| AC Unit (GLXS3B2410) | $3,000 | $4,500 |
| Pad & Concrete | $150 | $300 |
| Electrical (wiring, breaker) | $300 | $700 |
| Refrigerant Recovery & Charge | $150 | $300 |
| Labor & Hookup | $1,200 | $2,000 |
| Permit & Inspection | $200 | $500 |
| Air Handler / Coil (matched) | $800 | $2,000 |
| Smart Thermostat (optional) | $150 | $300 |
Estimated Total: $6,950 – $10,600 installed.
12. 🛡️ Buyer’s Checklist Before Sign‑Off
-
✅ Manual J sizing documented
-
✅ New breaker & ground installed
-
✅ Proper pad and clearance verified
-
✅ Refrigerant level and airflow measurements
-
✅ Dedicated lineset installed
-
✅ Thermostat programmed/synced
-
✅ Full warranty packet, owner’s manual delivered
13. Mike’s Legit Tips & Warnings
Before they start tearing out the old unit, ask:
-
“Have you pulled a permit yet?”
-
“Are you running a new breaker and ground?”
-
“Will you match coil, handler, and stat?”
-
“Show me the start‑up pressures and airflow specs.”
If anyone grumbles at these, don’t hire them—it’s red‑flag territory.
14. ✅ Final Thoughts
A well-installed Goodman 2‑ton AC is more than just a box in your yard—it’s a system that starts with planning and ends with data‑backed performance and warranties intact. Don’t settle for sloppy installs; get a pro who checks all the boxes.
In the next article we will know about: The Real Cost to Replace Your Air Conditioner in 2025 (Goodman Edition) By Mike Sanders – The HVAC Guy Next Door


