When I first ordered my Hotpoint PTAC (Packaged Terminal Air Conditioner), I thought I was set. I had the unit itself, the power cord kit, and my wall cutout was ready. But the installer asked me a simple question:
👉 “Where’s your wall sleeve and grille?”
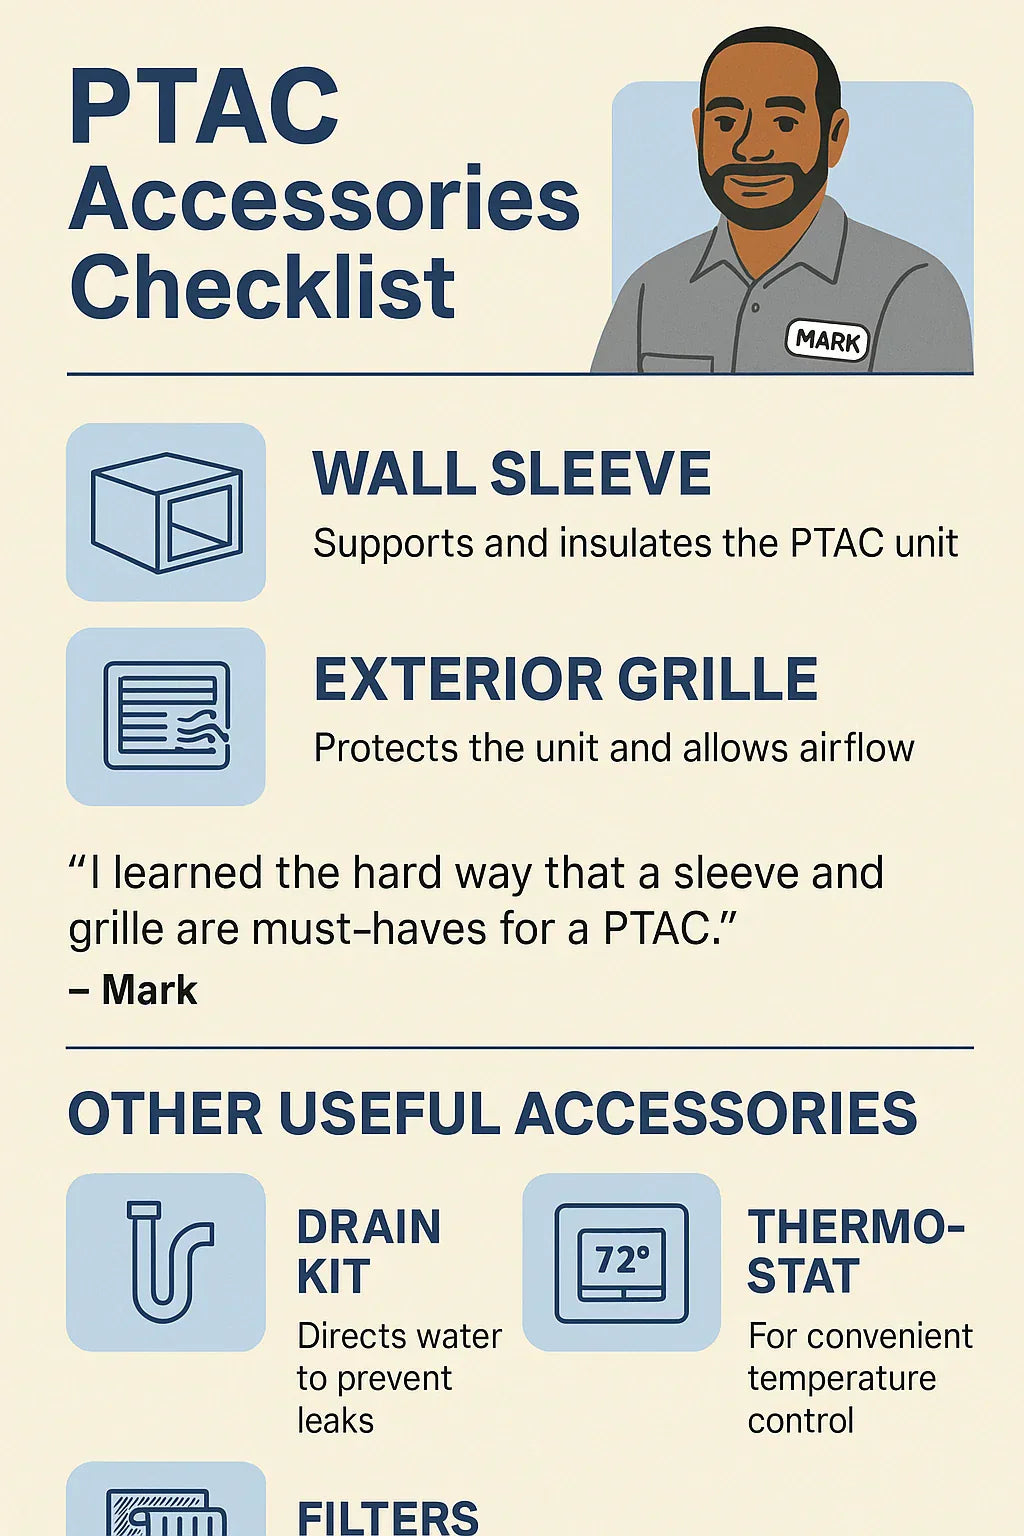
That’s when I realized something important: your PTAC won’t work properly without the right accessories. These parts aren’t just add-ons — they’re essential for protecting your investment, ensuring airflow, and keeping the unit efficient.
In this guide, I’ll walk you through the must-have accessories for the Hotpoint PTAC, the costs, mistakes to avoid, and what I personally learned while setting mine up.
🏷️ Why Accessories Matter for PTAC Units
Unlike window ACs that sit in a frame and plug in, PTACs are built into your wall. That means they need supporting components to work properly:
-
A wall sleeve provides the structure and seal for the PTAC.
-
An exterior grille protects it from weather and ensures airflow.
-
Other accessories like drain kits, thermostats, and filters help with comfort and longevity.
📖 ENERGY STAR makes this point clearly: a PTAC’s performance is tied to proper installation and sealing .
👉 Lesson from me: I thought I could reuse an old sleeve from a decades-old unit. It was warped and leaky, and I ended up replacing it anyway. If I had done it right the first time, I’d have saved myself an afternoon.
🧱 Wall Sleeves: The Foundation of a PTAC
Think of the wall sleeve as the foundation of your PTAC setup. Without it, your unit can’t sit properly in the wall.
Standard Dimensions
-
42" wide × 16" high × 14" deep
-
These dimensions are universal across brands (Hotpoint, Amana, GE, Friedrich, etc.).
Functions of a Wall Sleeve
-
Provides structural support for the PTAC.
-
Insulates the wall opening to prevent drafts.
-
Directs condensation outward through built-in slope.
-
Creates a weatherproof barrier between indoors and outdoors.
📖 Amana explains that sleeves are required for safe and efficient PTAC operation .
Hotpoint-Compatible Sleeves
Hotpoint PTACs are designed to fit standard 42-inch sleeves, so you can use OEM Hotpoint sleeves or universal ones.
👉 My tip: Spend the extra money on a new sleeve if your old one is over 10 years old. Mine had rust and leaks that ruined airflow.
🌀 Grilles: Protecting the Unit & Managing Airflow
The grille is the exterior cover that sits outside your wall, protecting the PTAC.
Functions of a Grille
-
Shields unit from rain, snow, debris, and critters.
-
Allows proper air intake and exhaust airflow.
-
Reduces outside noise infiltration.
Types of PTAC Grilles
-
Stamped aluminum — lightweight, affordable, basic protection.
-
Architectural steel — heavier duty, better durability.
-
Polymer (plastic) — rust-proof, but not as tough as metal.
📖 GE notes that choosing the right grille type helps maximize airflow and extend the PTAC’s lifespan .
👉 My lesson: My first install used a flimsy grille. Within a year, it rattled in the wind and let in noise. Replacing it with a heavier-duty grille solved both problems.
🛠️ Other Useful Accessories
Besides sleeves and grilles, there are other accessories that make life easier:
💧 Drain Kits
-
Helps route condensation water outside.
-
Essential in humid climates (stops leaks inside).
-
Costs about $40–$60.
📖 ASHRAE highlights condensate management as a top PTAC maintenance need .
📲 Thermostat Kits
-
Wall-mounted thermostats provide more accurate control.
-
Can reduce energy use by 10–15%, according to Energy.gov .
-
Costs about $80–$150.
🧹 Filters
-
PTACs use washable or replaceable filters.
-
Upgraded filters improve indoor air quality.
-
Replacement costs: $15–$40 every 3–6 months.
🪟 Weather Seals & Insulation
-
Foam seals around the sleeve prevent drafts.
-
Cheap ($10–$20) but make a big difference.
👉 In my case, adding a drain kit and extra insulation around the sleeve fixed early leak and draft problems.
💲 Cost Breakdown: Accessories at a Glance
Here’s what you can expect to budget for when accessorizing a Hotpoint PTAC:
| Accessory | Cost Range | Why It’s Important |
|---|---|---|
| Wall Sleeve | $150–$200 | Required for installation & support |
| Grille | $75–$150 | Protects unit, ensures airflow |
| Drain Kit | $40–$60 | Prevents water leaks in humid climates |
| Thermostat | $80–$150 | Improves control & energy efficiency |
| Filters | $15–$40 | Keeps air clean & system efficient |
| Weather Seals | $10–$20 | Stops drafts & heat loss |
👉 My total accessory cost: $310 (sleeve + grille + drain kit). Well worth it.
📖 For average PTAC costs, HomeAdvisor lists installation add-ons clearly .
🛑 Mistakes to Avoid
When I installed my Hotpoint PTAC, I made a few rookie mistakes. Learn from them:
-
❌ Reusing an old sleeve — mine leaked and ruined airflow.
-
❌ Skipping the grille — leaves unit exposed to rain and pests.
-
❌ No drain kit in humid basement — led to a puddle on the floor.
-
❌ Not sealing properly — caused drafts and higher energy bills.
👉 Biggest lesson: shortcuts now lead to repairs later.
📊 Mark’s Real-World Example
Here’s how it worked out for me:
-
Bought Hotpoint PTAC (15,000 BTU): $999.
-
Accessories:
-
Sleeve ($160)
-
Grille ($90)
-
Drain kit ($50)
-
-
Installed everything myself with a friend’s help.
Total cost: $1,299.
By doing it right the first time, I’ve avoided leaks, drafts, and airflow problems — and my PTAC runs smoothly.
✅ Conclusion: What You Really Need for a Hotpoint PTAC
If you’re buying a Hotpoint PTAC, don’t forget the accessories. Here’s the priority list:
-
Must-haves:
-
Wall sleeve
-
Exterior grille
-
Filters
-
-
Highly recommended:
-
Drain kit (humid climates)
-
Thermostat (for comfort and savings)
-
Weather seals (for efficiency)
-
👉 My closing thought: “Think of accessories like insurance. A $150 sleeve and $90 grille can save you a $1,000 repair bill.”
In the next topic we will know more about: Maintenance Tips: Keeping Your Hotpoint PTAC Running Smooth


